The route by which I came to own an Instant Pot is a circuitous one. When the Instant Pot fame was skyrocketing all around I did not know it even existed. Primarily because I was very happy with my pressure cooker. From rice, dal, biryani to everything else I mostly used my pressure cooker. I have an electric rice cooker which I use occasionally and especially during parties or gatherings when it is easy to make steamed rice quickly. My electric rice cooker has a non-stick vessel which was starting to peel off. In an attempt to replace it I started looking for one which had either a stainless steel or aluminum inset. While I couldn't find any with aluminum the one which advertised as stainless steel had them on the exterior but non-stick inside and the ones with stain steel were not to my liking.
As my search continued I hit on a review of electric rice cooker with Instant Pot on the top, and when I started looking more and found out that it was an electric pressure cooker and as needed with a stainless steel vessel inside. It perhaps is a single best purchase I have made in a long time. It has made making rice and dal really easy and also not having to baby sit and watch the whistles like we have to do with the regular pressure cooker.

The one other thing I have noticed with cooking rice or biryani in the Instant Pot compared to the pressure cooker is the rice does not tend to dry out. My mom who was visiting us in the summer became a big fan as well. When she tried our very own
Kongu Arisi Paruppu saatham in it, it turned out soft, with the grains separate but still moist and that is the ultimate test :)
While you can do the sautéing of the spices and the onions etc., in the Instant Pot itself I prefer to do it in a sauté pan or kadai and then transfer the contents to the Instant Pot just because I like the slightly larger cooker area available. You can use the Instant Pot's Saute mode to do the sautéing and make it a truly one pot meal.
While cooking biryani the obvious test is how separate the grains of rice look. Nobody likes a mushy biryani and obviously to me as a cook that is the ultimate test. There are several ways people cook the rice to get that texture.
1.
Chicken Biryani in the oven - Two of my friends who are both excellent cooks use this method. The oven substitutes for dum. The only problem for me it makes the meat and the rice kind of dry. It works slightly better for mushroon or vegetable biryani though.
2.
Biryani in the pressure cooker - This is the method I arrived at after several trial and errors. The trick here is to maintain a even medium heat so the rice does stick to the bottom.
This Instant Pot method beats both and takes out the stress of making biryani and bonus is that the biryani is softer and more moist. While some restaurants achieve that look and texture by under-cooking the rice I prefer my rice to be fully cooked.
The chicken and the masala can be cooked ahead of time and the rice added and cooked in the Instant Pot in less than 15 minutes. The masala can also be cooked the previous day and the chicken added the next day by reheating the masala.
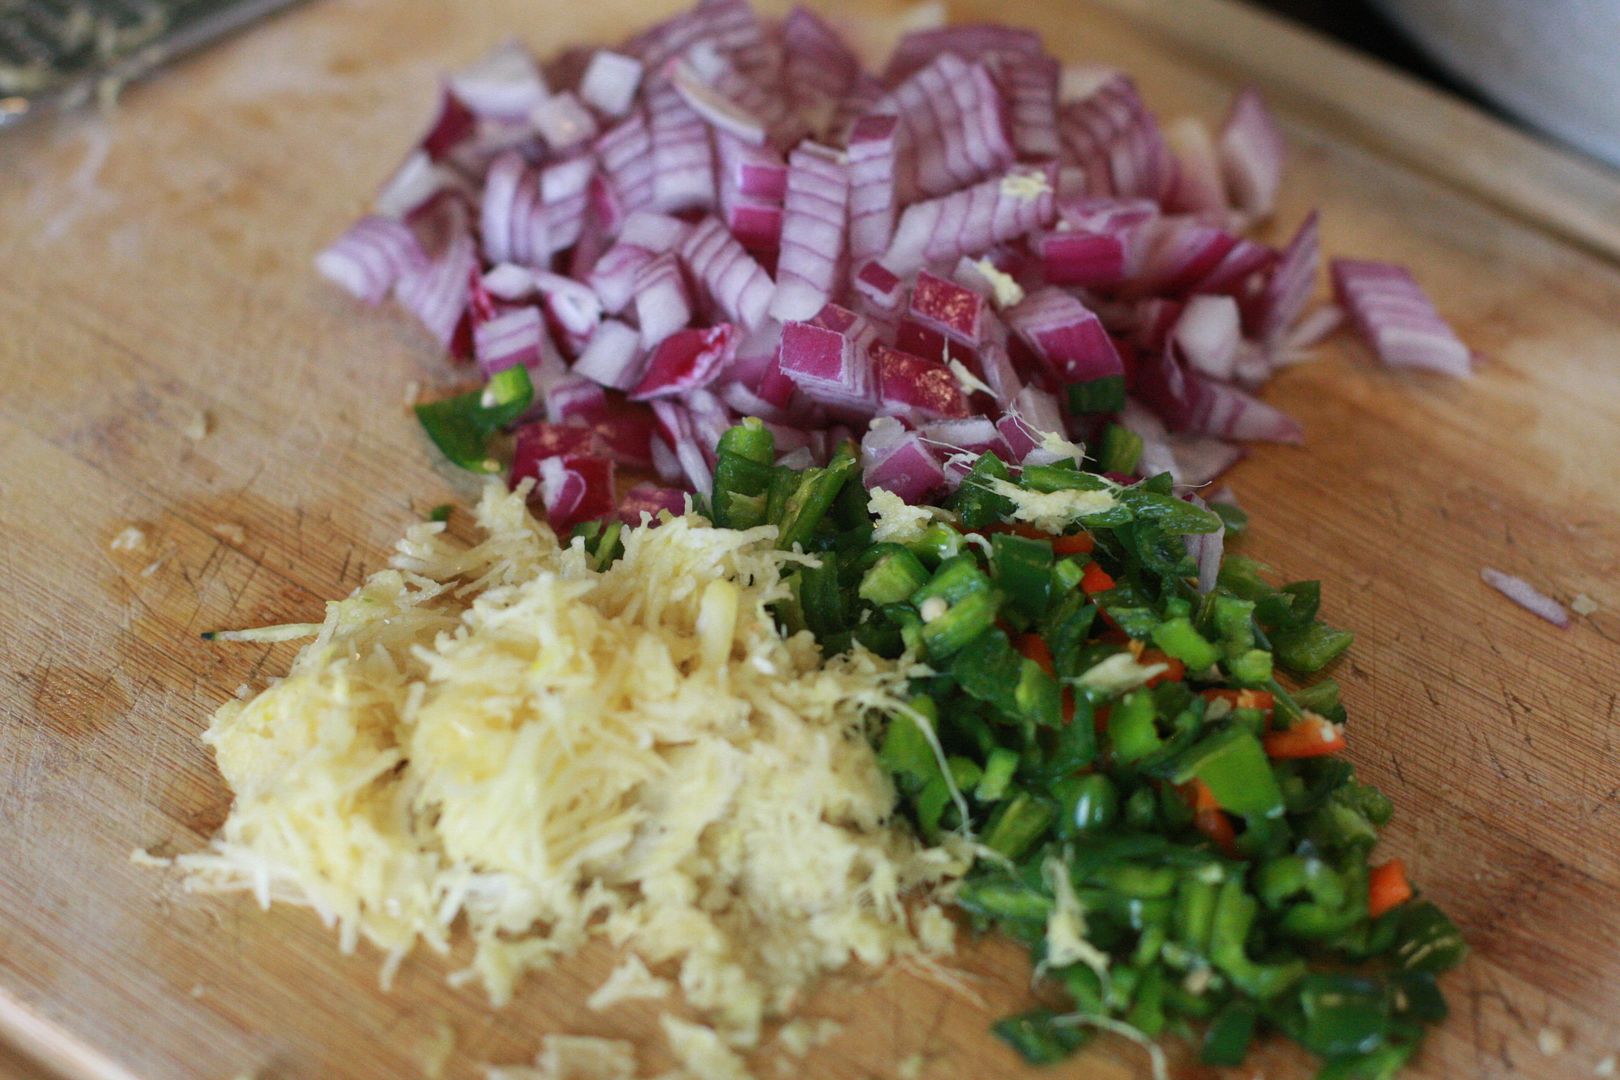
 |  |
| In a wide mouthed pan, add the whole spices and bay leaf. |
 |  |
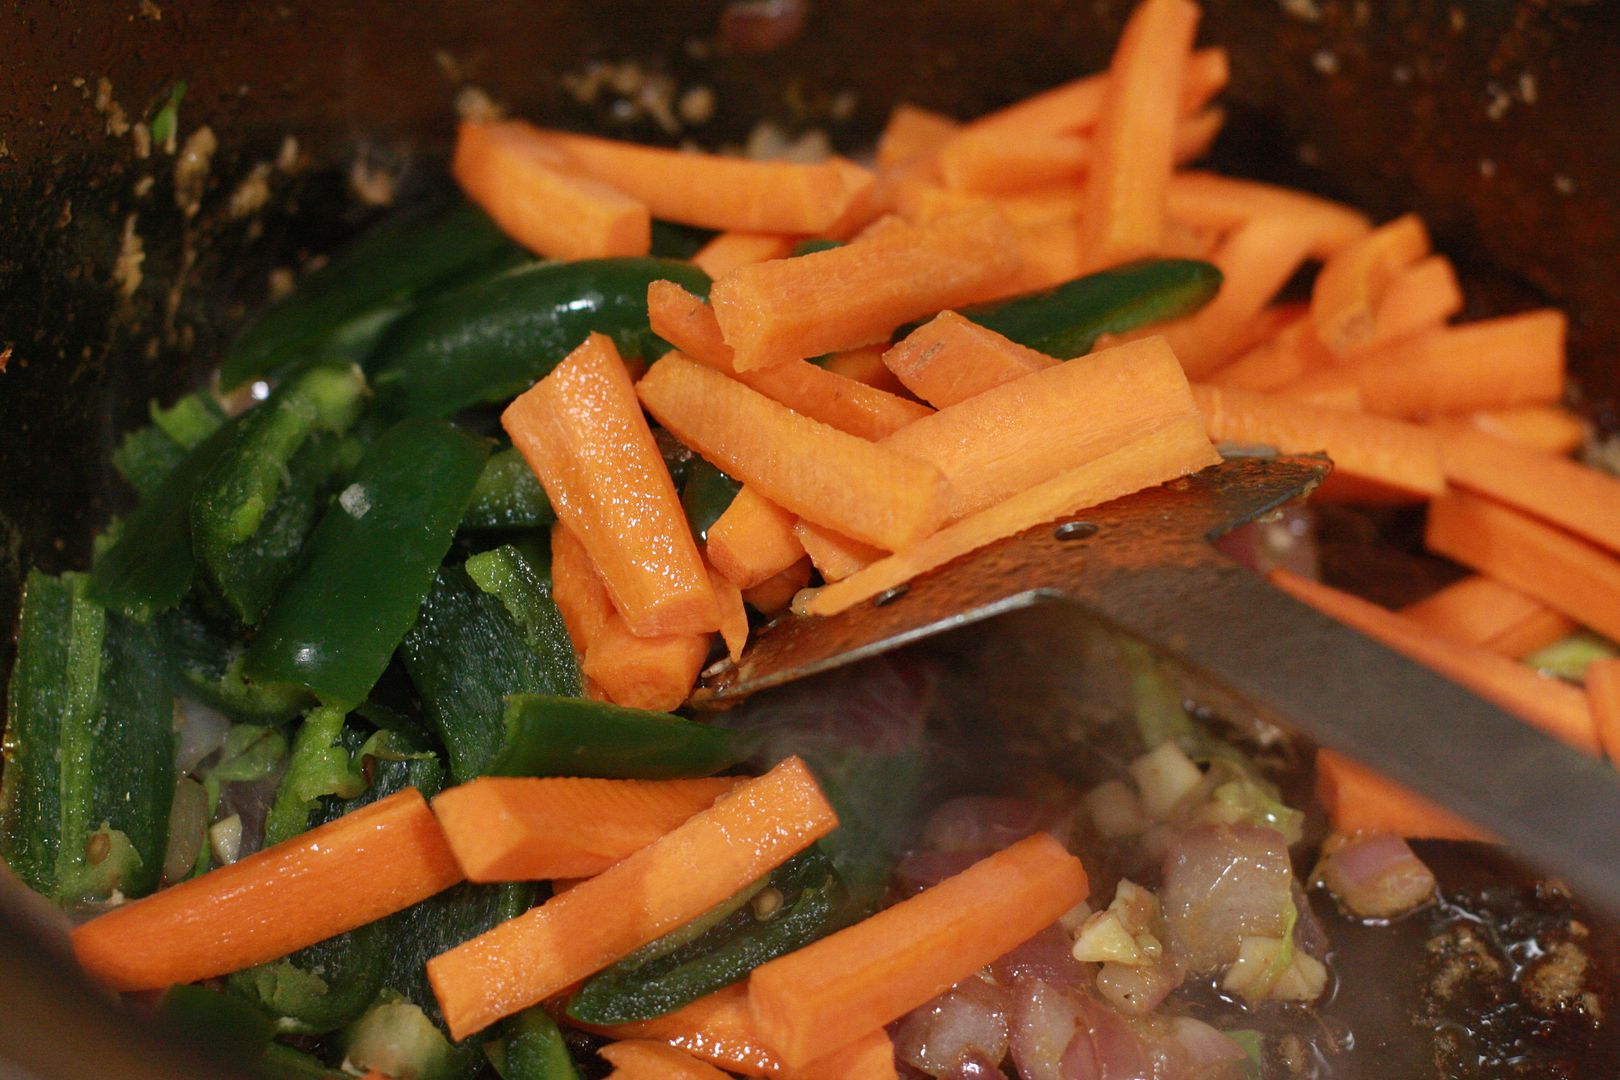
| Add the green chilies and onions and saute till the onions are nice and brown. |
| In a wide mouthed pan, add the whole spices and bay leaf. |
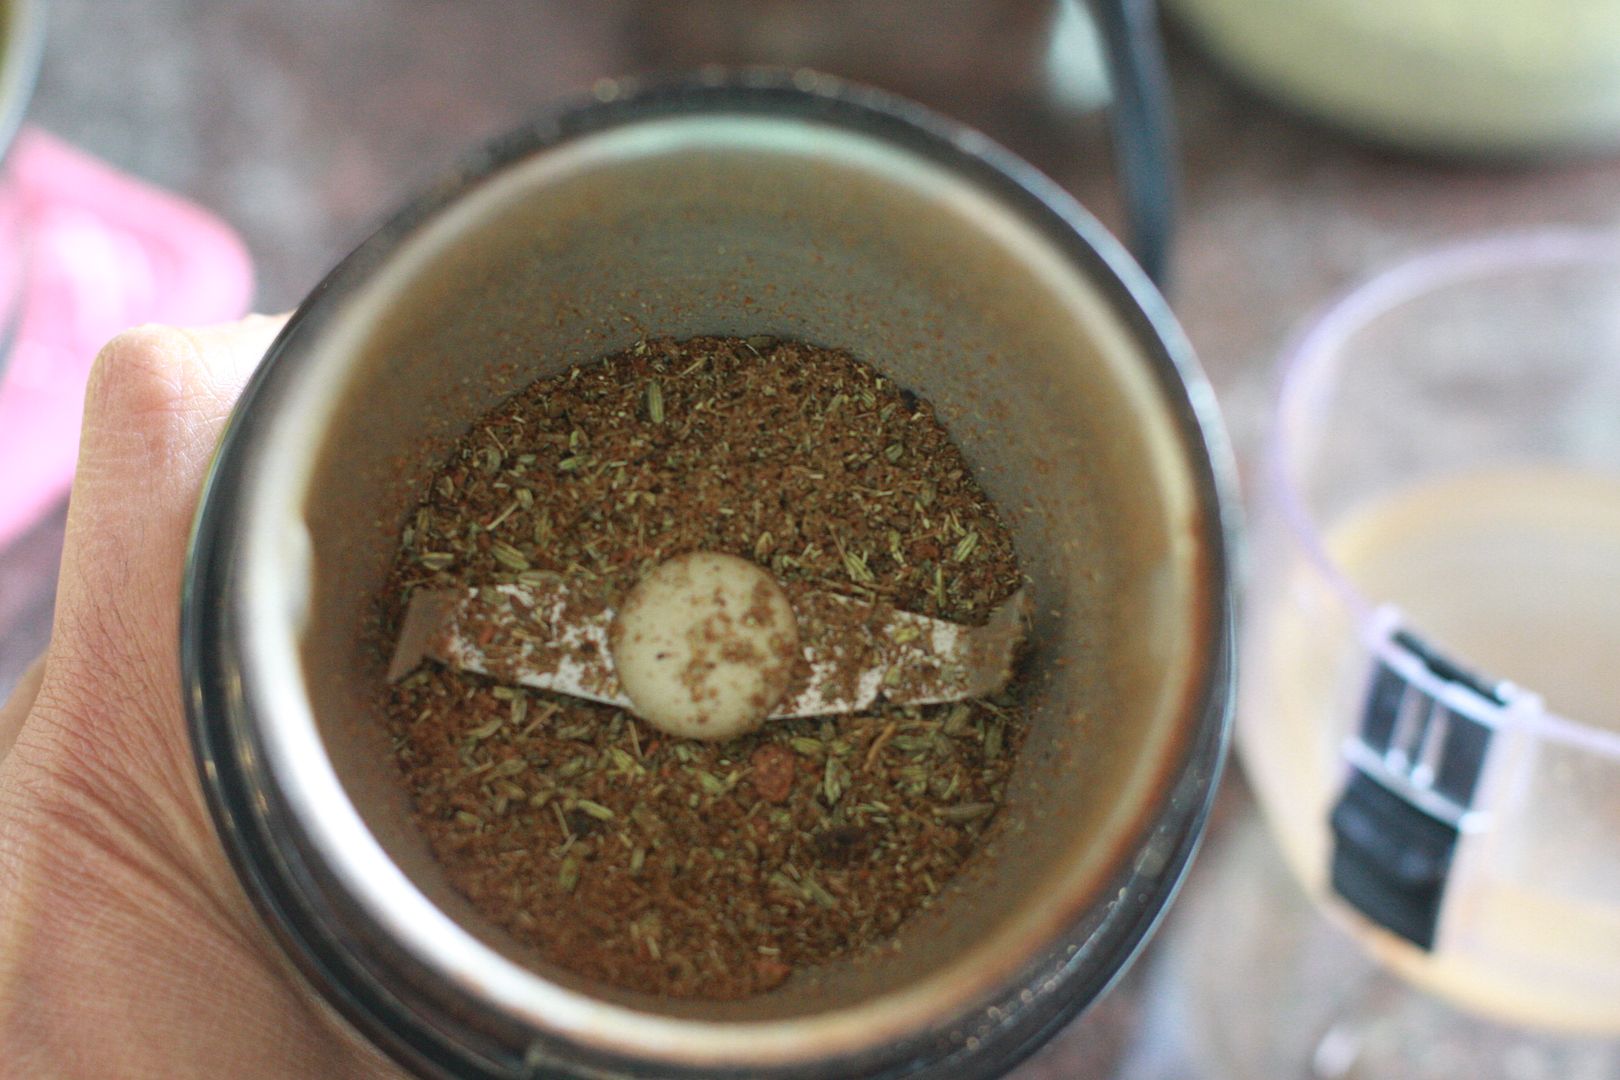
 |  |
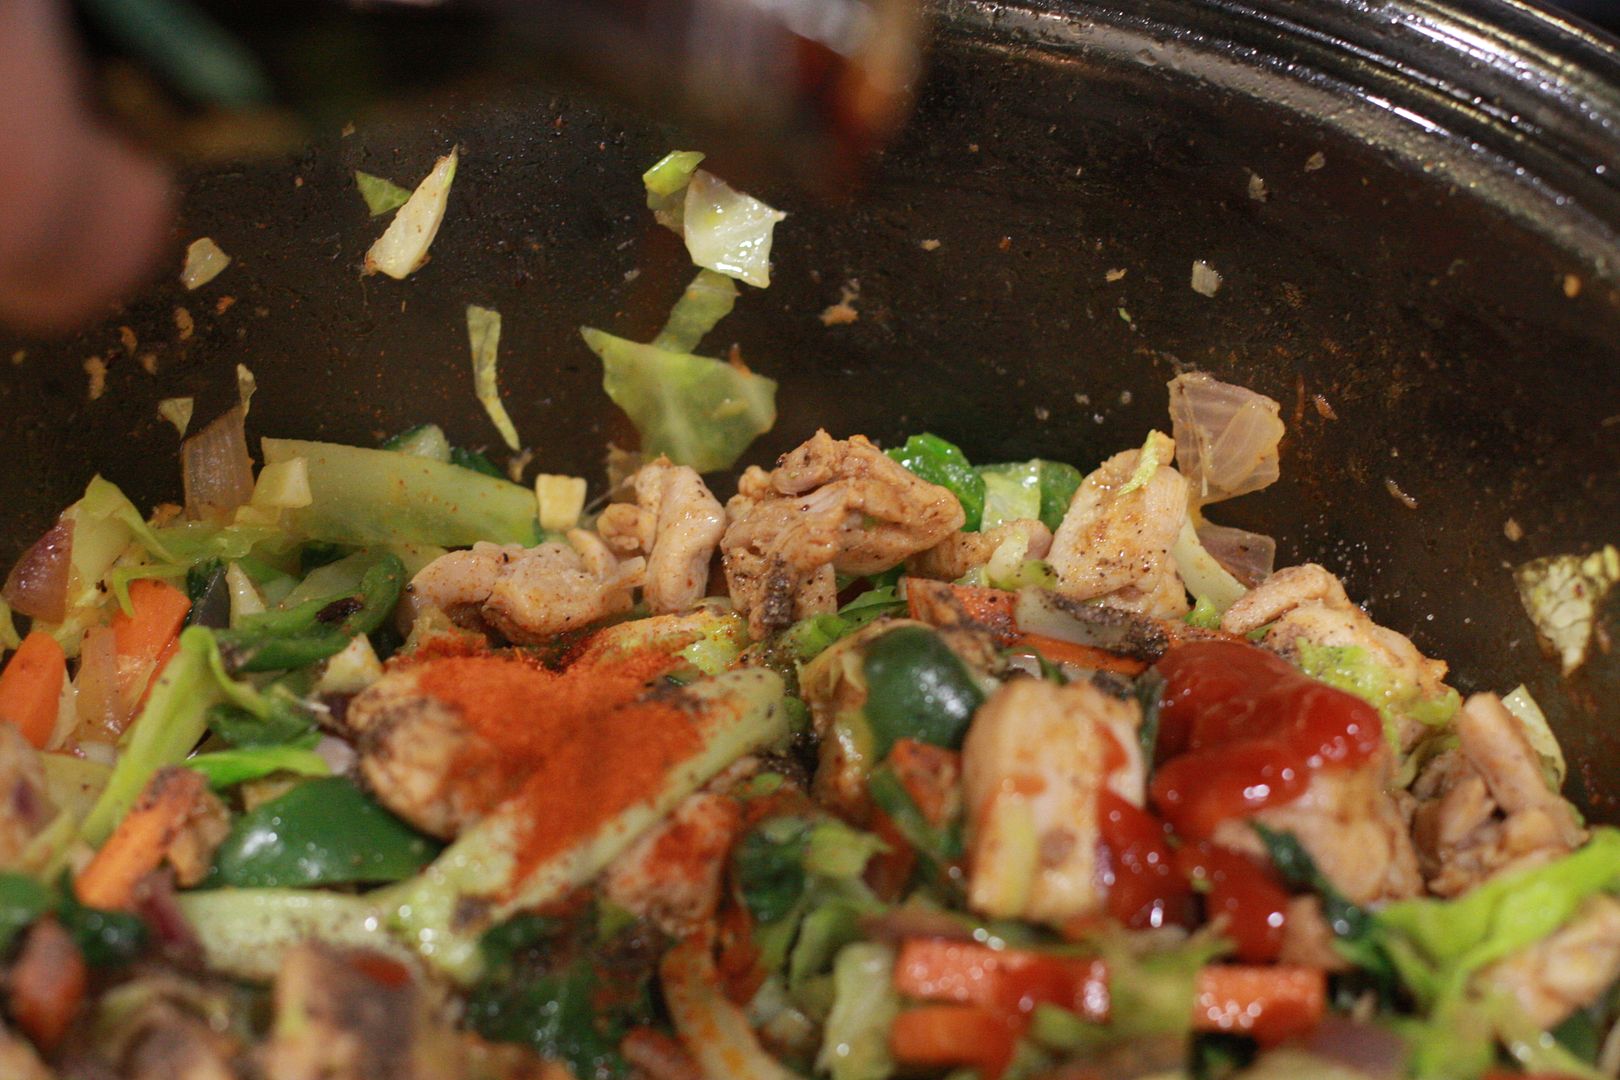
| Add the ginger and garlic and saute for a minute. Then add the coriander and mint leaves followed by all the powders turmeric, chili and chicken masala powder. |
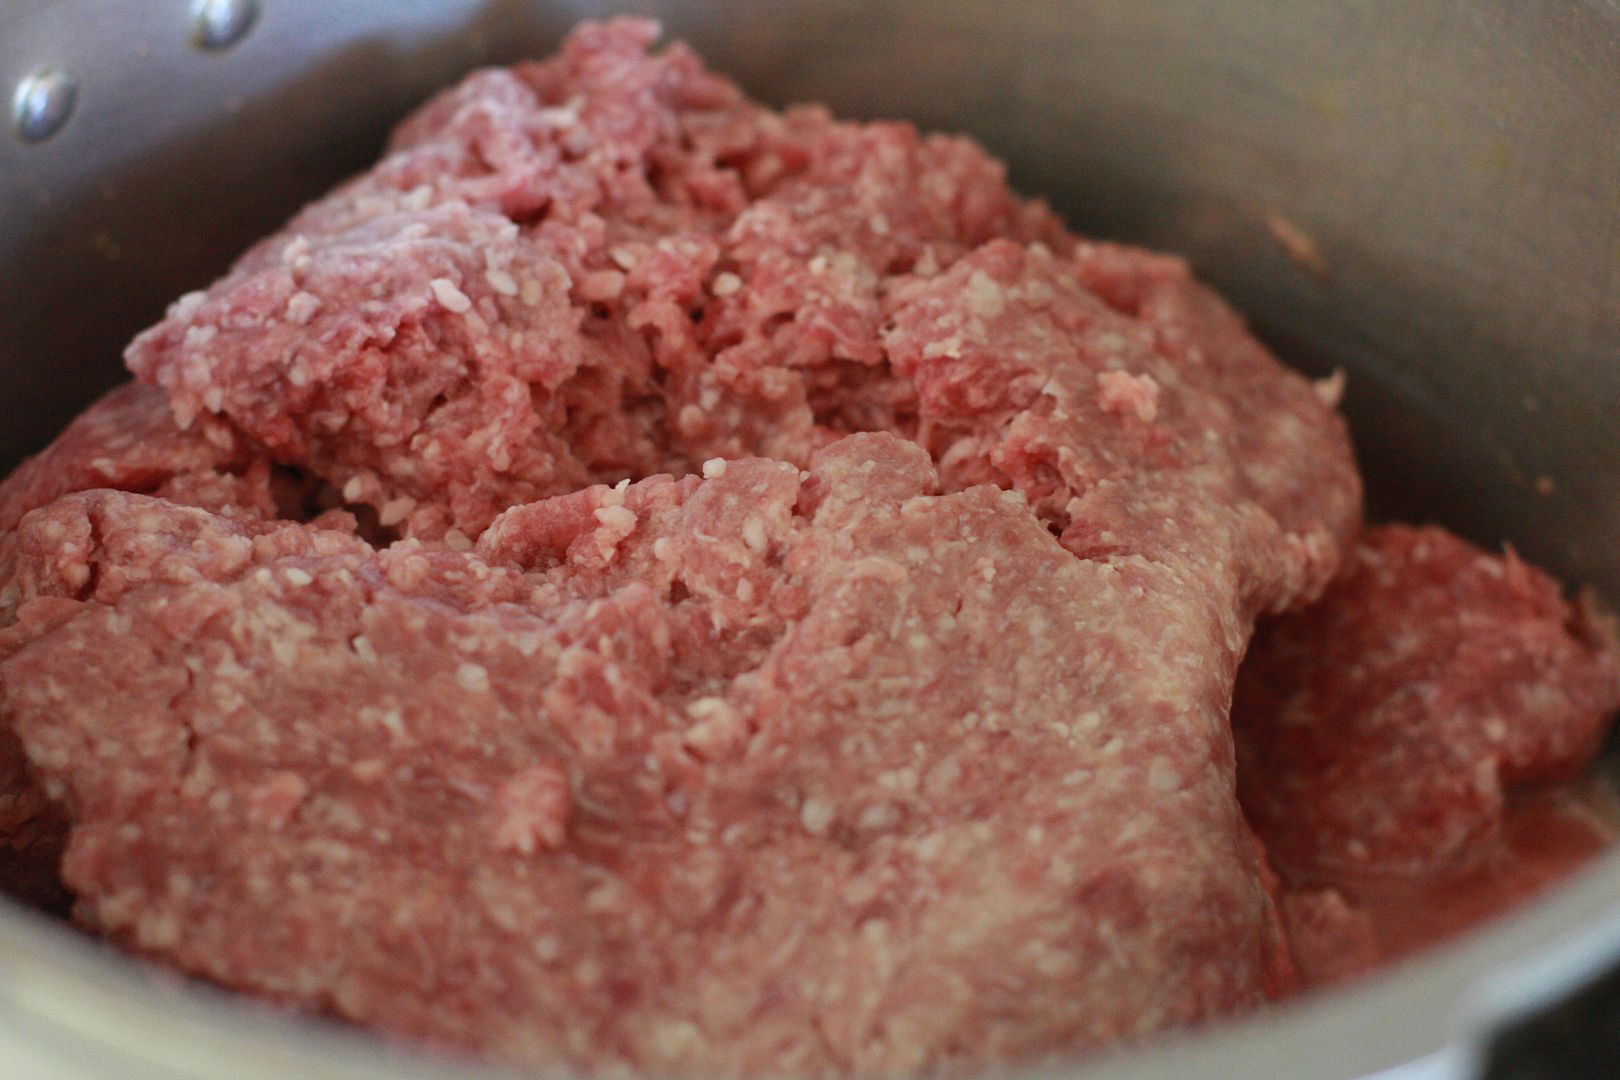
 |  |
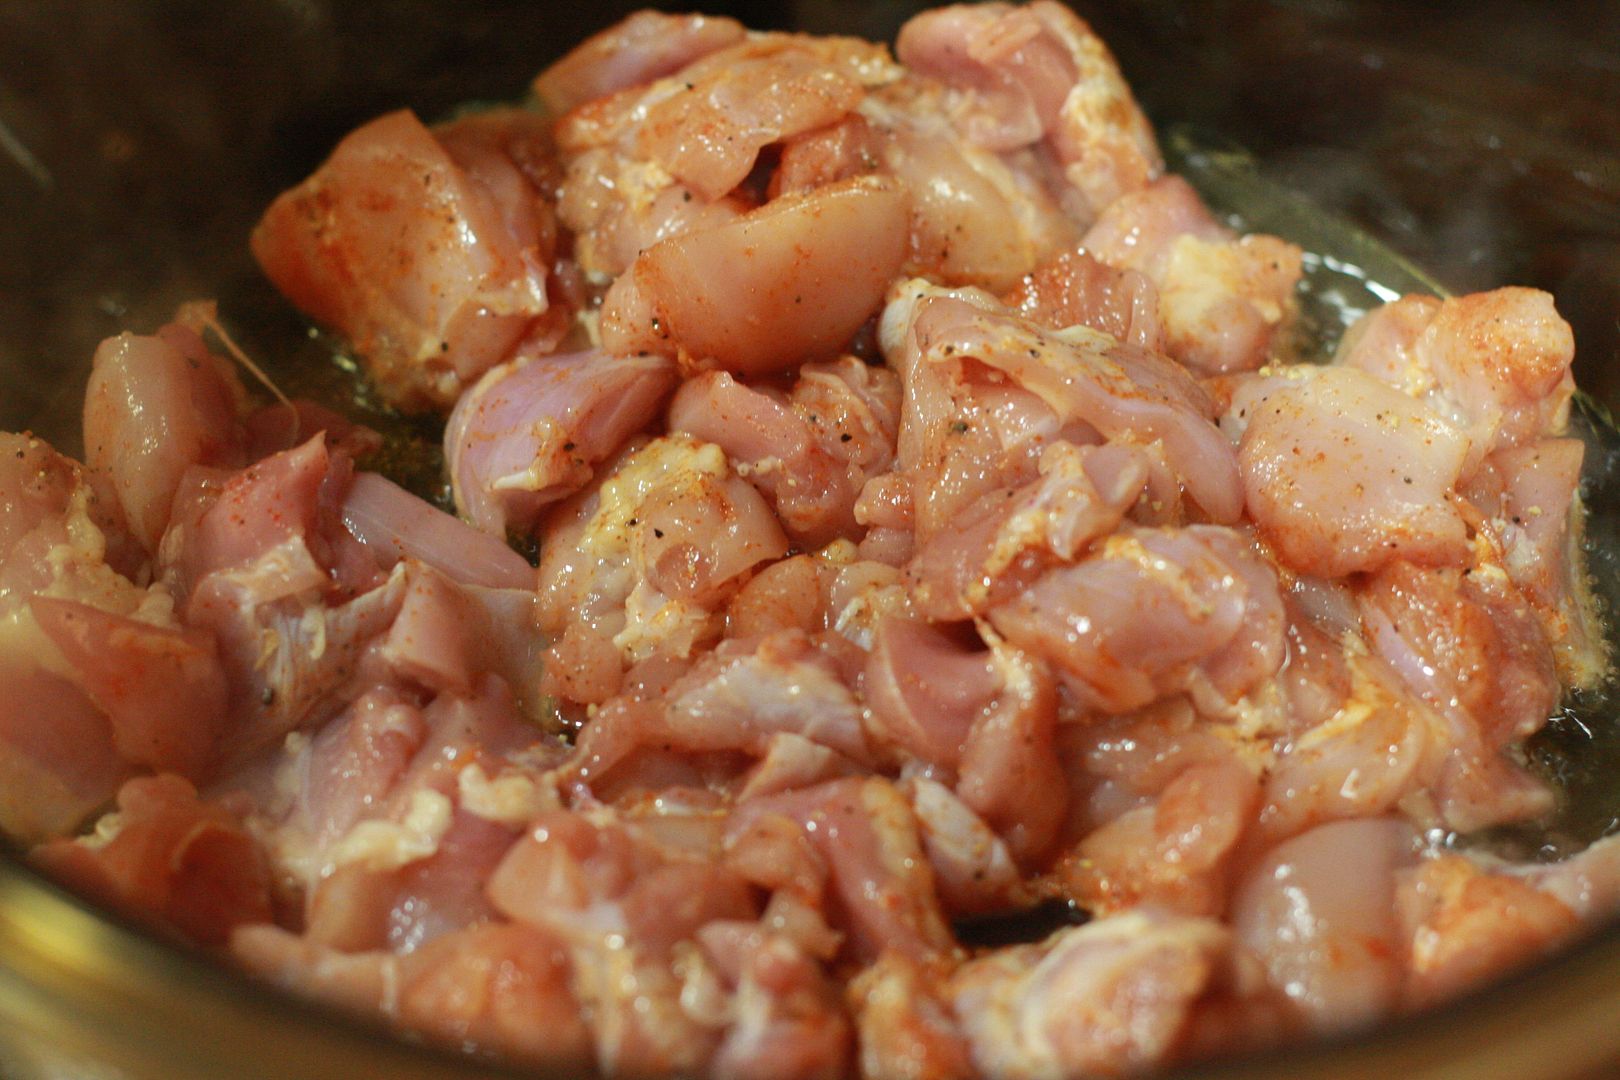
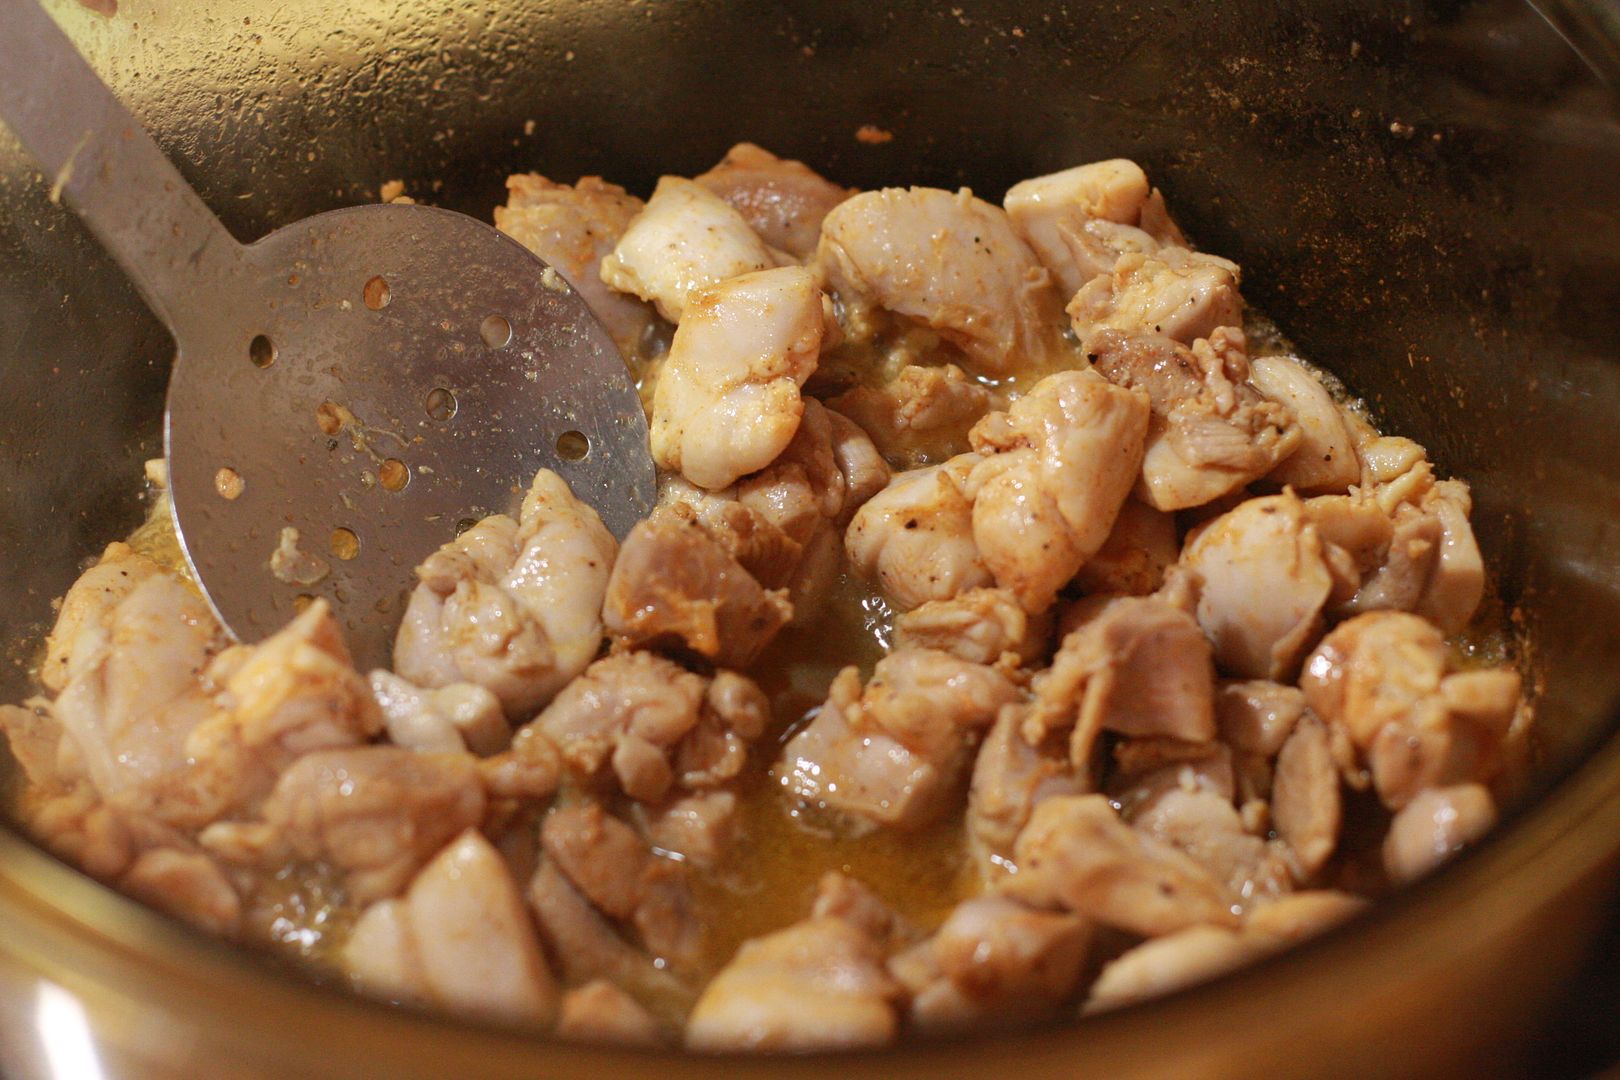
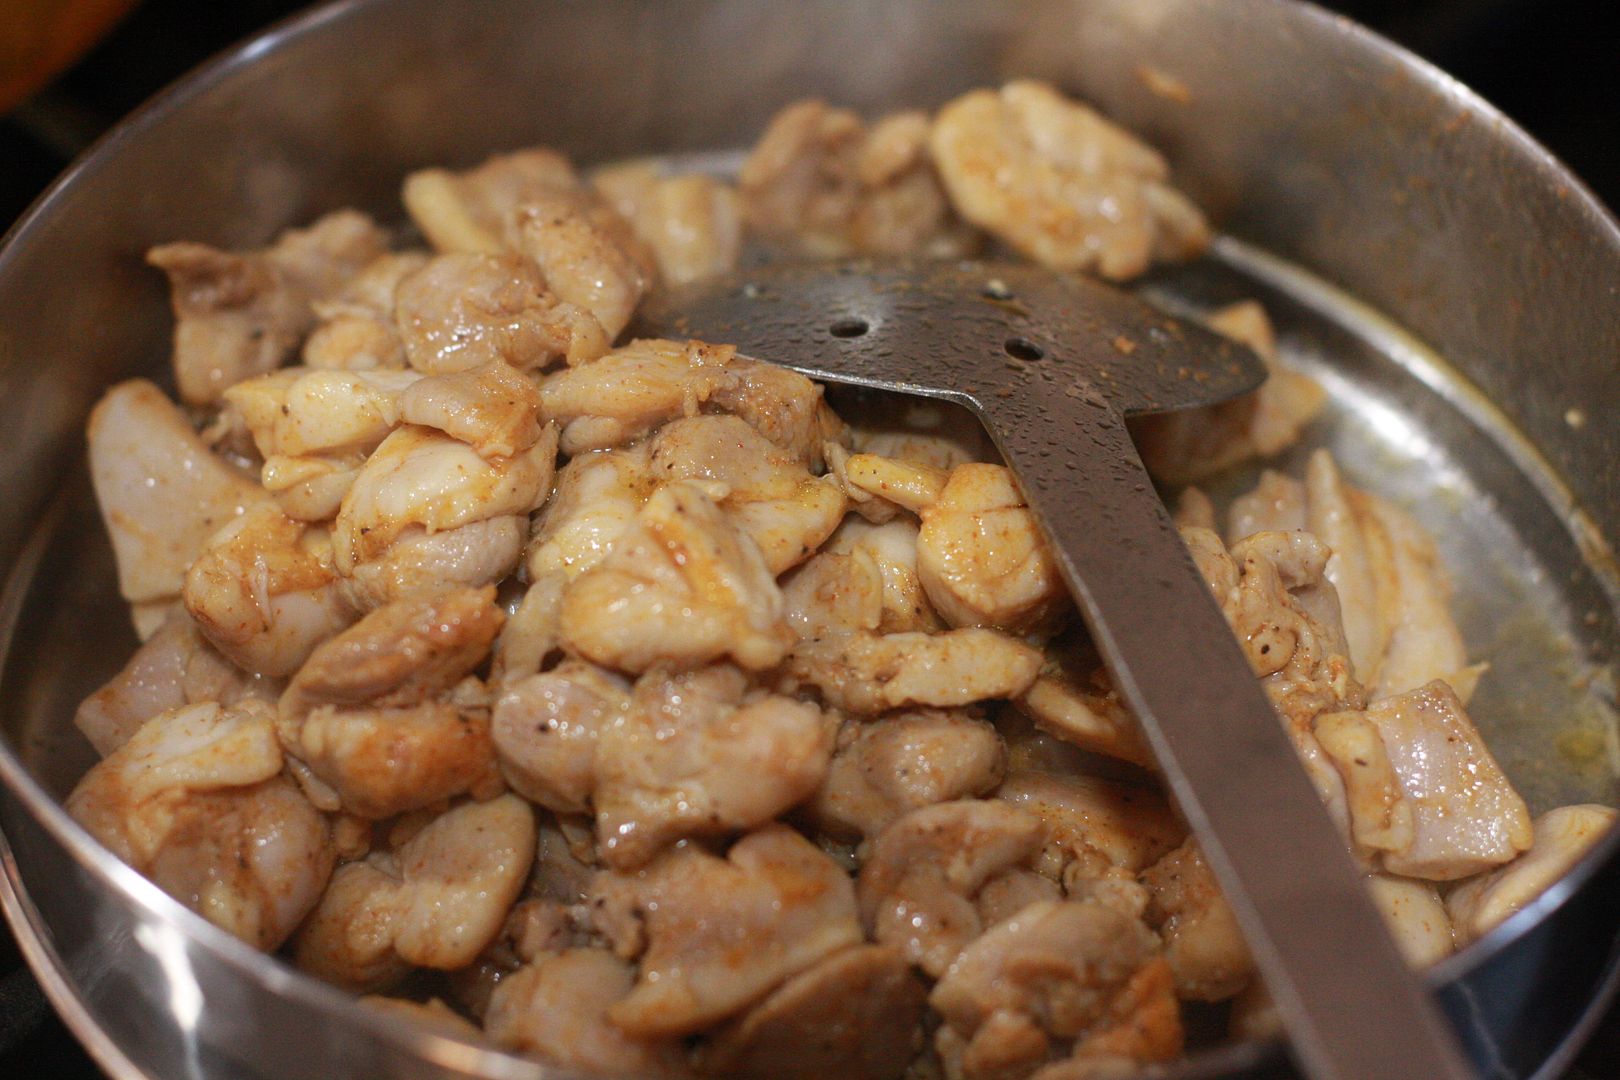
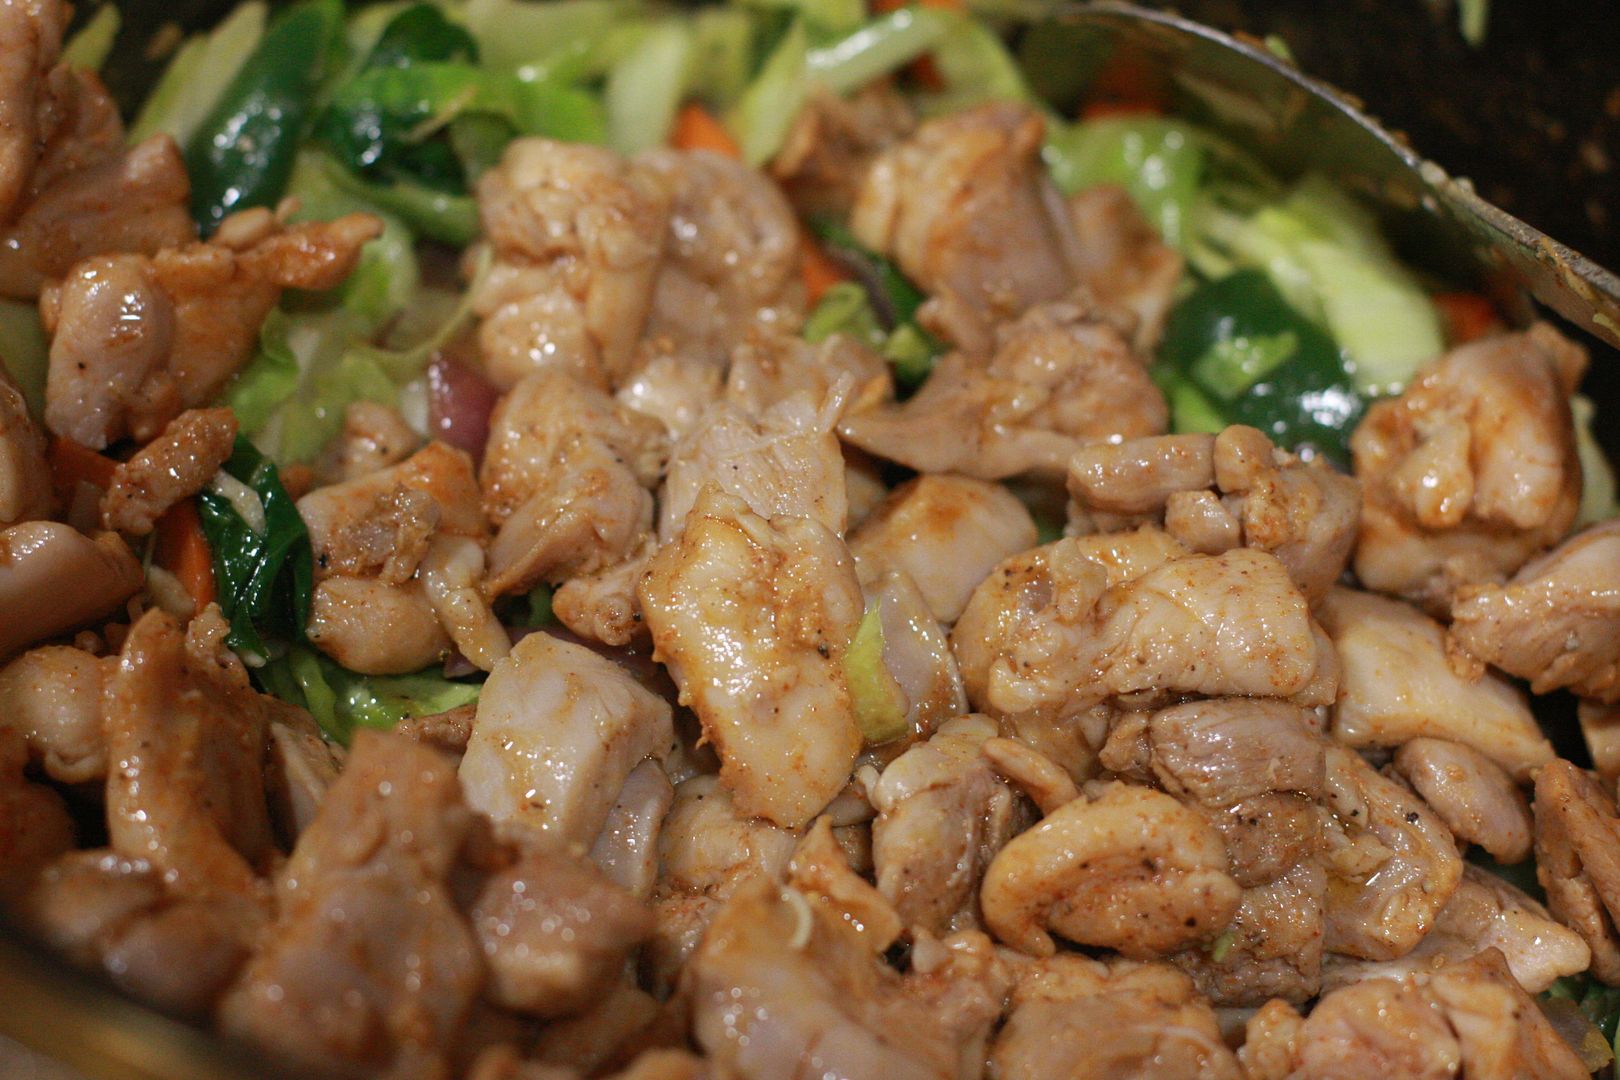
| Add chopped tomatoes and let it get mushy. Add in the chicken and cook it till the chicken is mostly cooked. |
 |  |
| Soaked and then drained Basmati Rice. |
 |  |
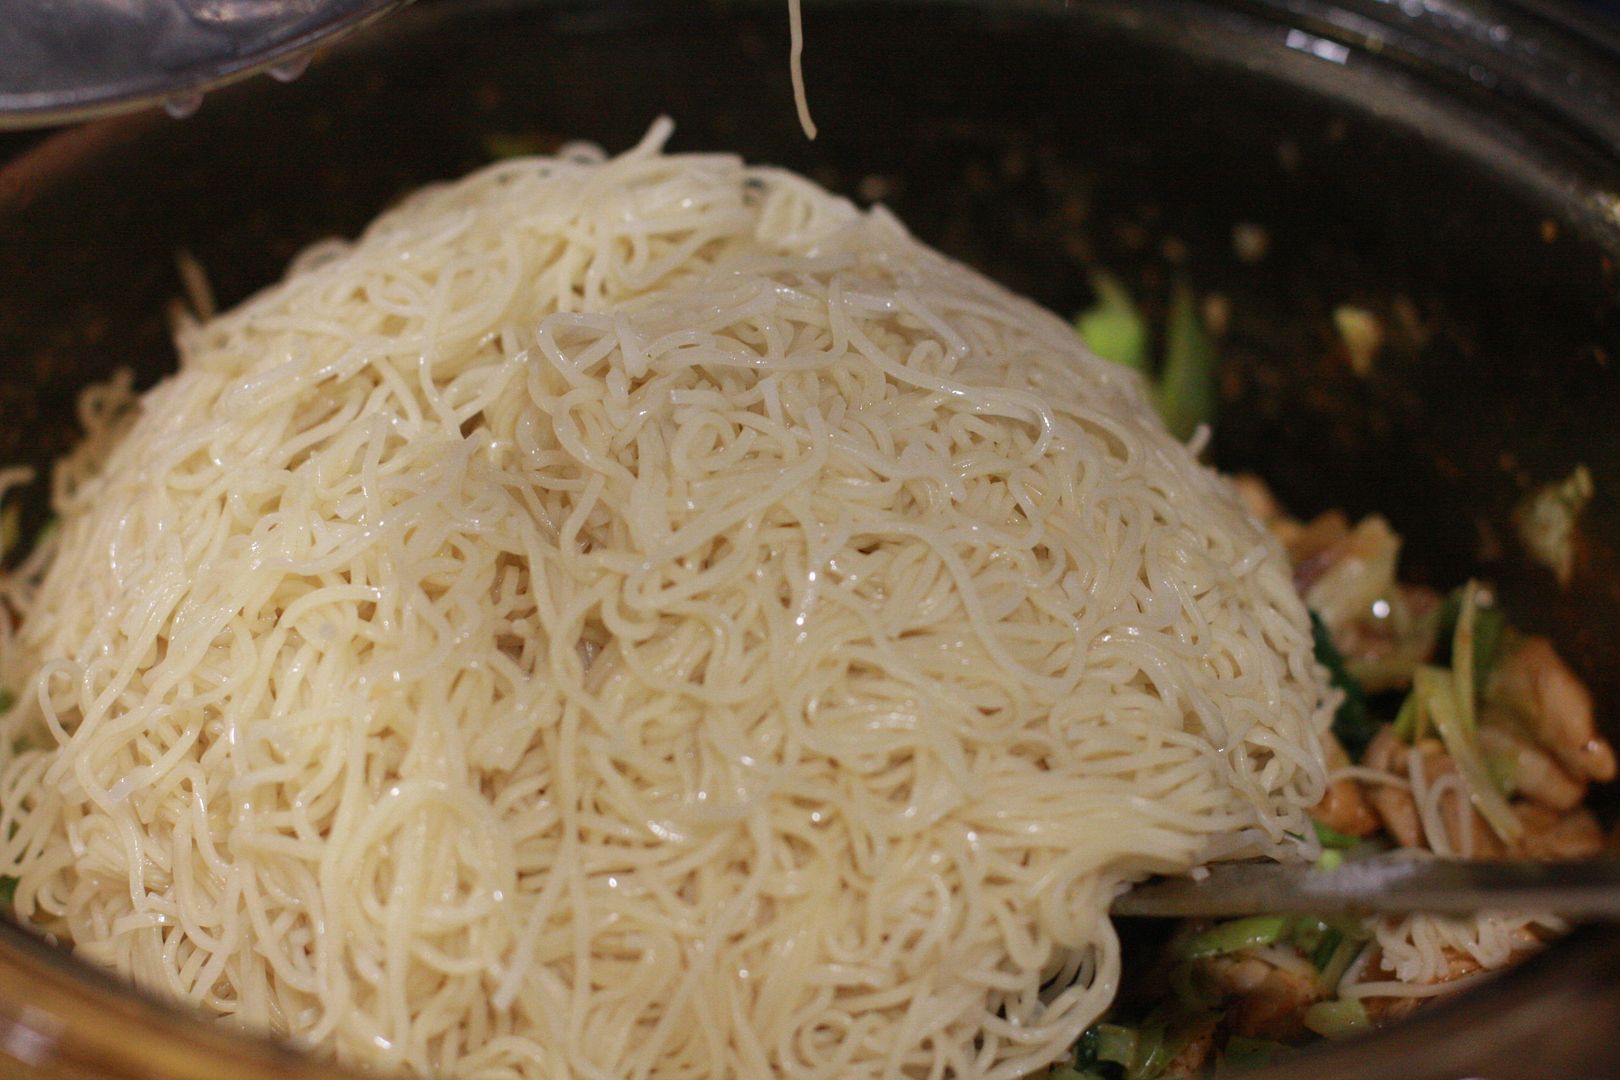
| Add the required amount of water and after a couple of minutes add the soaked rice after draining out the water completely and transfer the contents to the Instant Pot Vesse;. |
 |  |
| Set the container in the Instant Pot and let it cook for 6 minutes. Let the pressure subside by itself, open and fluff up the rice. |
Chicken Biryani is ready to be served with some onion raita.

Chicken Biryani in an Instant Pot
Preparation Time:20 minutes
Cooking Time:30 minutes
Ingredients
- 1 1/2 lbs chicken cut into bite sized pieces
- 1 1/2 lbs of rice + (1 1/12 cups of water) (I used Basmati *)
- 1 1/2 cups sliced onions
- 1 tbsp grated ginger
- 1 tbsp finely minced garlic
- 8-10 slit green chilies
- handful of coriander leaves minced
- handful of mint leaves
- 1 cup of chopped tomatoes
- seasonings: cinnamon sticks, cloves, fennel seeds, star anise, bay leaf, curry leaves
- 2 tsp turmeric powder
- 1/2 tbsp chili powder
- 2 tsp chicken masala powder (optional)
- salt to taste
- 1/2 tbsp oil
Method
- Wash and soak the rice for at least 20 minutes.
- In a wide mouthed pan, heat oil and add the onions and slit green chilies. Saute till the onion starts to turn brown.
- Add in the ginger and garlic, take care not to burn it. Saute for a minute.
- Now add the minced coriander and mint leaves and saute for a couple more minutes.
- Now add in the turmeric, chili powder and chicken masala powder if using and mix, followed by the tomatoes. Let the tomatoes get mushy.**
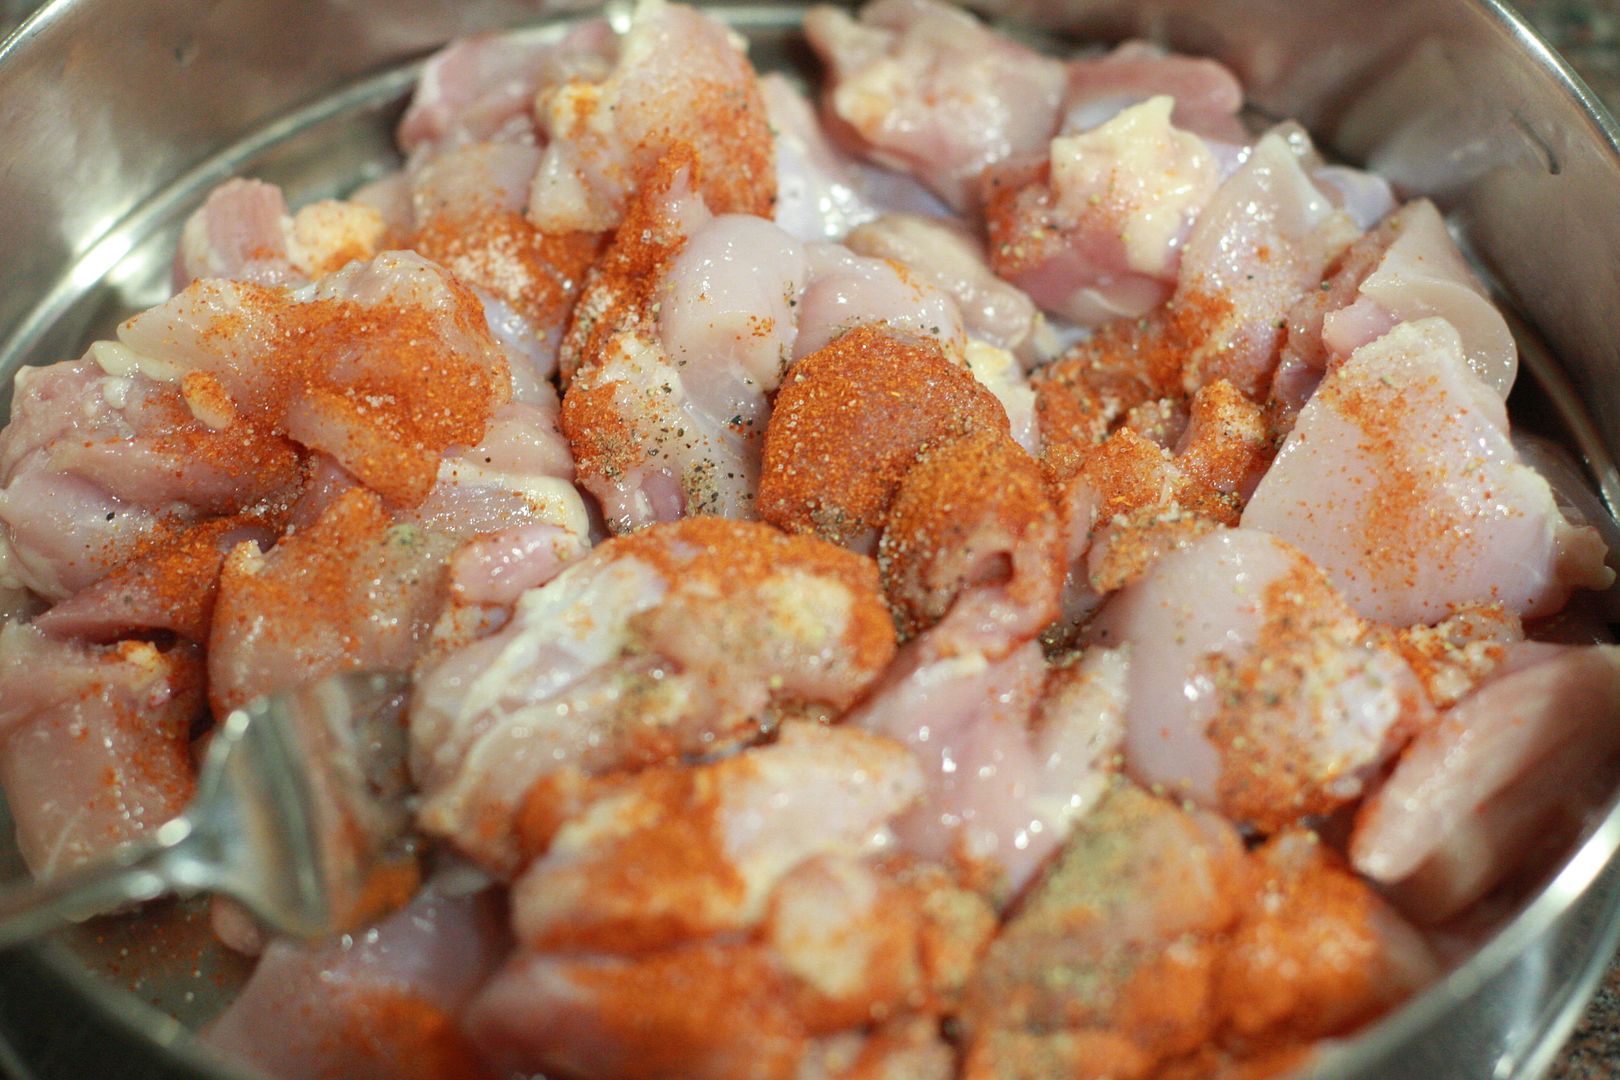
- Now add in the chicken and let it get cooked. The chicken should be 3/4th cooked. Take about 8 minutes or so. [Set this aside till you are ready to cook the rice.]
- Add salt and check if you need more chili powder if needed. Add 1 1/2 cups of water.
- Add in the rice, mix and transfer the contents to the Instant Pot.
- In manual mode set the cooker for 6 minutes and the lest the pressure release naturally. Open and fluff up the rice.
Note:
- *The amount of water depends on the rice and for how long the rice has been soaking. If the rice has soaked for 30 minutes or more, only one cup of water is needed for one cup of Basmati Rice.
- **If you want to get some brown on the chicken add that first and saute for a few minutes before adding the tomatoes.
The texture and the taste will please your taste buds.
Like what you are reading? Subscribe!
 Like what you are reading? Subscribe!