Showing posts with label Kitchen Utensils. Show all posts

Sunday, February 10, 2019

Essential Utensils for Starting an Indian Kitchen

The new report on the sustainability of the planet and the future of food systems, encourages everyone to switch to a predominantly plant based diet while reducing the consumption of red meat especially in North America. How many people can survive on an American Vegetarian diet? You would be sick of vegetables in less than a day. Soggy blandly cooked vegetables, vegetables on greasy pizza, salad in a plate drenched in dressing? I don't fault anyone for not wanting to eat vegetables.

To switch over to any diet even if you are doing it for the planet or health reasons or for ethical reasons food has to be tasty. I am not saying that the Indian way of cooking is the only way to cook tasty vegetarian dishes given that it comes with a reputation of being hard with too many ingredients and steps. Maybe it is, but having the right utensils is the first step in starting yourself on a journey towards good home cooked Indian food.


These are a few essential utensils for starting of an Indian Kitchen. This is an attempt to get someone new to Indian cooking or setting up a kitchen help decide what they need to acquire. I avoid buying non stick cookware, one because they start to peel off and second I am not too comfortable with their chemical reaction with food.

So here goes,

1. Pressure Cooker
A pressure cooker is a very important for an Indian kitchen like the air we breathe. I kid you not. From using it to cook lentils, beans, rice, making curries it will quickly become a trusted go to utensil. I have both stainless steel and aluminum cookers. I like the aluminum cookers when cooking food in it directly and stainless steel cookers if you had to put in another vessel to cook like for idlis or steaming.


2. Electric Pressure Cooker - Instant Pot
While I will never dream of getting rid of my pressure cooker, as of last count I have at least 5 of them - not bought at the same time but accumulated over 20 odd years. Having said that an electric pressure cooker or Instant Pot is a good investment alongside a pressure cooker or just on its own. Without having to worry about whistles and leaking etc., it also comes with the added advantage of being a gadget, delayed start, preset timers, auto warm mode without having to be close by and on vigil. But do your own research before you decide which one is the right one for you. I appreciate my Instant Pot a whole lot. A lot of my pressure cooker cooking has migrated over to the Instant Pot ever since I bought it.


3. Kadai or an Indian style wide mouthed deep saute pan or Indian Wok
Kadai is the next item that is a must have. For sauteing, stir frying, braising, stewing and steaming it finds many uses. I bought this steel pan in India but they are available here in the US in slightly different shapes.
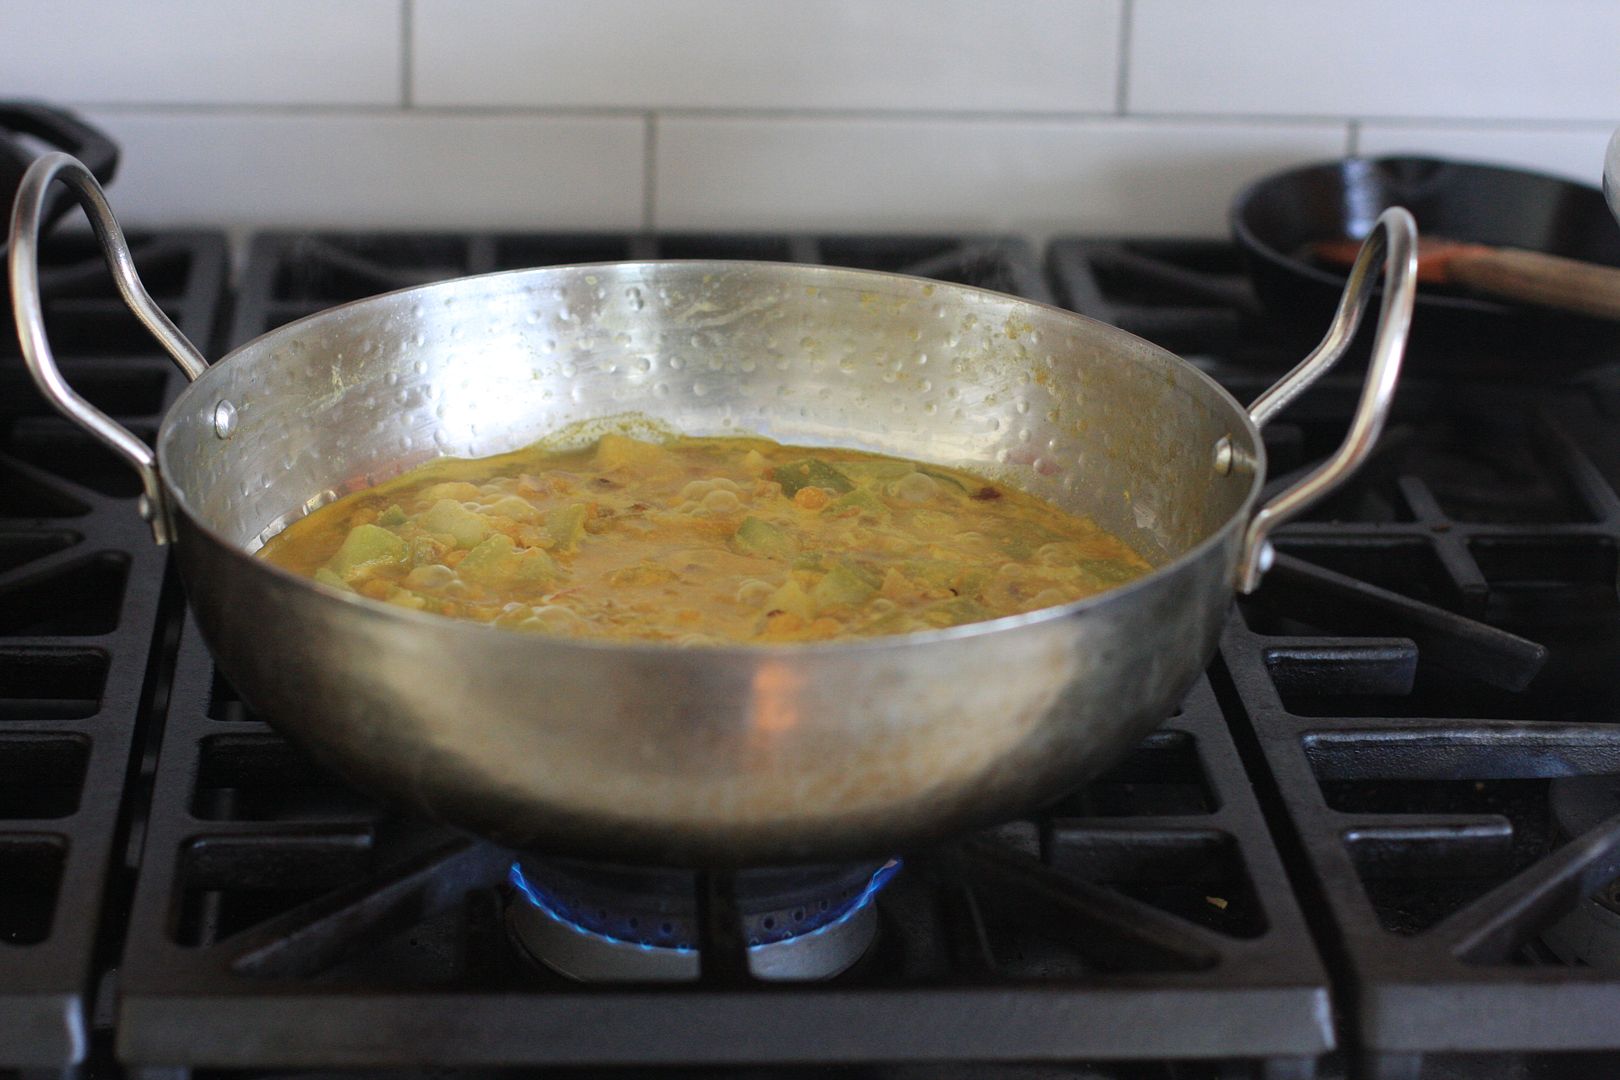


There are several kinds of saute pans - shallow, deep, flat bottom. One other kind I like is a stainless steel saute pan which is slightly shallow. Either one of them should work fine.


4. Sauce Pan
Sauce pan finds itself as another indispensable item in the Indian kitchen. From making hot water, heating milk, making tea, coffee it has many uses.


5. Cast Iron Pan
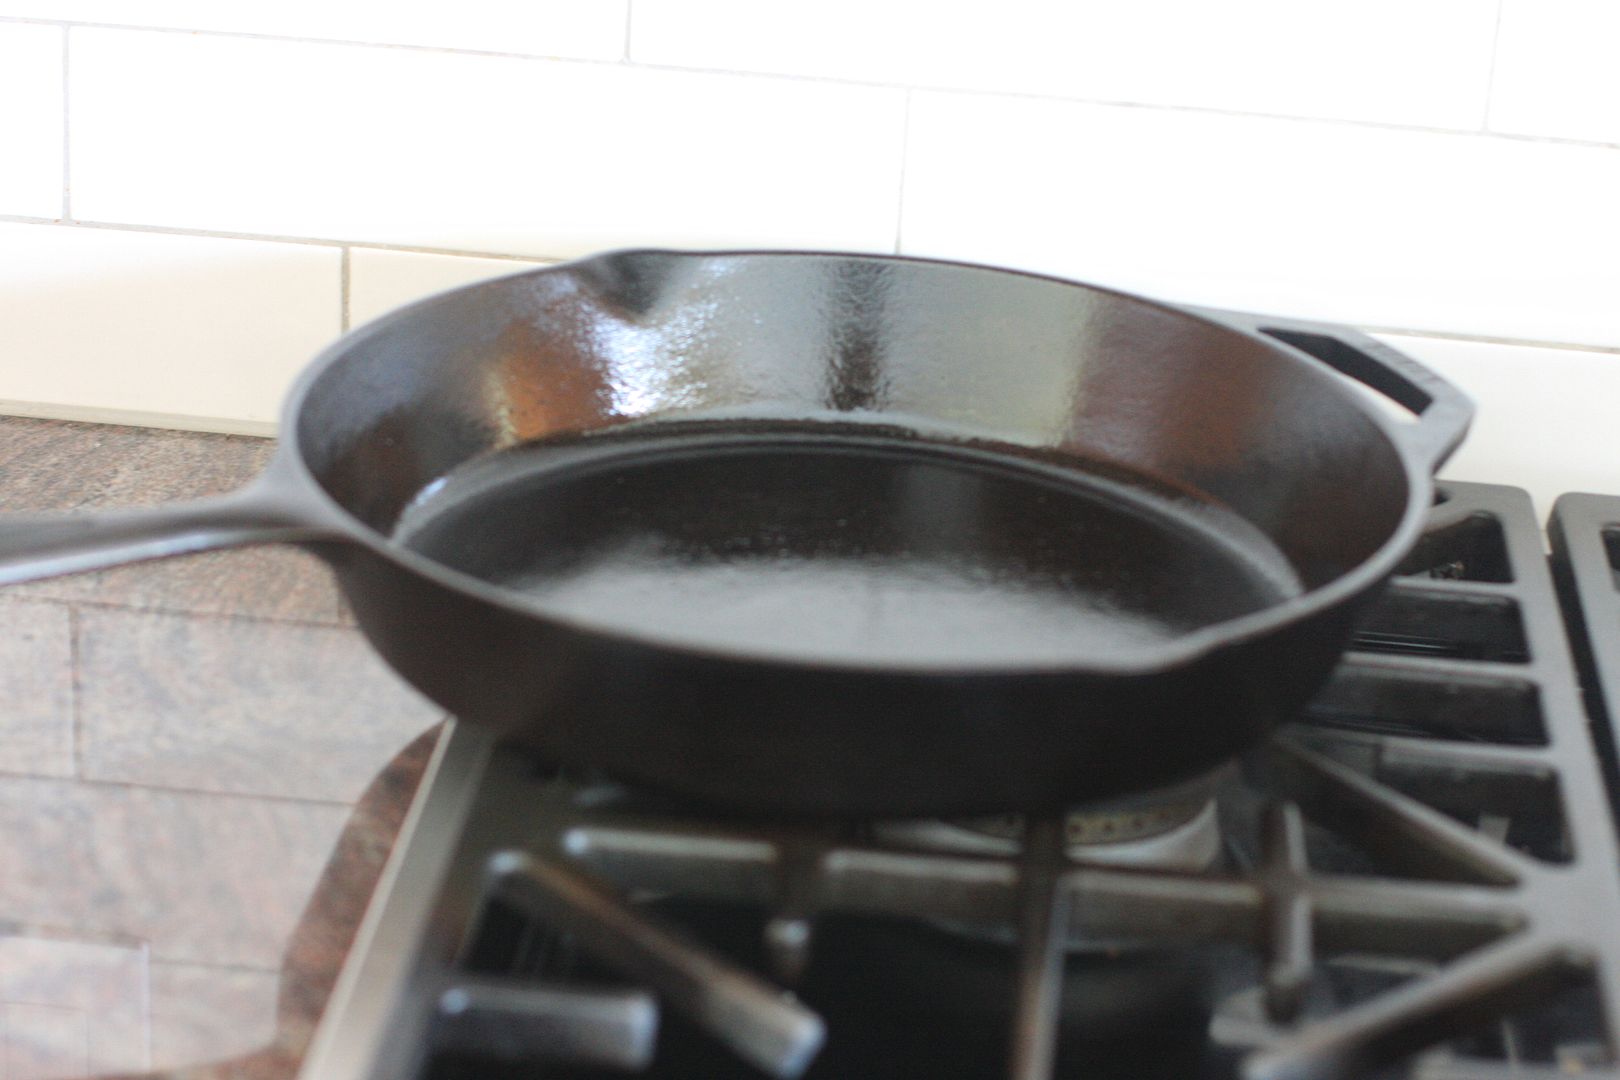
A cast iron pan though very useful for dry roasting, cooking vegetable or meat fry it is used often, it is no something you need to absolutely have. You can do these things in the kadai if you wanted to. But having a cast iron pan will make the task easier and a well seasoned pan can make it as easy to roast vegetables or meat just like a non-stick pan. There are cast iron pans ranging in price from $10 to $300. I have a Lodge pan and it does it work pretty good and it came seasoned when I bought it.

Just have to follow some simple rules when cleaning the cast iron pan. Do not scrub the pan with any abrasive cleaners. If you have food stuck boil water in it and scrub it. Just be cautious and use gloves when cleaning.


5. Sauce Pot or Dutch Oven
This is another must have item in an Indian kitchen. To make curries, sambhar, kuzhambu, rasam or any of the numerous gravies. Buy the size that best suits your family's needs. The ones I have are a 3 liter and 6 quart vessels.
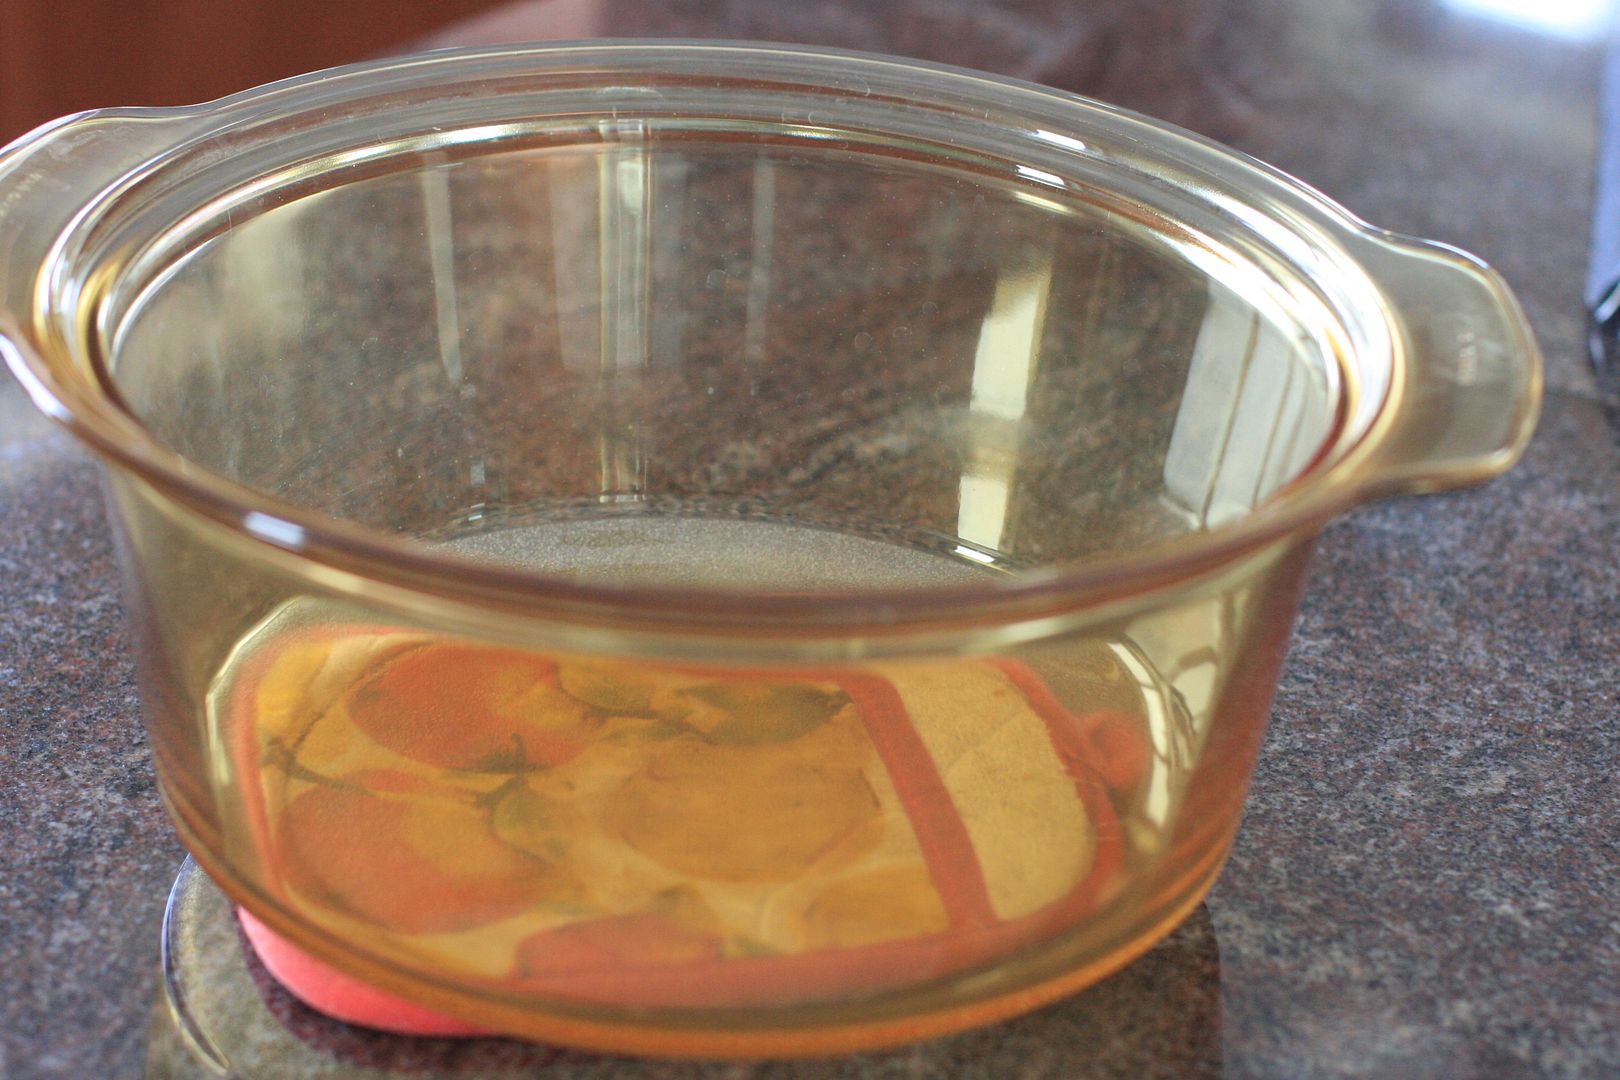


I have both a stainless steel and a fully glass Visions Dutch Oven. Like them both but now I prefer using the glass dutch oven because it is easy to clean and it behaves more or less like a non-stick pan and on the rare occasion when food does stick to the bottom it is easy to clean.


6. Dosai or Chapathi Griddle
In a South Indian's Kitchen a dosai pan is another ever present utensil. Most of us grew up eating dosai and idli for breakfast. It is comfort food. There are also several ways of making dosai with wheat flour, ragi flour or with any millet flour. So a quick meal is just always only half an hour away.


Along with dosai pan, an idli pan would be another item that might would be useful in the kitchen. The steaming vessel could be used in the pressure cooker or with a steaming vessel on its own. I always steam my idlis in the pressure cooker. If you decided to do the same just make sure you purchase idli pans in a size that can go into the pressure cooker you have.


With the dosai it is important to remember to not use the same pan for making dosai and other things like chapathi ,omelette etc., Keep a separate pan for making dosai or you will have to struggle with removing the dosai from the pan.


7. Spatulas
The right kind of spoons and spatulas are of course necessary to have in the kitchen.


8. Small Seasoning Pan / Omelette Pan
A small pan for seasoning or making omelettes is of course nice to have.


Hope this helps in starting to setup your own Indian Kitchen.


Like what you are reading? Subscribe!

Sunday, March 25, 2018

Indian Kitchen Utensils - Flat Bottomed Saute Pans and Stock Pots

The Indian saute pan or vada satti in Tamil or Kadai in Hindi from back then, is not exactly flat bottomed and the one I had was hard to seat on the stove. It dances around while sauteing and works best when held with one hand for stability and doing the sauteing with the other hand. Not very comfortable. These pans were showcased in the Kitchen Utensils - Saute Pans. You might say that I have been late to the game on this because flat bottomed ones easy to seat on a stove have been available for a while now.


Heavy iron saute pans

I agree. I don't normally like to throw away usable pots and pans once I have developed an attachment with them. But now that they have outlived their usefulness and starting to develop stains which are almost impossible to remove I have no choice but to replace them. I have had those aluminum saute pans for a while but after nearly 20 years they are starting to show their age.

Stainless Steel saute pans


On my recent trip to India I wanted 2 iron saute pans with a flat bottom so they can sit on my stove without wobbling around. I found one that I liked but it was pretty heavy. So I decided to buy another stainless steel one which was slightly lighter than the iron one. If my luggage went beyond the limit one of them would have been left behind. Lucky for us both made their transatlantic trip. I like both of them as they get used for different purposes.

Clear Stock Pot

Along with the saute pans, I was also looking for a slightly larger (5 qt) stock pot since I had to discard a few of my pressure cookers which had lived passed their prime.

All 3 of them get used repeatedly in my kitchen. The stock pot gets used for making a lot of curries, pasta, upma and many other which requires a deep cooking pot. It is my go to cooking utensil for a lot of recipes.

On the stove

Slowly but surely I have removed almost all my non-stick wares out of the kitchen. Dry roasting takes a little bit more careful watching without the non-stick but have simply gotten used to it. And my trusty old cast iron pan is the one that gets a work out for sauteing a lot of long sauteed food.

Like what you are reading? Subscribe!

Thursday, June 4, 2015

Kitchen Utensils - Using the cast iron pan effectively - Cauliflower Peas Roast

I kind of sort of in a small way realize the enormous benefit of rains. The difficulty that farmers face looking skyward for the elixir that only the skies can bestow. In our neck of the woods the skies opened up and the oppressive heat that had descended over us all through the month of May has abated a little bit. The air is pleasant and cool and somewhat chillier than what is the norm for this time of the year but I am not complaining. Anyway thought I'd share that before we move on to today's blog post.


A few people have asked and emailed me about the dangers of non-stick teflon coated pans. I am not going to list the dangers here. A quick internet search will put you in the thick of pros and cons. Generally with non-stick pans, you have to watch the temperature carefully and not raise it to very high temperatures and also not heat the pan empty. The problem is for what I cook I generally heat the pan first and then proceed by adding oil. Habits like that are hard to change when cooking with non-stick. Not to mention the chipping and flaking and wondering if those went into the food or got washed away.


I got tired of replacing pans and also wondering what the hidden dangers were. So one fine day a few years ago I started to get rid of them keeping a couple of them.I slowly got rid of them as well eventually. I would not say it was easy. I had to learn ways to use stainless steel, aluminum and cast iron pans with a lot of sticking and scrubbing. Slowly but surely I have found the optimum way to use these pans.


The number one rule to remember when using stainless steel utensils for cooking is that they heat up very quickly and also stick very quickly. The trick is to add oil and spread it around with a paper towel or a soft cloth. Do this every time and keep the heat at medium to medium low. If food particle still obstinately stick to the bottom, no worries, just heat up some water and when it comes to a boil, dump the water out and using a scrub, scrub away the stuck food particles. Once you learn these tricks using these pans is a breeze.

I also have a smaller ceramic coated pan which seems to be cropping up everywhere. I use it for making omelets mostly. The care required for this pan is same as for a stainless steel pan.


As for the cast iron pan I am totally taken with it. Cast iron pans are fantastic, they cook food evenly and very quickly. As long as the pan is maintained with a little bit of care they are good as non-stick pans. Once you complete your cooking, soak and wash the pans with a sponge. Do not use soapy water, just plain water. Once the pan is washed wipe it dry. Add a tsp of oil and rub all around with a paper towel or soft cloth. Continue rubbing a few times till the pan is nice and shiny. Do not leave the pan wet for a long time, it will start to rust. While cooking I add bit more oil but even that is not required if the temperature is controlled and it is stirred often.

You could also use the Indian aluminum kadai to cook some of the Indian dishes.


See this link for some of the other saute pans in this post.

So let's try this very simple cauliflower roast recipe which could be cooked of course with any pan but the cast iron elevates the taste :)


Cauliflower Peas Roast
Preparation Time:10 minutes
Cooking Time:25 minutes
Ingredients
  1. 1 cauliflower separated into florets, wash and drain as much of the water as possible
  2. 3/4 cup of fresh or frozen peas
  3. 1/2 cup of sliced red onions
  4. 2 garlic cloves smashed and cut into pieces
  5. 2 tsp of grated ginger
  6. 2-3 tsp of chili powder or sambhar powder
  7. salt to taste
  8. 3-4 tsp of oil
  9. seasonings: cumin seeds

Method
  1. Heat a cast iron pan and add oil and when hot add the cumin seeds followed by the onions. Saute the onions till they get translucent.
  2. Add the ginger and garlic and saute till for a couple of minutes.
  3. Add the cauliflower florets, reduce the heat to just below medium. Let them cook for about 6-8 minutes. Keep turning the florets.
  4. Sprinkle the salt on the florets, cook for another 3-4 minutes. Add in the peas. Let cook for another 5-6 minutes.
  5. The cauliflower florets should be cook by this time. Add the chili/sambhar powder and in high heat saute for another 3-4 minutes.
Spicy and tasty, could be used as a side for rice or a side for rotis.

Like what you are reading? Subscribe!

Monday, December 10, 2012

Kitchen Utensils - 101 - Grinder & Mixie (Blender)

No kitchen in India especially South India can survive without a grinder and a mixie called blender here in the US. Its utility starts at breakfast time to make chutneys that are an essential side for common breakfast items like idli or dosai, continues its usage to lunch and dinner time for making masalas or chutneys again.

Grinder

Grinders are used for grinding batter for idli and dosai mostly. While grinders can be used when a large quantity of masala or chutney needs grinding. Their use in a family kitchen is for making batter. In my kitchen I used it for making idli batter, adai batter and any other kind dosai batter. I have never used it to make chutney or masala because I have never had the need to make that large a quantity. So if grinding idli batter is not a requirement look to the blender.


Wet Grinder

Manual stone grinders called aatuural and ammikal were used in kitchens even about 15-20 years ago when electric grinders and mixies were not that common. Now you will be hard pressed to find a kitchen still using those stone grinders. My mom's kitchen has an ammikal which is a rectangular piece of stone embedded in her counter top. A cylindrical piece of stone is rolled over the rectangular stone to make masala pastes. These days it rarely gets used being replaced by easy to use electrical appliances.


Wet Grinder Innards

Check this link to see a traditional attukal or stone grinder in use. Here is a link to the ammikal.


Doing its job

Blenders

Blenders pulverize anything to liquid or powder pretty easily. Infact they are made just for that. In an Indian Kitchen blenders/mixies are used for making chutneys, masalas, smoothies and spice powders. The Indian mixie especially compared to a blender in the US is made so that the blades are able to spin without addition of too much water. So if you are in need of a machine to make chutneys, masalas and the like blender is what you need. I a pinch blenders can also make idli batter but patience is required because these are not meant for the slow grinding that that idli batter requires.

While I bought my wet grinder from a store here in the US I carried my mixie from India.


Indian Mixie/Blender

My trusty old Osterizer Blender - 12 Speed did a splendid job till I bought myself an Indian mixie. During one my visits back home about 5 years ago found it hard to resist when the appliance/kitchen utensils store I regularly visit nad a 110V Preethi Chefpro Plus available right there. While the Osterizer blended masalas pretty well, addition of water was required to get the blades to move whereas the Indian mixie does not need water so it is a breeze to make make thick chutneys, masalas and powders. For me it is well worth it.


Comes with 3 convenient jars, tall for juices,
medium and small for wet and dry

In a pinch a blender could well substitute for a grinder with which I used to make my idli batter long time ago. The grinders is worth it just for making idli batter. Idlis(rice cakes made with rice and lentils which are a staple breakfast item in South India) requires soaking/blending rice and lentils and fermenting the batter. It takes me about an hour(time for the process) to blend the batter which I do every other week. Having idli batter means easy dinner/lunch options throughout the week.


Blender doing its thing

Of course without the grinder blending the batter is not always that easy. Blenders tend to heat the rice/lentil when blending which is not a good thing and the consistency of the batter also matters otherwise the idlis tends to be brick hard or mushy and slimy. I will be amiss if I do not mention that having the right rice is also very essential.


Trusted old Osterizer

While the blender tends to chop with the fast spinning blades, the grinder uses a much slower spinning where a pair of stones spin inside another stone container to do the grinding.

Disclaimer: This is intended as an article to talk about the appliances themselves not endorsing a product from a specific company.

Monday, September 24, 2012

Kitchen Utensils - 101 - Poori Press (Recipe for Poori with Potato Masala)

What do you want for breakfast? My mom asks the DDs in the mornings when we are visiting in India. The response invariably is pooris, the puffy deep fried piece of wheat dough. When I was growing up pooris were far more common than chapathis ever were. Pooris were a favorite weekend breakfast item as it was too much work for a weekday rush and not enough time to experience the joy of eating those deep fried beauties. This is South India where rice is the staple and rolling out dough does not come as naturally as swirling out a dosai!


Rolling pin and board is used by some to roll out the pooris but that is somewhat of a time consuming task. I have seen most people using poori press to roll out the dough so the most of the energy can be spent in deep frying and that one person can easily do the cooking.

Using the poori press is very simple. Roll out a small lemon size piece of dough. Oil both the plates of the press and place the dough ball between the two and press down on the handle. The pictures should give an idea of how it is done.
Once you have the poori press on hand the rest is simple. The dough is similar to the chapathi dough. Just be cautious while adding water, add just enough water for the dough to come together, sprinkle the water do not pour. If the dough is watery the pooris tend to absorb too much oil.

Here in our house we move the deep frying to the backyard to avoid oil fumes inside the house and most times it becomes an impromptu backyard picnic.


Poori Masala
For the Poori
Ingredients
  1. 3 cups of wheat flour (I used the Indian whole wheat kind *)
  2. 1/2 tsp salt
  3. water as needed
Method
1. In a wide mouthed bowl (like a cake batter mixing bowl) take the wheat flour and salt and add about 2 tbsp of water. Incorporate the water into the flour, sprinkle more water 1/2 tbsp at a time till the dough comes together. Do not add any moisture than required. Cover and set aside.

For the Potato Masala
Ingredients
  1. 4 Medium size potatoes washed and cooked till soft. I use the pressure cooker
  2. 1 cup of onions sliced lengthwise
  3. 8-10 green chilies slit
  4. 2 tbsp of roughly chopped tomatoes (optional)
  5. 1 tbsp grated ginger
  6. seasonings : mustard , curry leaves and a few methi seeds
  7. 2 tsp of turmeric powder
  8. 1 tsp of oil
Method
  1. Peel the cooked potatoes and roughly chop them and set aside.
  2. In a wide mouthed pan (wok) heat the oil and when hot add the seasonings
  3. Add the green chilies and onions and saute till the onions become translucent.
  4. Add in the ginger and saute for a few more minutes.

  5. Add the turmeric powder and mix it.

  6. Add the tomatoes and salt and let it cook till the tomatoes become mushy.

  7. Add the potatoes and 1 1/2 cups of water and let it come to a boil. Turn off heat.

Note
* use the regular aata for light colored poori but I prefer the whole wheat kind.
Use a bit more water if you like the potato masala to be runny


Variations of the Potato Masala
Potato Masala with Peas
Potato Masala Delhi style - Delhi Aloo