Showing posts with label Pickle. Show all posts

Sunday, November 27, 2022

Lime Pickle Recipe எலுமிச்சை ஊறுகாய் Lemon Pickle 2

Good Lime or lemon pickle reminds me of two people - my grandmother and my mother-in-law. I don't remember my grandmother's pickle making all that much but it had green chilies, garlic and sometimes even green (black) peppers. Whereas my MIL's without fail packed us lemon pickles every year. Without the slightest taste of sourness or bitterness but nice and smooth, these were some of the best no fuss lemon pickles I have ever tasted. We lost her this year but with covid and not travelling for the last 2 years, I learned to make the pickles because we had made it once under her tutelage when she was here. It might not have the finesse of her pickles and the aroma of pickles made in her kitchen, we make do with these :) They come tantalizingly close to the original.

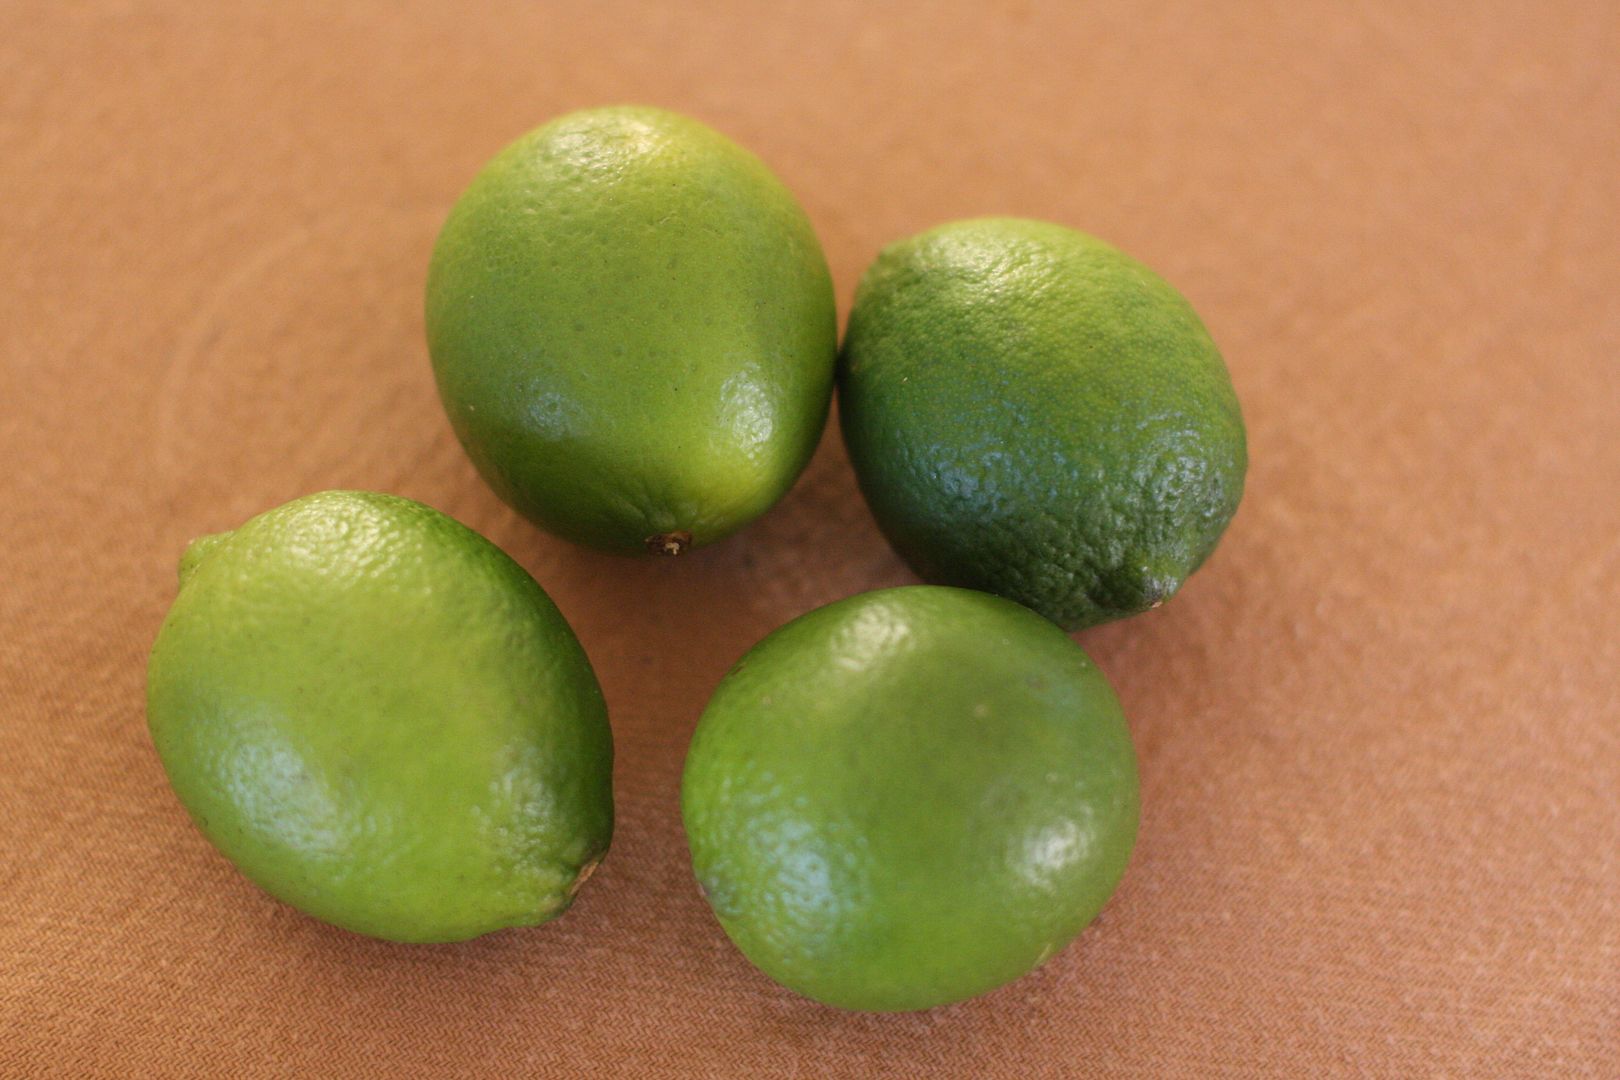
Lime
We got the recipe from MIL but like most recipes we know from our relatives, hers gives everything in handfuls and I have done my best to translate them to cups and spoons.

Here in the US, the lemons have a fairly thick skin, while you can still make with these lemons I prefer using limes for the pickle. The limes that we get here are typically green harvested before they have become ripe, and used for the kind of recipes that requires a more sour tasting juice than what it would be if it were ripe.

For the purposes of this recipe the green or the yellow ones with thin skin work perfectly. For a better tasting pickle it is necessary to use thin skinned limes/lemon than the thicker skinned ones. I am not saying the thicker skinned citruses cannot be pickled. They absolutely can be.

Sun drying or sun marinating the cut limes are what gives this pickle the taste. So plan to do them that way if you can. Having said that, it does not mean the pickles have to be made only in the summer. I usually run out of the lime pickles I make in the summer and crave for some during winter. The lime pieces take a bit longer to marinate but they absolutely can be made in the winter. I place the marinating limes on a sunny window sill for about 3-4 weeks. During the summer I let it sit in the sun outside.

No sunny window? Not a problem. Let it sit in its own juices for 3-4 weeks and that should be sufficient. I used to think that making lemon/lime pickles is kind of hard. I am blown away by how easy this is compared to some of the other pickles I make.

Lime


Recipe in pictures.

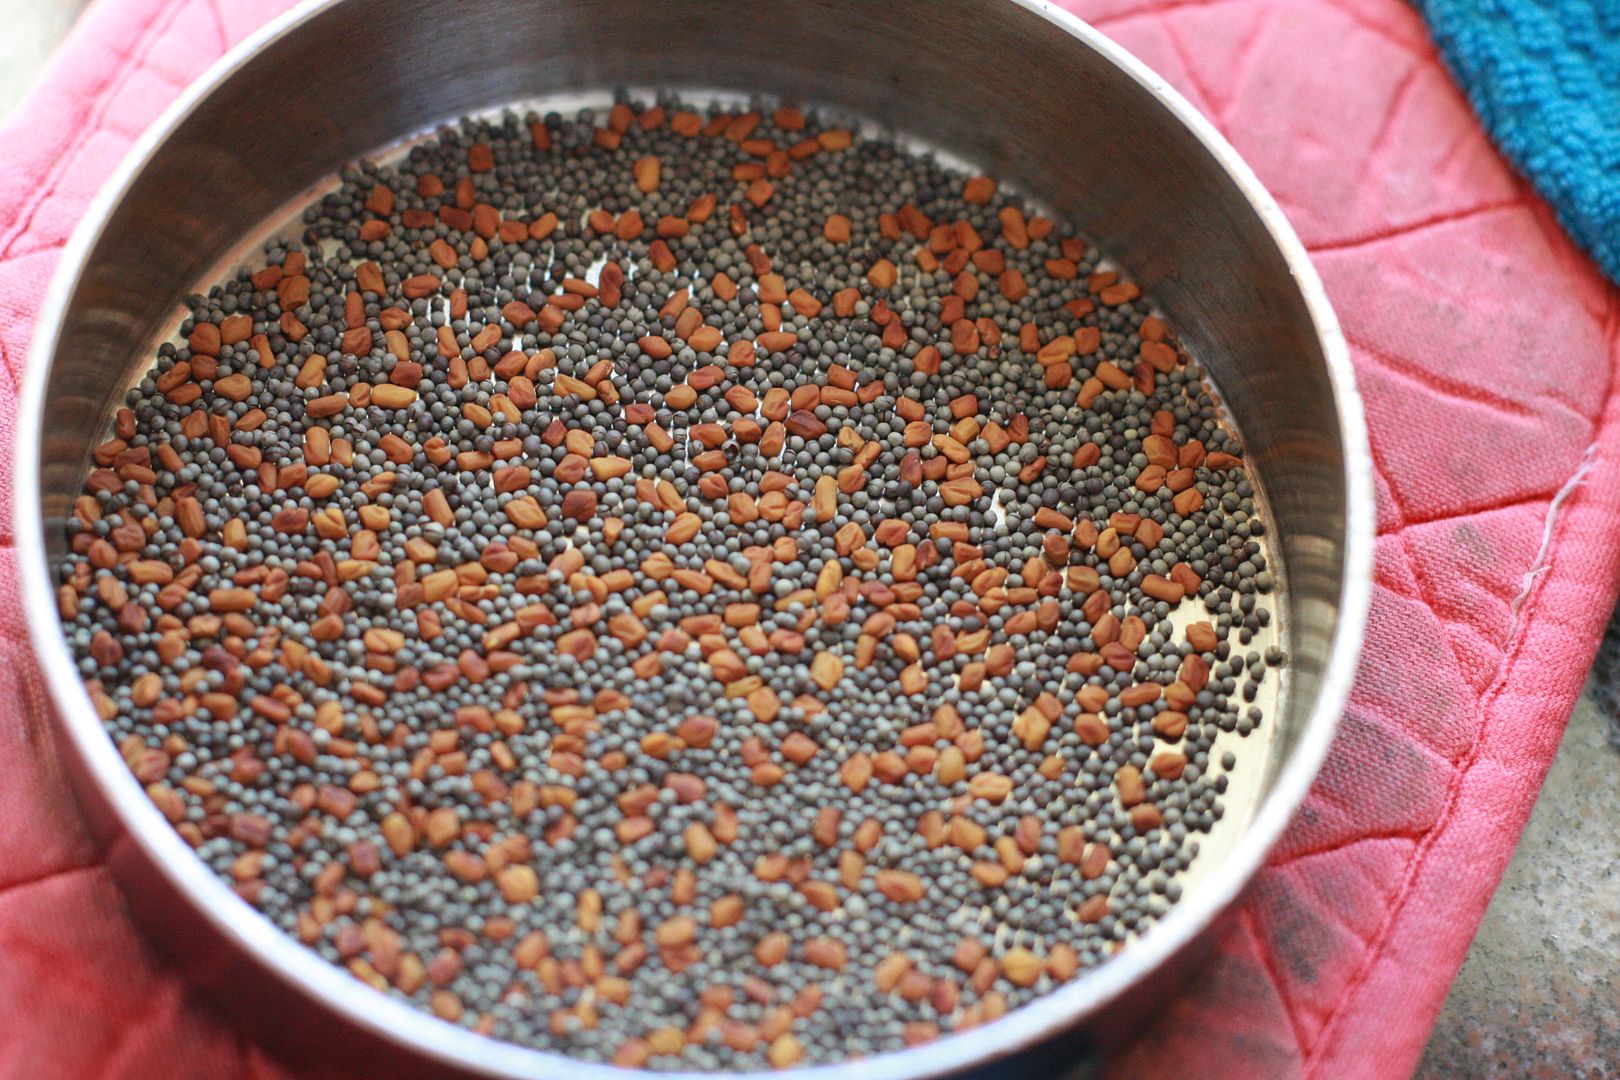
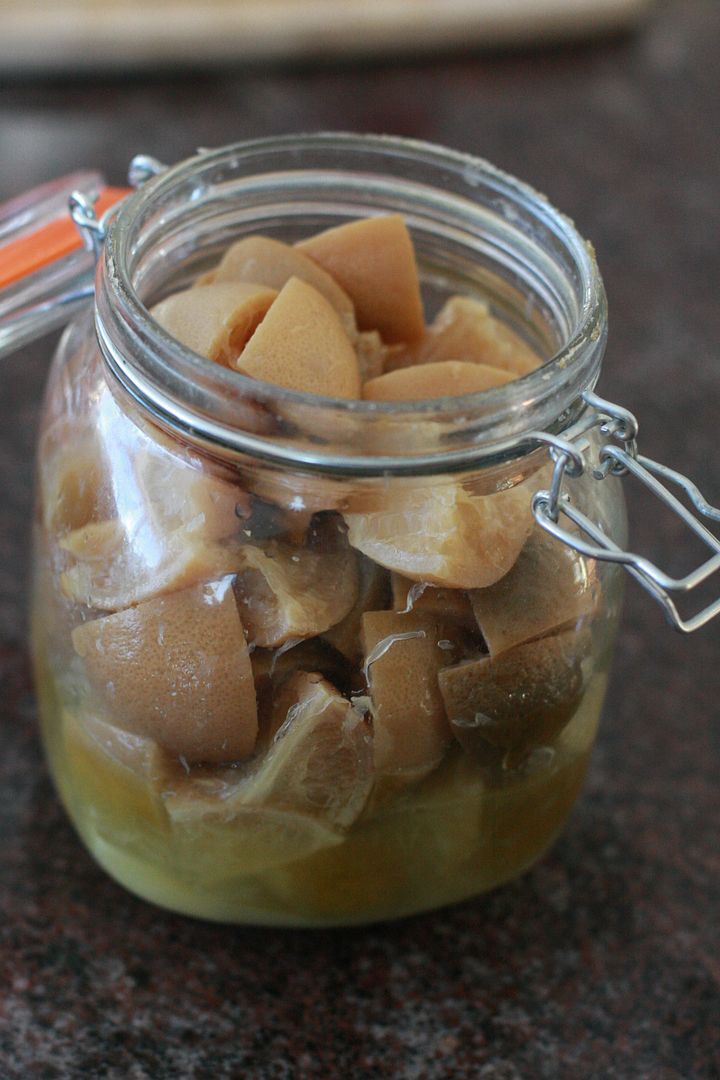
Cut the lime into small pieces, about 8 pieces per lime and add them to a glass or ceramic jar and add about 1/3 cup of salt and let it marinate for 3-4 weeks. In a small pan roast mustard seeds and fenugreek seeds. Cool and powder.
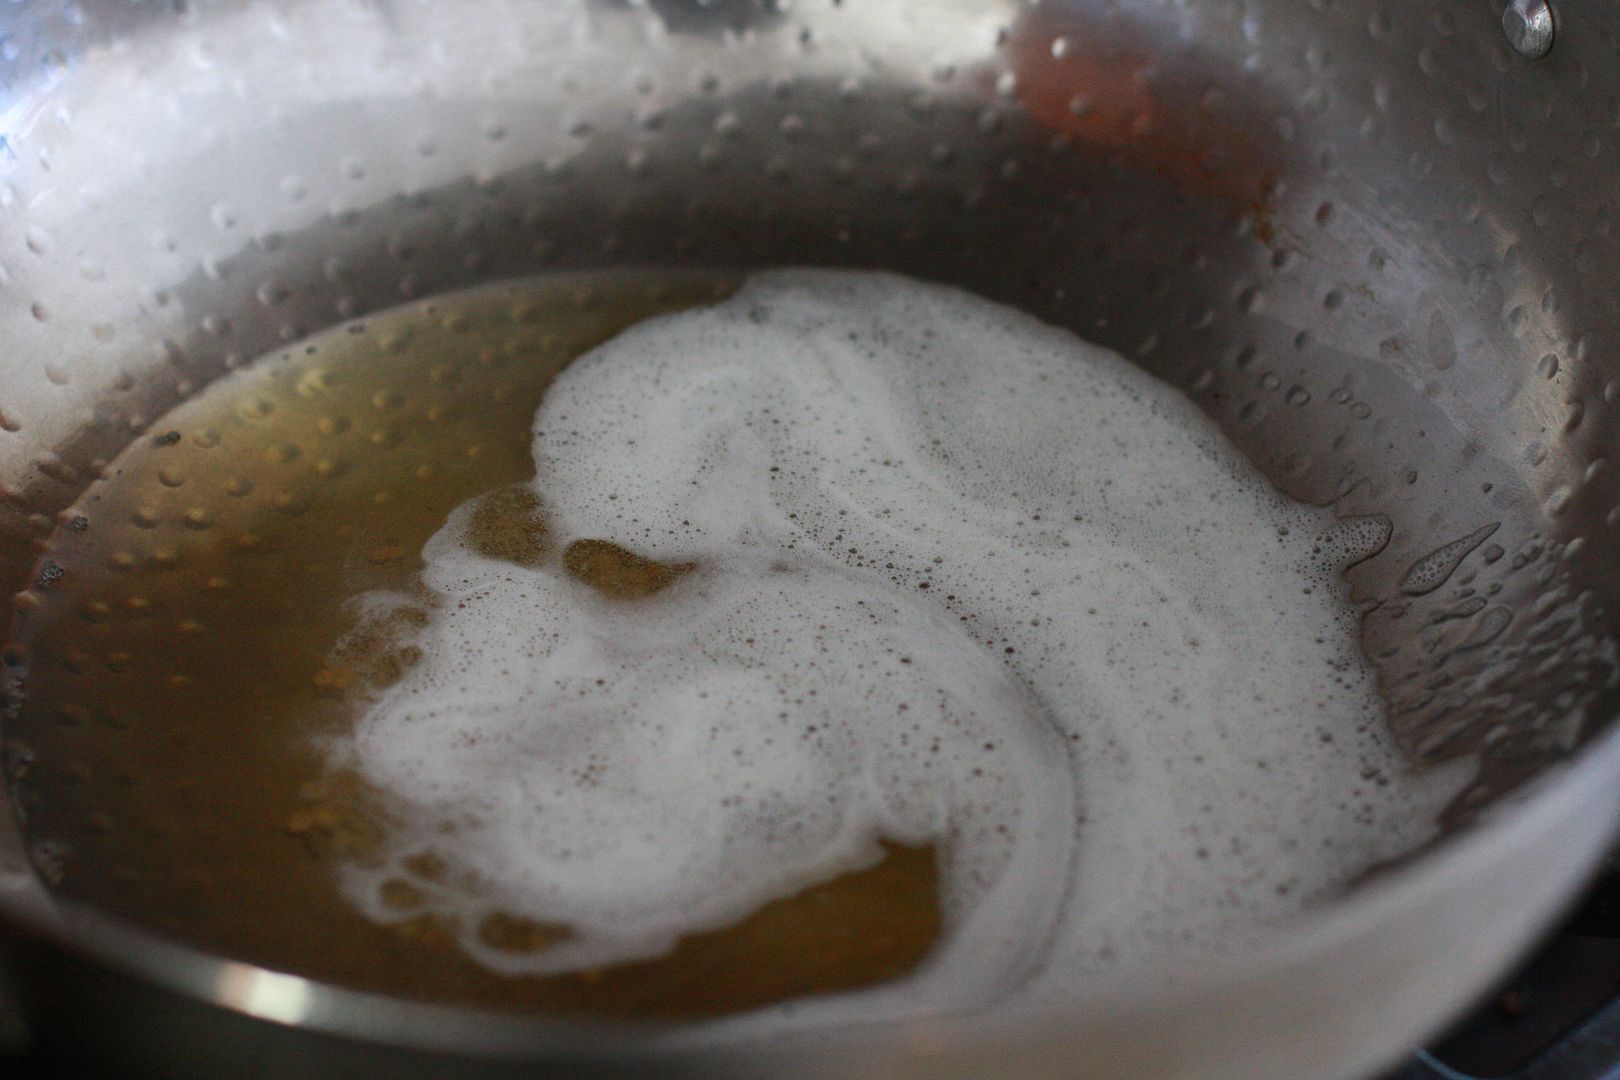
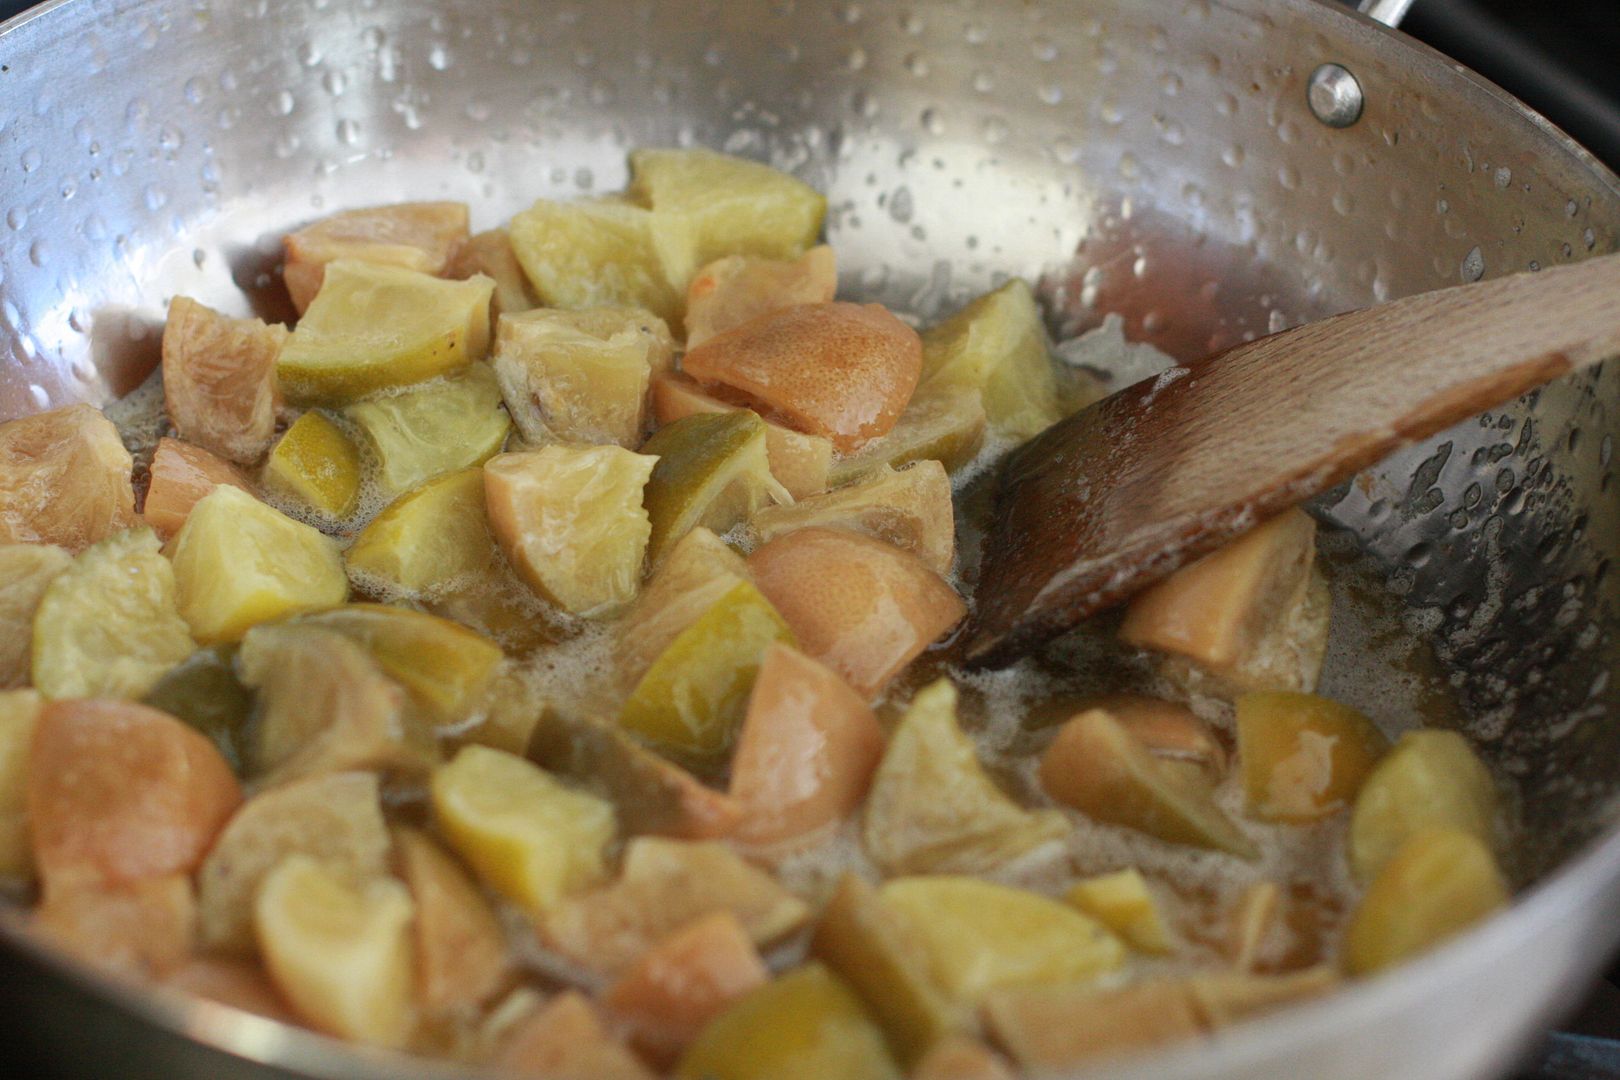
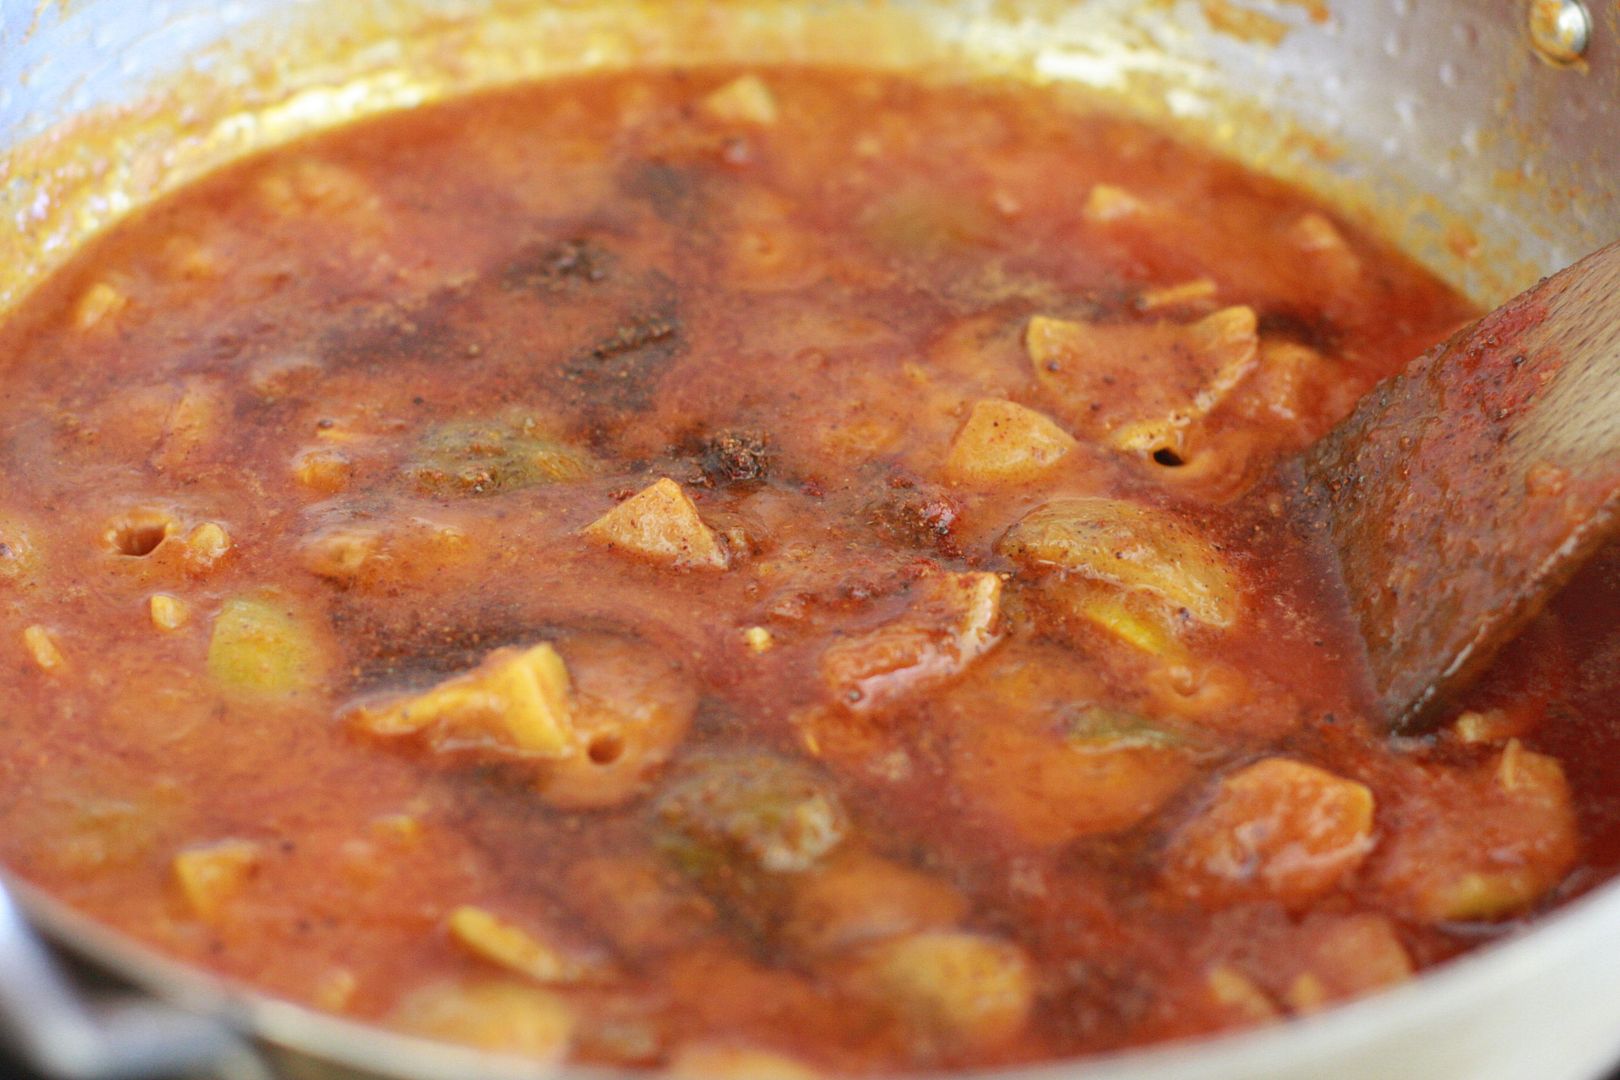
Heat oil in a wide mouthed pan, season with mustard and fenugreek seeds. When mustard pops add asfoetida followed by the marinated lime pieces and let it come to a boil.
Add chili powder and salt and mix well.
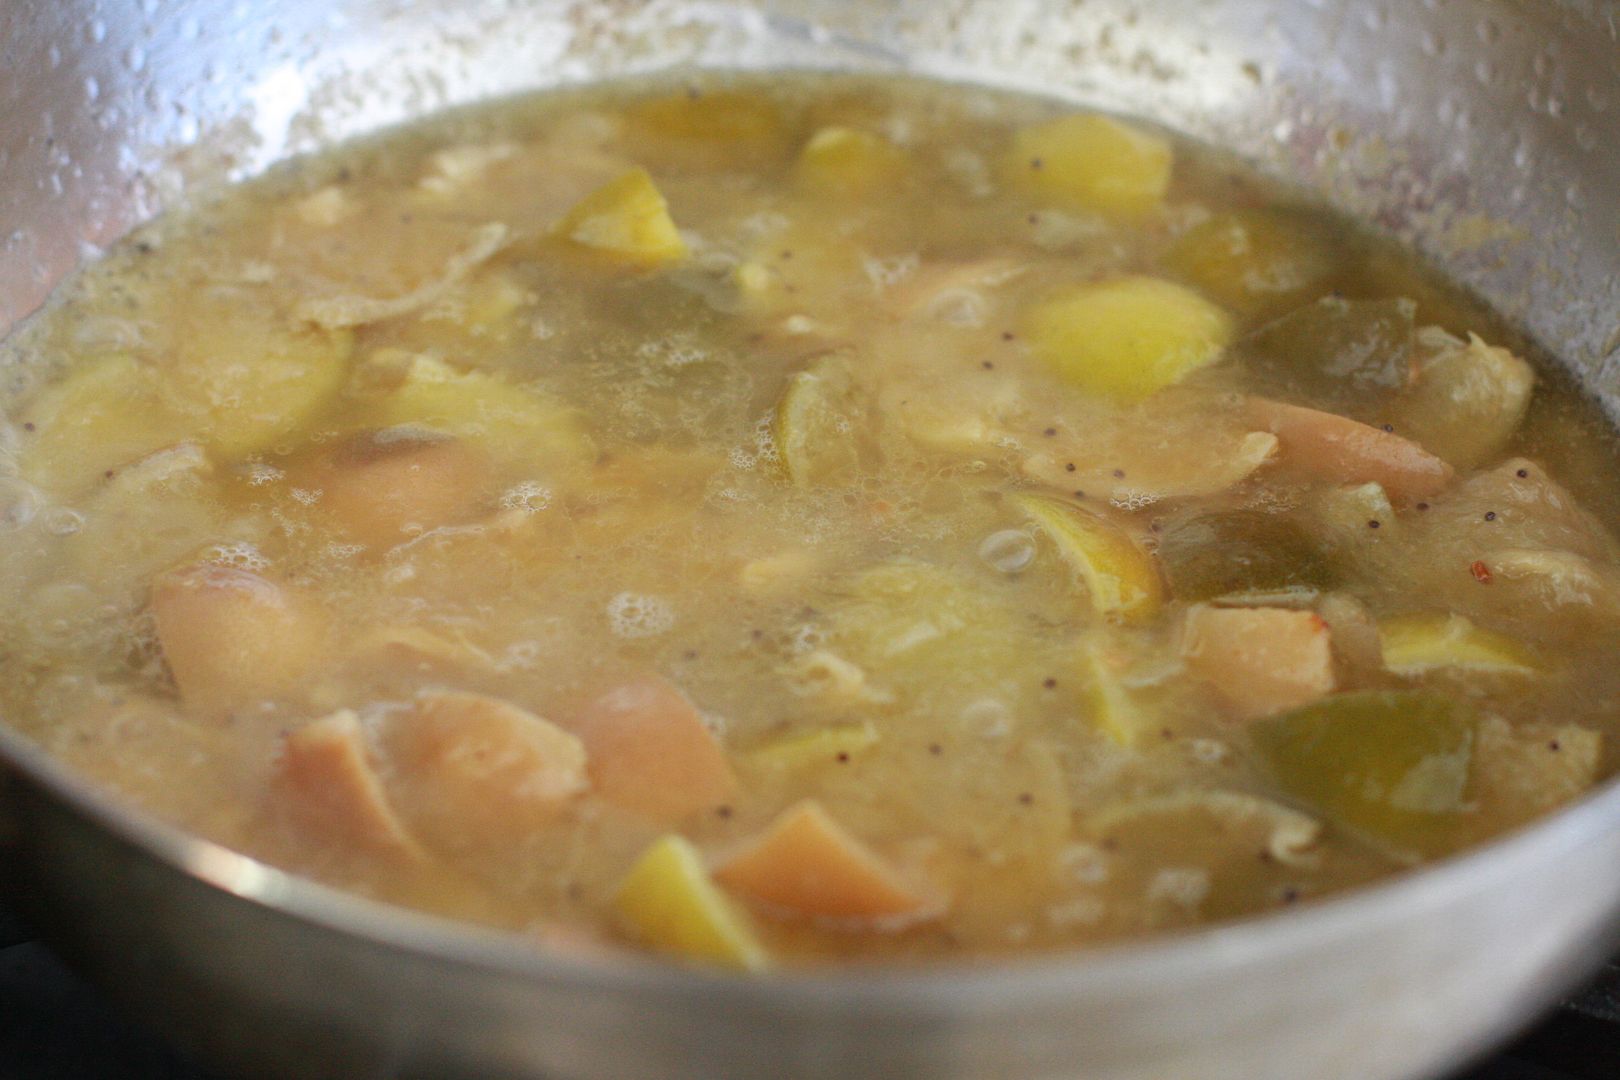
Add the mustard and fenugreek powder, check for salt and turn off the heat.


Recipe in pictures,
Lime Pickle Recipe
Marination Time:3-4 weeks
Preparation Time:10 minutes
Cooking Time:20 minutes
Ingredients
  1. 8-10 lemons (makes about 3-4 cups of cut fresh lime pieces)
  2. 1/3 cup red chili powder
  3. 1/3 cup of rock salt (if using table salt use less
  4. 1/2 tbsp mustard seeds
  5. 2 tsp fenugreek seeds
  6. 1/2 tsp asfoetida powder
  7. 1/2 - 1 cup sesame oil (I use slightly more to keep it fresh longer)
  8. seasonings: 1 tsp mustard seeds, 1/2 tsp fenugreek seeds, 2 pinches of asfoetida powder
Method
  1. Few weeks before making the pickle, wash the limes and let them dry. Cut each lime into 8 pieces, cut vertically and then cut each into 4 pieces.
  2. Put the cut lime into a glass (or ceramic) jar with salt. Cover the opening with a cheese cloth and then it in the sun for 2-3 weeks or if indoor for 3-4 weeks.
  3. In a wide mouthed pan (I used a mud pot) add the seasonings - mustard, fenugreek seeds and asfoetida, when the mustard seeds start to pop add the cut and marinated lime pieces.
  4. While this heats up in a small pan add mustard seeds, fenugreek seeds and asfoetida and let it brown. Cool and powder.
  5. Let the lime pieces come to a boil, add red chili powder and mix it in. **
  6. Add the powdered mustard, asfoetida and fenugreek powder, mix it in and turn off the heat.
  7. **if you the pickle a bit more pulpy, heat a 1/4 cup of water to a boil and add to the lime/lemon pieces.
Like what you are reading? Subscribe!

Monday, November 7, 2022

Red Jalapeño chili sauce with vinegar or Jalapeño thokku (Farm to Plate)

I grow several kinds of chilies, some of them spicy and used for cooking, some are not so spicy and used for making fritters and jalapeño wghich I grow mostly for making pickles (in vinegar) and also for making stuffed jalpaenos or even making a gravy.

In the height of summer, when everything needs to be harvested, peppers seem to be the ones left behind because they don't go bad. While most of the hot green chilies are harvested while green, sometimes I let them get red or ripen. I heard somewhere that they lose their heat as they start to ripen but the opposite is true. Some of these peppers start to get hotter (spicier) when they turn red.

Red Jalapeño Peppers


I had left some of the jalapeño without harvesting for a while and I realized that they had ripened. I now have developed this habit of thinking like folks in Andhra do almost naturally is to wonder if I can make some kind of pickle with them. I tried to make Szchewan sauce with the ripened jalapeño and they turned out so much more milder than the hot red chilies and they were mistaken for a spread. So I decided to reduce the vinegar and eliminate the soy sauce and try making a spread with them.

Since these jalapeño also carry an underlying fruitiness to the taste they seem to be perfect for making a thokku or a spread to be used on breads or sandwiches. While they are really good as a spread they can be used as a chili sauce for sauteing vegetables or chicken.

A typical Indian version of the jalapeño thokku is here.

Recipe in pictures.

Cut the jalapeño into halves and removes the seeds and ribs.
Take the jalapeño in a blender jar and blend to a paste.
Cut onions and garlic. Heat oil in a wide mouthed pan and when hot, add the onions and garlic.
Saute the onions and garlic till they turn brown.
Add the blended jalapeños and cook till oil separates. Add salt. Add more oil if required. Finally finish with vinegar.


Works great as a spread.
Red Jalapeño Peppers
Red Jalapeño Relish or Jalapeño thokku
Preparation Time:20 minutes
Cooking Time:35 minutes
Ingredients
  1. 3 cups of jalapeños
  2. 1 cups of chopped red onions
  3. 1/4 cup of chopped garlic
  4. salt to taste
  5. 2 tbsp of white distilled vinegar
  6. 1 cup of oil (i used sesame oil)
Method
  1. Slit the jalapeños in half and remove the seeds and ribs (use gloves while doing this).
  2. Take the cleaned jalapeños in a blender or nutribullet and make a farily smooth paste.
  3. In a wide mouthed pan (i used a clay pot) add about 1/2 cup of oil and when hot add in the garlic and onions and saute till they start to turn brown.
  4. Add in the blended paste and cook till oil starts to separate and mixture looks shiny. Add salt and vinegar and cook for a few more minutes.
  5. Cool and transfer the pickle to glass jars. Glass jars can be sterilzed by putting them in the microwave for about a minute.


Like what you are reading? Subscribe!

Thursday, March 10, 2022

Coriander Pickle - Kothamalli Thokku - 2

I grow a lot of coriander in the summer but to keep up with it and harvest it in time and not letting it going to seed is always a struggle. But when it is cold in the winter they don't go to seed and amazingly even the below zero temperatures don't affect it much. I grow them inside a structure called a high tunnel but not outside. So occasionally I have plenty of them and want to preserve them to be enjoyed for a longer period of time.

This recipe is a one version thokku but this one is a slightly different version. It works great as a spread and also is good with rice, idli, dosai etc., but as a spread for sandwich is what I usually we use it for a lot.

Making the recipe is pretty simple with not many ingredients.
Recipe in pictures,
Clean the coriander leaves and roughly chop them and saute in a tbsp of oil. Saok the tamarind in hot water.
Extract the tamarind pulp. Add some of the tamarind and blend the coriander to a coarse paste.
Transfer the blended coriander leaves to a separate vessel. In a wide mouthed pan heat oil and add mustard seeds and let it pop.
Now add in the extracted tamarind pulp and let it come to a boil and let boil for 3 minutes or so till raw smell of tamarind goes away. Add the blended coriander mixture.
Add the powdered red chilies and salt and mix into the coriander tamarind paste.
Add roasted and powdered fenugreek and mustard powder along with some jaggery.
Heat the mixture till oil separates. add more oil if needed. Transfer to sterilized jars.

Coriander Thokku

Coriander Thooku
Preparation Time:20 minutes
Cooking Time:45 minutes
Ingredients
  1. 6 cups of packed coriander leaves
  2. 2 cups of thick tamarind pulp from a lemon sized ball of tamarind (for every 3 cups of coriander leaves, 1 cup of tamarind pulp)
  3. 1/4 cup of chili powder (I used powdered red chilies)
  4. 1/2 tbsp of mustard seeds + 1/2 fenugreek seeds
  5. 1 tsp of mustard seeds
  6. 1/2 tbsp jaggery
  7. salt to taste
  8. 1 cup of sesame oil
Method
  1. Heat water and soak the tamarind and extract the pulp.
  2. In a pan roast the mustard seeds and fenugreek seeds and let it cool and powder it along with the jaggery.
  3. In a pan heat oil and saute the coriander leaves.
  4. In a blender add the coriander leaves along with a bit of tamrind pulp and set aside.
  5. In a wide mouthed pan, heat oil and add mustard when it pops add the tamarind pulp. Let it come to a boil, then let it boil 3-4 minutes till the raw smell goes.
  6. Add the blended paste to the tamarind, mix it in well and let it come to a boil.
  7. Add the chili powder and salt. Add more oil if needed and cook till the oil separates.
  8. Add the powdered mustard, fenugreek and jaggery powder and turn off the heat.
  9. Cool and store in sterilized jars. Will stay refrigerated for more than a month.

Can be served as a side with idli, dosai or as a spread.
Coriander Thokku as a spread
Like what you are reading? Subscribe!

Wednesday, December 29, 2021

Green Chili Pickles - Milagai Thokku

Just like the Eggplant pickle, this is a recipe that was given by a friend. I usually plant a lot more green chilli plants than needed and I always have plenty of green chilies. Never a bad thing :) I was given a box of the green chili thokku and it was the most delicious thing ever. Oh yes! I did get the recipe.
Green Chilies Green Chilies


The pickle works best with green chilies that are not very spicy. The chilies I had were spicy and some of them were ripe. The best ones for this particular pickle are chilies with thin skins. If you have noticed it or not as the chili ripens the skin becomes thicker which is good for making dried chilies but not for this pickle. Also as the chili ripens it start to get more spicier.

Here is the recipe in pictures,
In a wide mouthed heat oil and when hot add mustard seeds. Once mustard pops add the green chilies which have been washed and dried completely.
Get the onions cut and ready. Once the green chilies start having blisters on them add the onions in.
Soak tamarind in hot water and extract the pulp.
Saute till the green chilies start to shrivel. Add in the tamarind pulp and more oil if needed.
Let the mixture cook till the chilies start to disintegrate. Add salt. Prepare the sugar and set aside.
Add in the sugar and let cook for another 5 minutes or so and turn off the heat.


Green Chili Pickle


Green Chili Pickle - Mikagai Thokku
Preparation Time:15 minutes
Cooking Time:50 minutes
Ingredients
  1. 1 1/2 lbs of Green Chili or about 3-4 cups, cleaned and dried completely of any moisture.
  2. 1 1/2 cups of thinly sliced
  3. 1/2 cup of jaggery (I used palm jaggery)
  4. 1- 1 1/2 cups of oil (I used sesame oil)
  5. salt to taste.
  6. 1 small shaped ball of tamarind (about 1 1/2 cups of thick pulp)
  7. seasonings: Mustard seeds
Method
  1. Wash and clean the green chilies, remove the steam and let them air dry till the moisture evaporates.
  2. In a wide mouthed pan, heat oil and when hot add the mustard seeds. When the mustard seeds pop add the green chilies.
  3. Saute till the green chilies start to get blisters.
  4. Now add in the onions and continue to saute, add more oil if required. The chilies should start to fall apart.
  5. Now add in the extracted tamarind pulp and let it cook till the oil starts to separate. Add in the salt.
  6. The best texture is when the chilies are starting to fall apart, takes about 30-40 minutes.
  7. Add the sugar and let it cook for about 5 -10 minutes till the sugar melts and it comes together.
  8. Cool and store in dry clean jars. Stays for about 2 months even without refrigeration.
Like what you are reading? Subscribe!