Showing posts with label Snack. Show all posts

Sunday, January 23, 2022

Podalangai kola urundai - Spicy Snake Gourd Fried Balls

Every year I rediscover vegetables that I have known forever in a new way. This year it was snake gourd. Something about home grown vegetables that makes it taste far better than anything in the store. Every year a certain vegetable does much better than the others. Maybe it is the seed or weather I am never able to tell why. So last summer it was snake gourds. I had to figure out several ways to eat this vegetable. A friend mentioned this recipe and when it comes to fried stuff who has the will power to resist?

Snakegourd kola urundai


Once the snake gourd is cooked especially when they are pan roasted they get a sweet taste and you eat them like you would roasted potatoes :) I rotuinely make sambhar, poriyal, kootu with snake gourd so this was a fried special.


In a blender roughly chop the snake gourd and remove the water by squeezing and add the ground roasted chickpea flour, grated ginger and garlic, finely chopped onions, green chilies and salt.
Make small lime sized balls and set aside. Set oil to heat in a wok.
Fry them in batches and drain them on paper napkins.


Snakegourd kola urundai

Podalangai kola urundai
Preparation Time:20 minutes
Cooking Time:30 minutes
Ingredients
  1. 4 medium sized snake gourd grated or minced in a food processor - about 5 cups
  2. 4 cloves of garlic - finely minced
  3. 2 inch piece of ginger grated
  4. 5 green chilies minced
  5. 2 tsp cumin powder
  6. 2 tsp pepper powder
  7. 1/2 tbsp red chili powder (if needed)
  8. 1/2 cup of
  9. 2 tsp garam masala powder
  10. 1 cup of roasted chick pea (pottukadalai/dahlia) powdered
  11. salt to taste
  12. Oil for deep frying
Method
  1. Squeeze the grated snake gourd and extract the excess liquid from the snake gourd, once it is fairly dry mix in the other ingredients.
  2. Make small lime sized balls.
  3. Heat oil in a wide sized pan/wok/kadai and when hot,
  4. Add the balls one by one and fry tiil golden brown.
  5. Drain them on paper towels.
Serve with ketchup.

These are great as a snack or a side in a meal. Like what you are reading? Subscribe!

Sunday, April 12, 2020

Ragi Onion Pakoda

The last few days we have seen both people and leaders rise up to the challenge or not. The population of the US which is forced to watch the bad actor turned politician bumble through one crisis to another and is better off not listening to the fool at all. The one thing that confounds, is what did we expect from somebody who has failed miserably at everything he touches to actually do something as a president. Add to this the misinformation that is being spread on social media.

The one thing we can all do is eat right, exercise daily and follow some sort of discipline. While doing this might seem difficult, at best we simply have to do it to prevent us from going crazy. We perhaps will never be able to appreciate enough what sacrifices the doctors, nurses, healthcare workers, grocery store employees, farmers, law enforcement and everyone who are in the front lines serving us have done. We can all strive to be kind and perhaps treat the earth a little better than we have been?

April and March are the best times of the year when everything is green and sparkling but it is kind of hard to predict the weather. Warm one day, rainy and cold the next, windy the day after but now that we are under lock down none of that should matter because we are not making plans to go anywhere. In a farm this is the busiest time of the year. After working hard a few the rainy days are actually quite welcome giving some much needed rest.

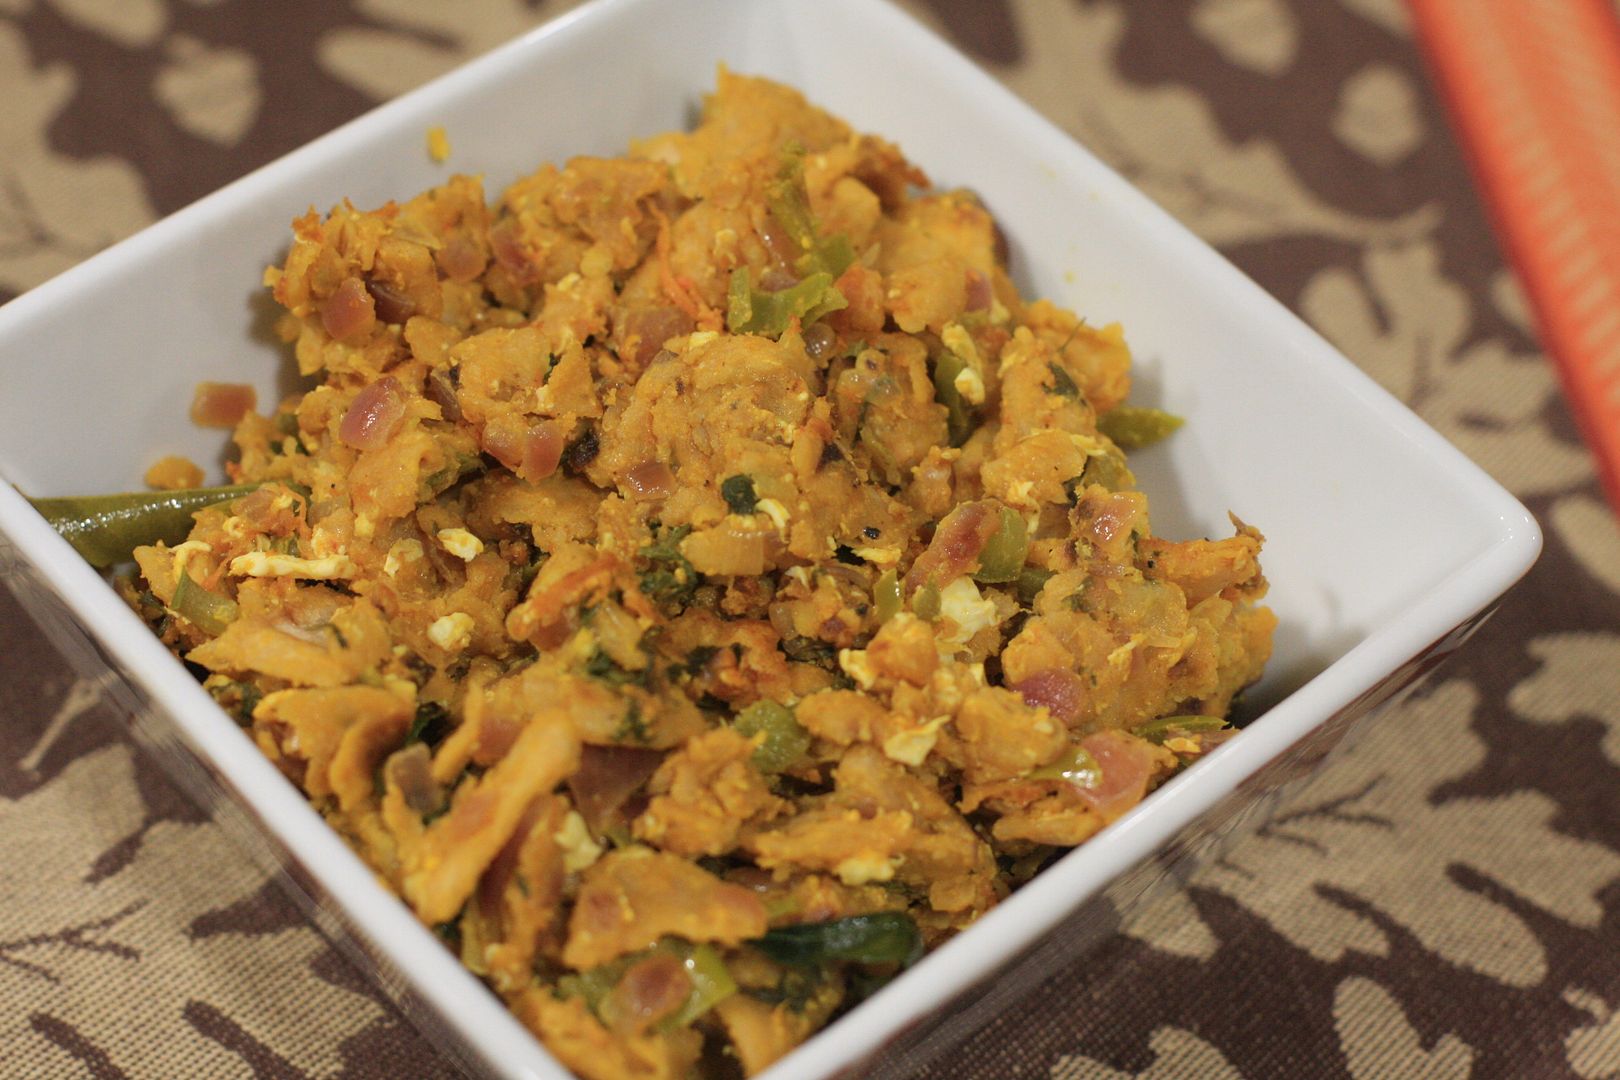
It was one of those days when it was rainy and drizzly making it impossible to go outside and work. Rain causes the mouth to crave for deep fried stuff. I wanted to make some onion pakoda. The recipe I had from a friend's wife asked for kadala mavu (chickpea flour), rice flour and ravai. There is usually rice flour laying around even though I don't use rice flour all that much. But this time after searching in the pantry, fridge and freezer and coming back empty handed I decided to substitute ragi flour in place of the rice flour and it actually turned out to be quite a good combination. Not exactly like the onion pakoda we are used to but different and still delicious.

I used a bit more onion than the flour could take but with fried onions what is there to complain? It is a fairly simple procedure but the bulk of the time is for deep frying.


The recipe in pictures,

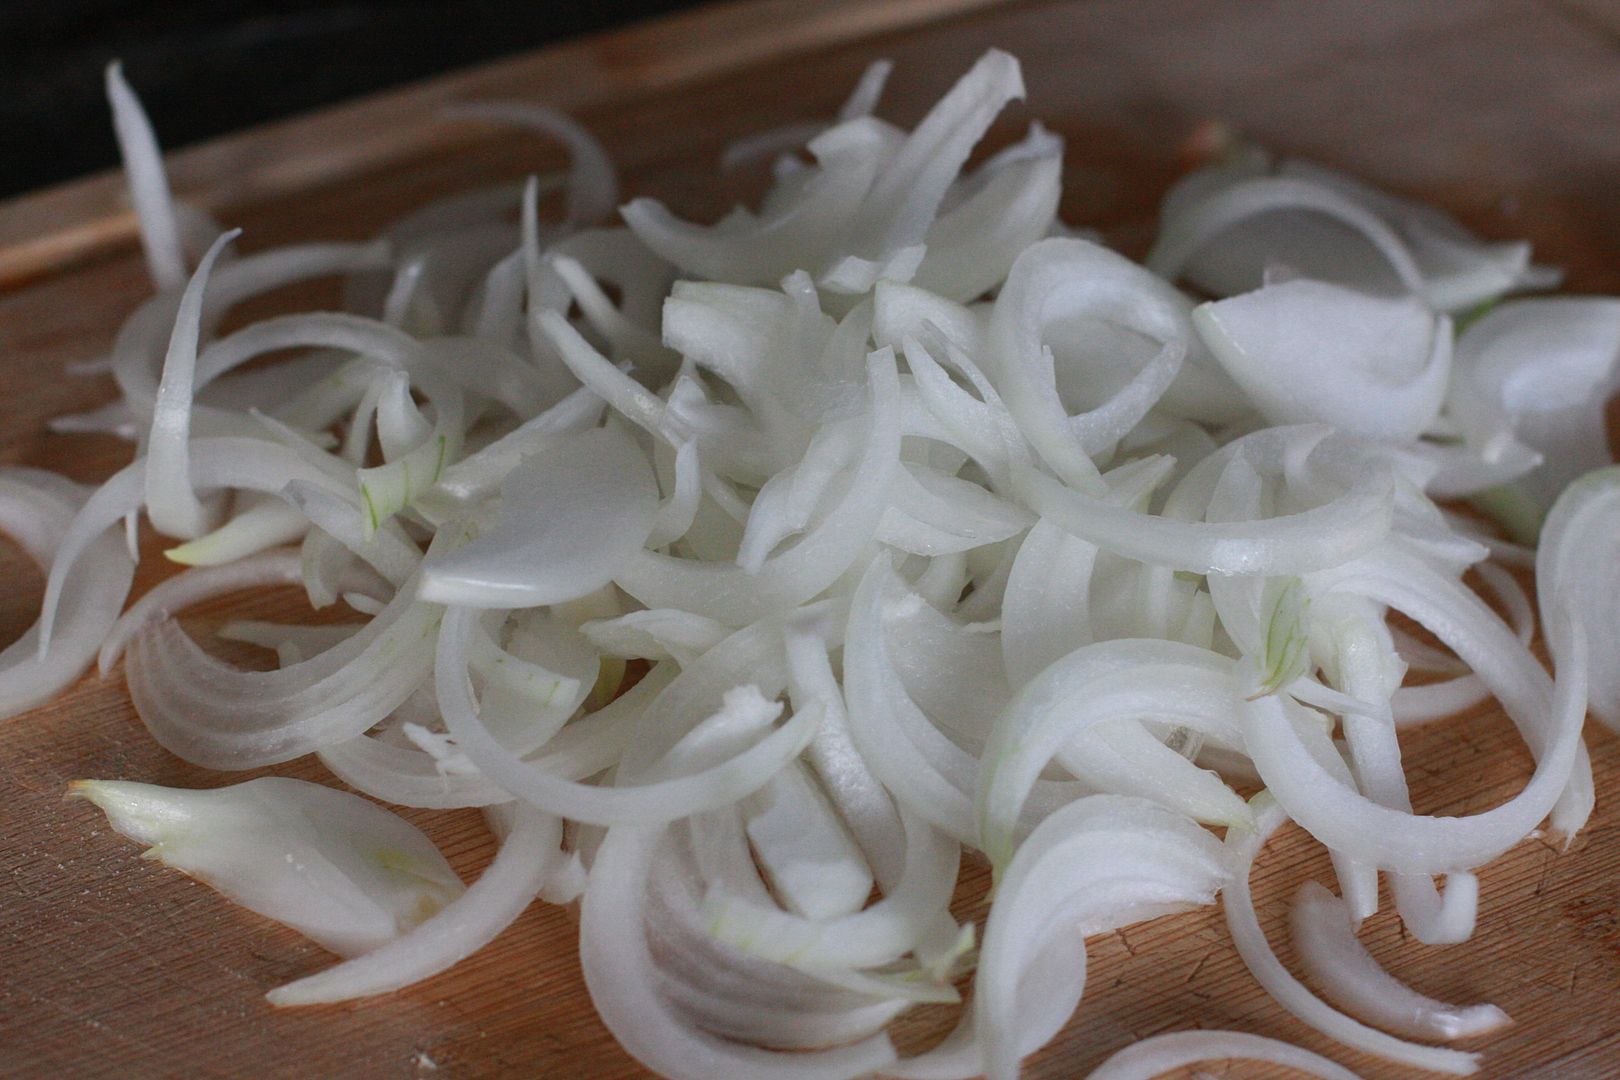
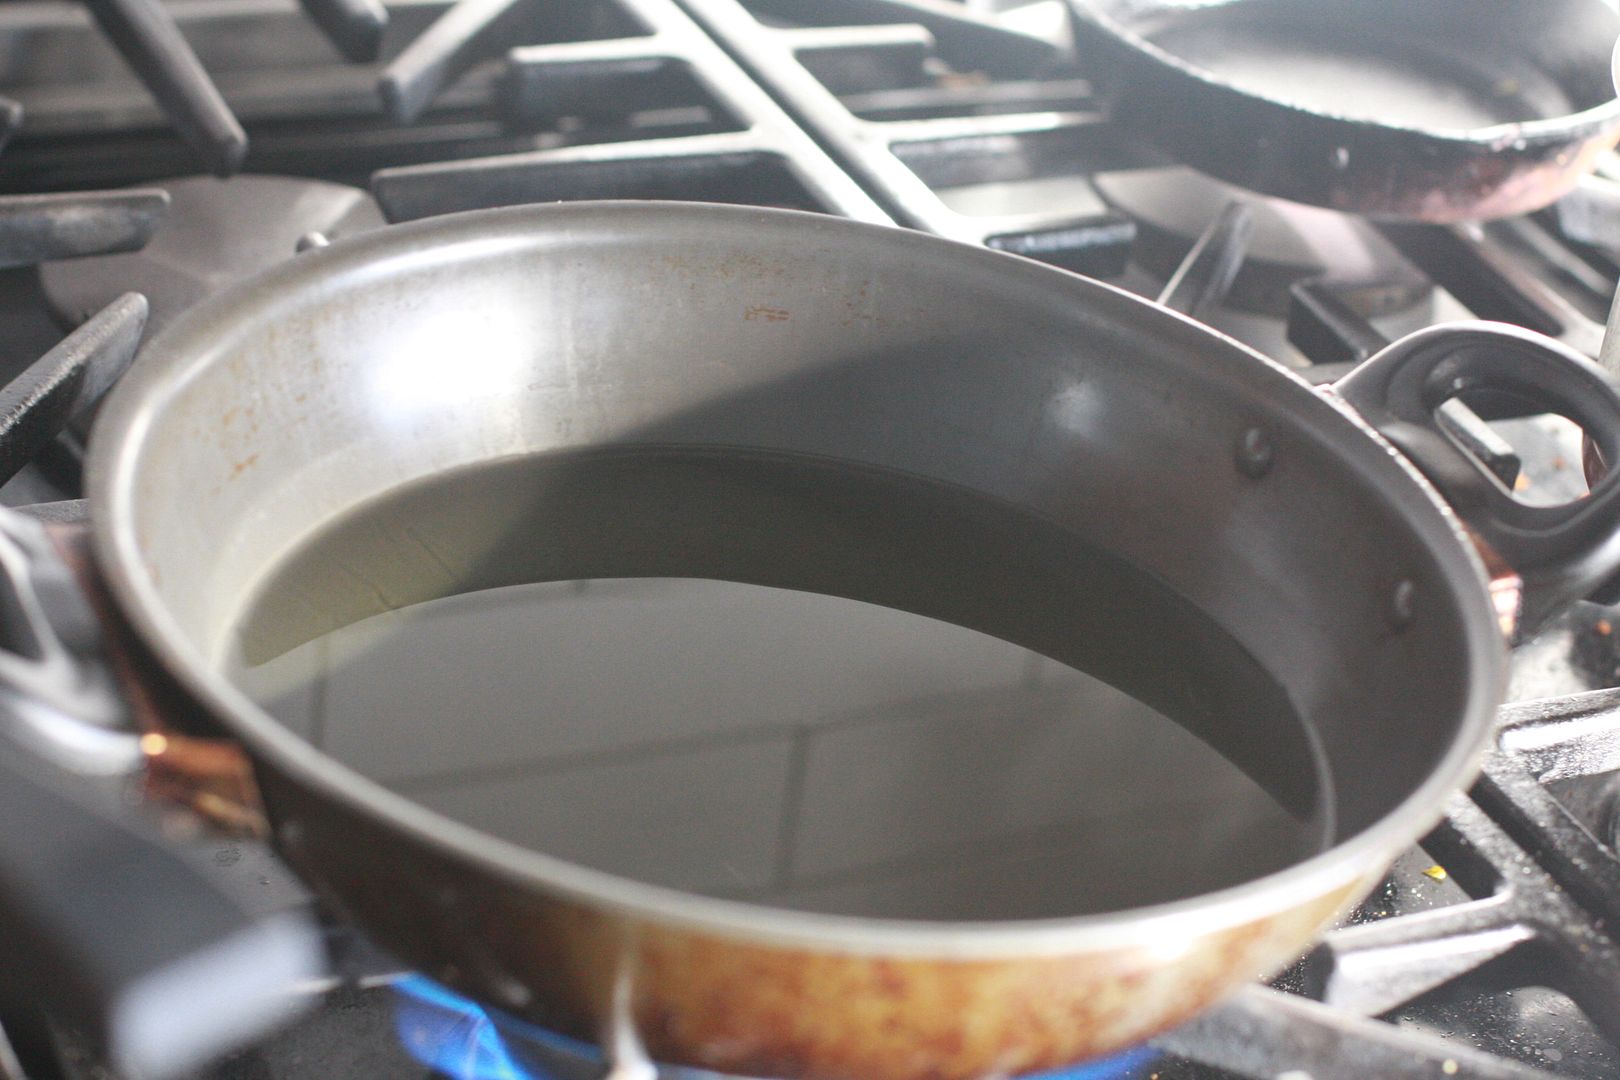
Slice the onions really thin. Put the oil to heat.
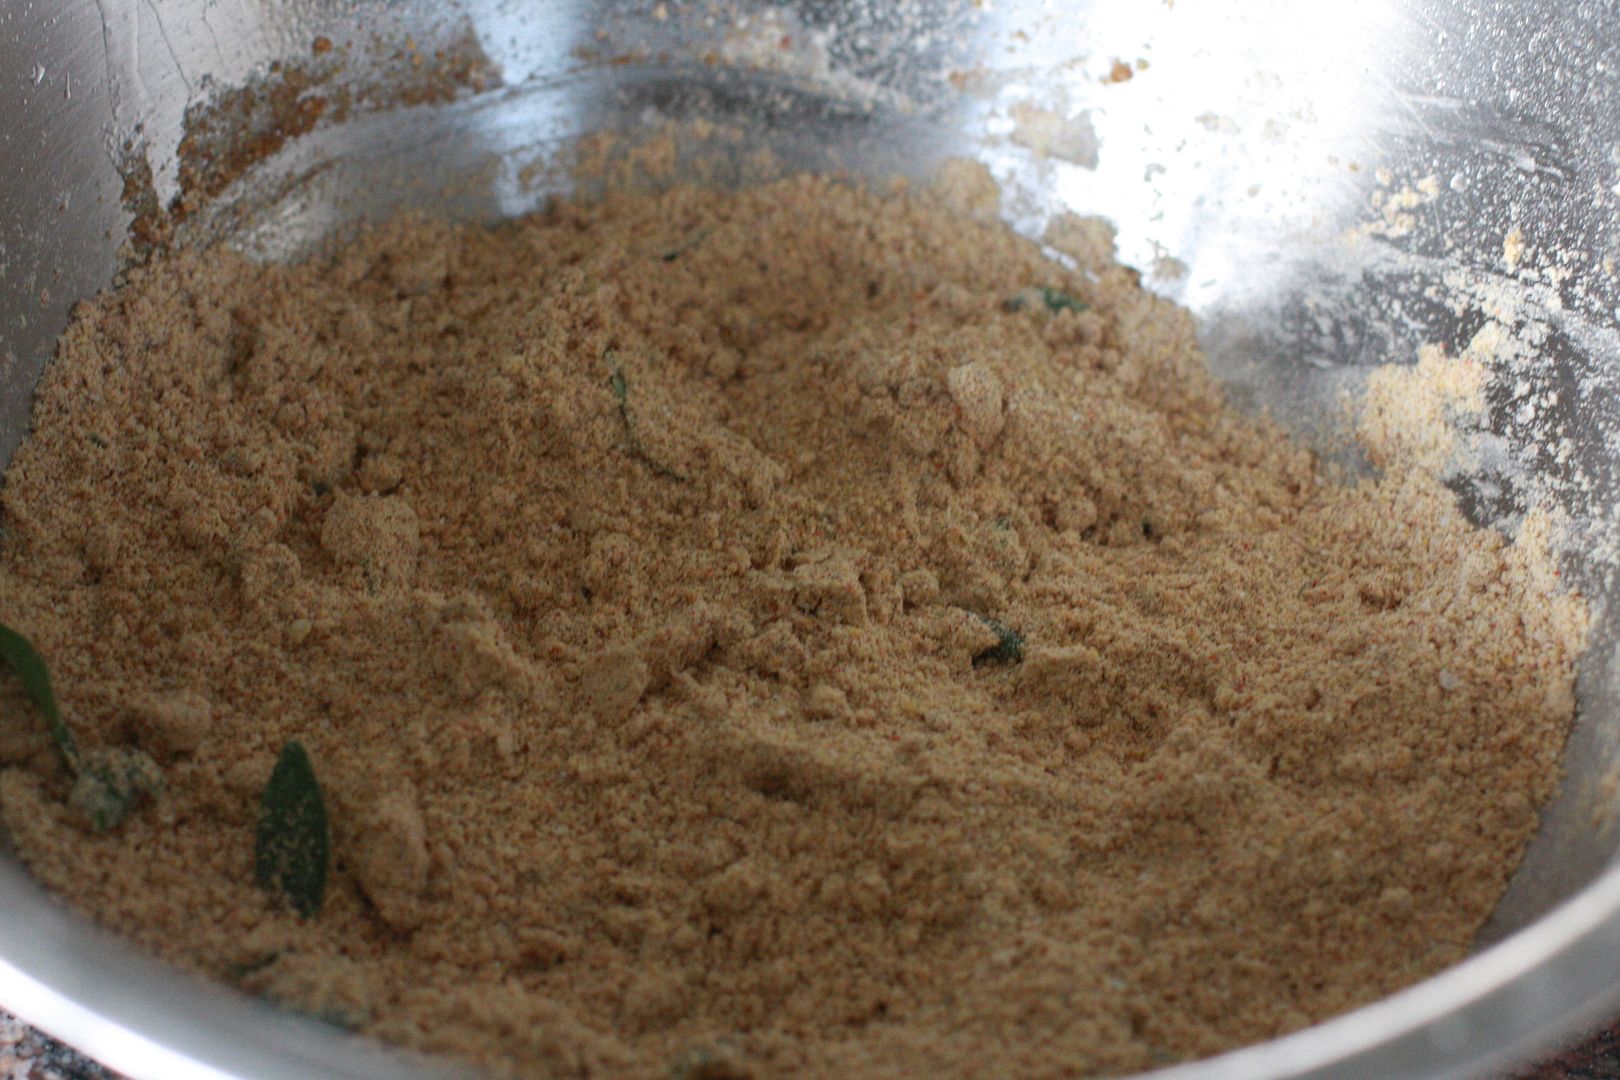
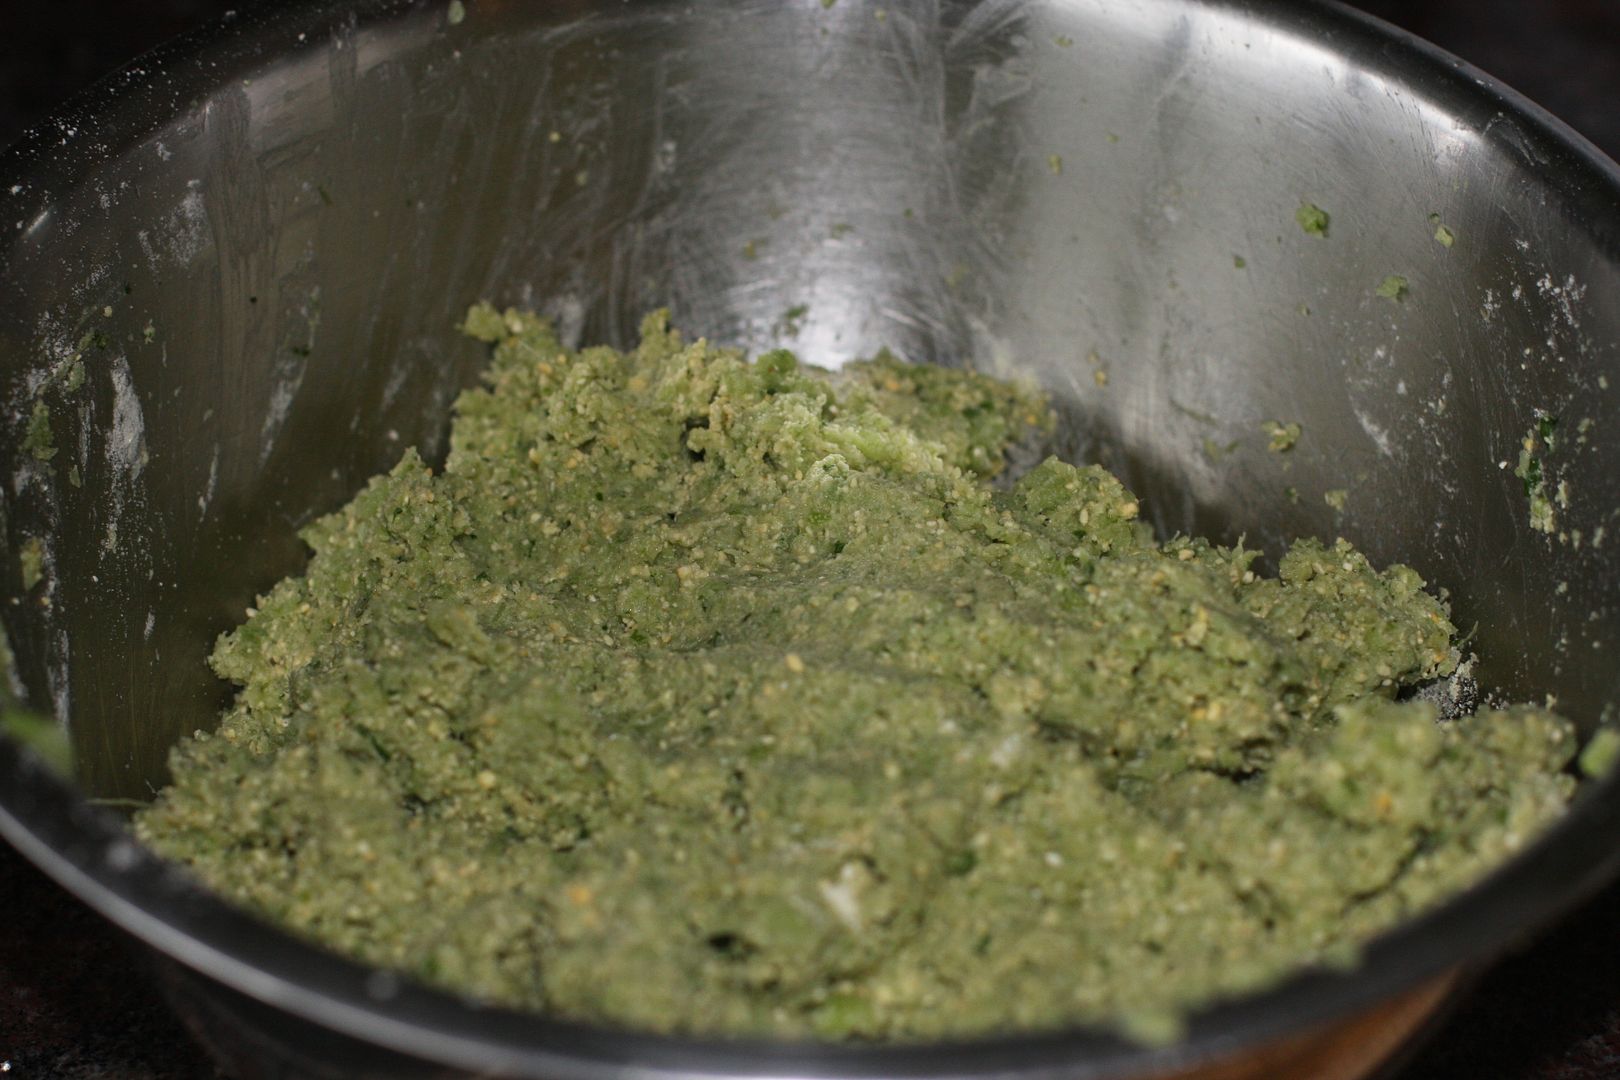
Whisk together the flour, spices and the salt.
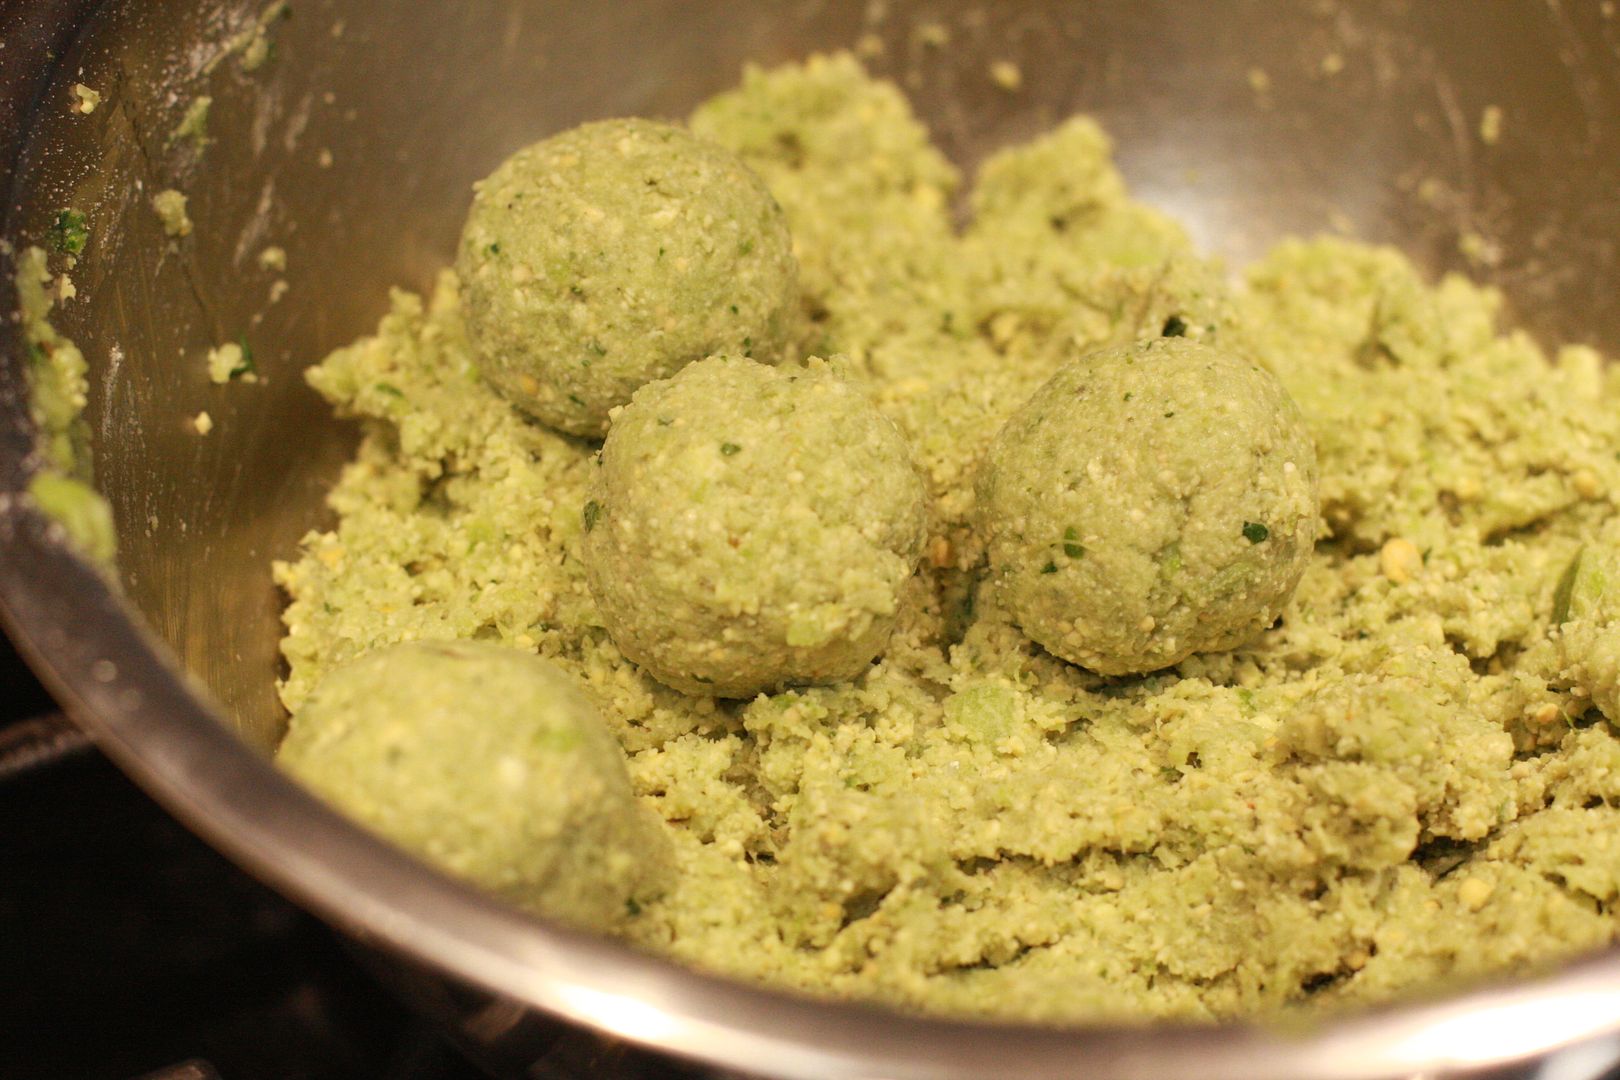
Add 1/4 cup of the heating oil into the flour mixture. Sprinkle water and make a batter with the flour. Add in the onions, coriander, curry leaves and green chilies.
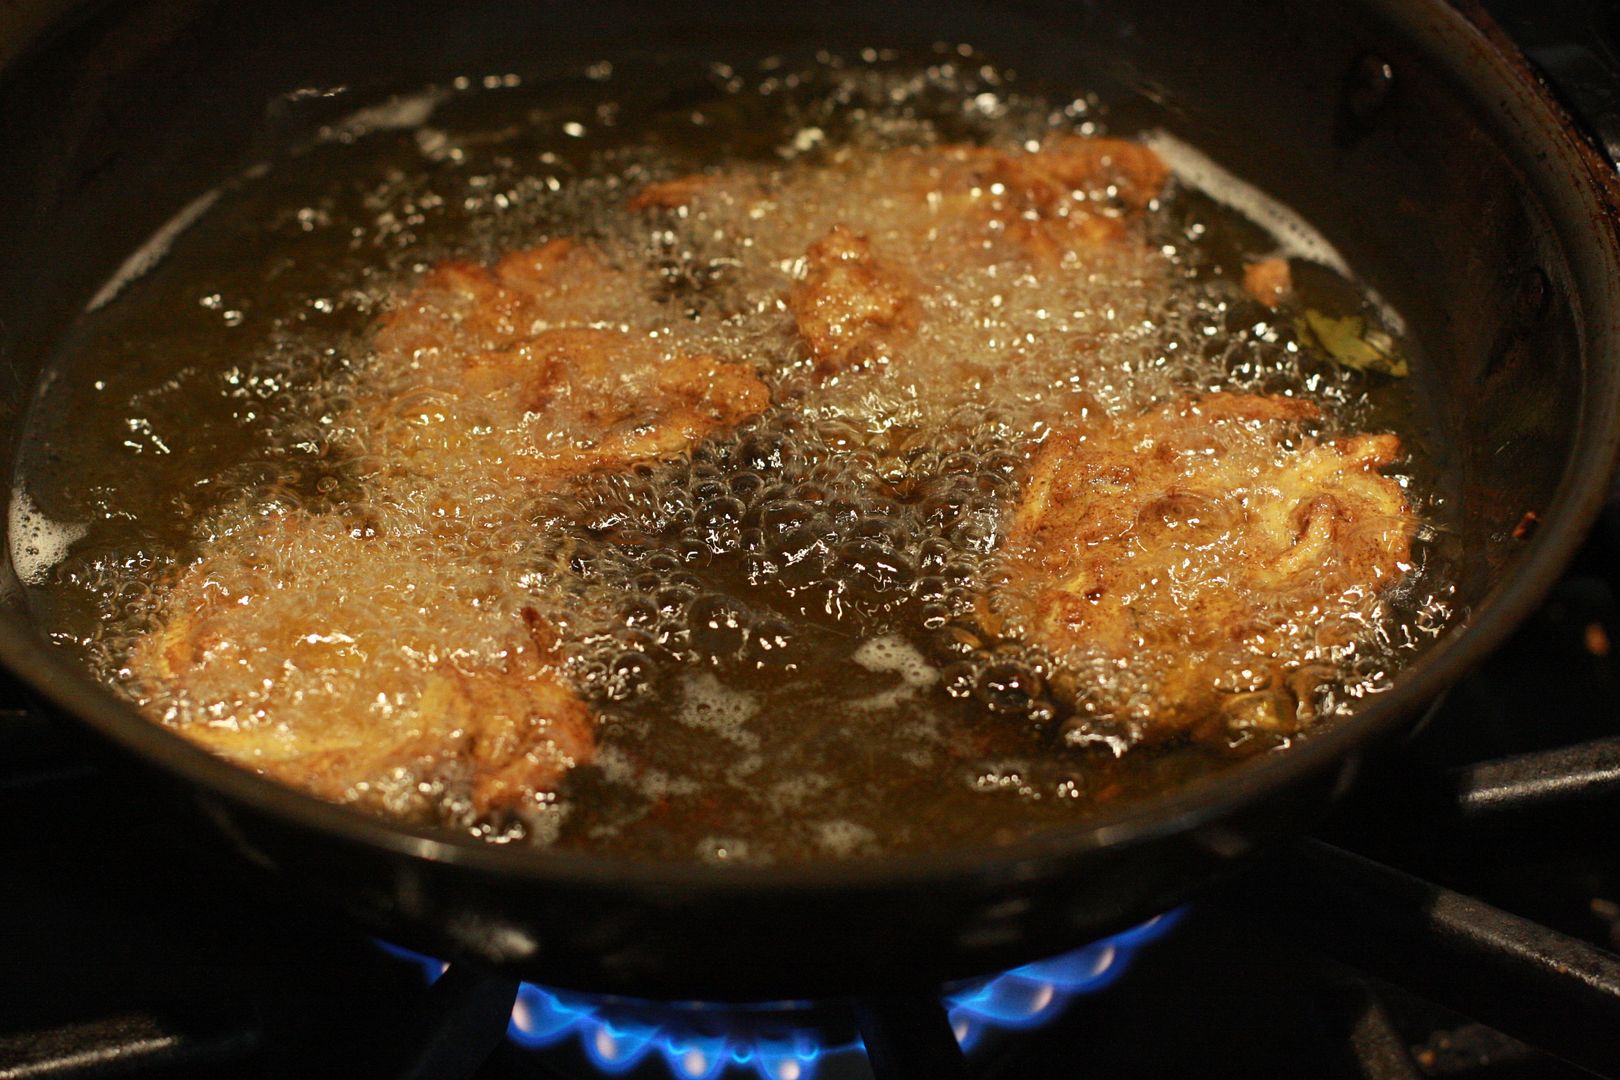
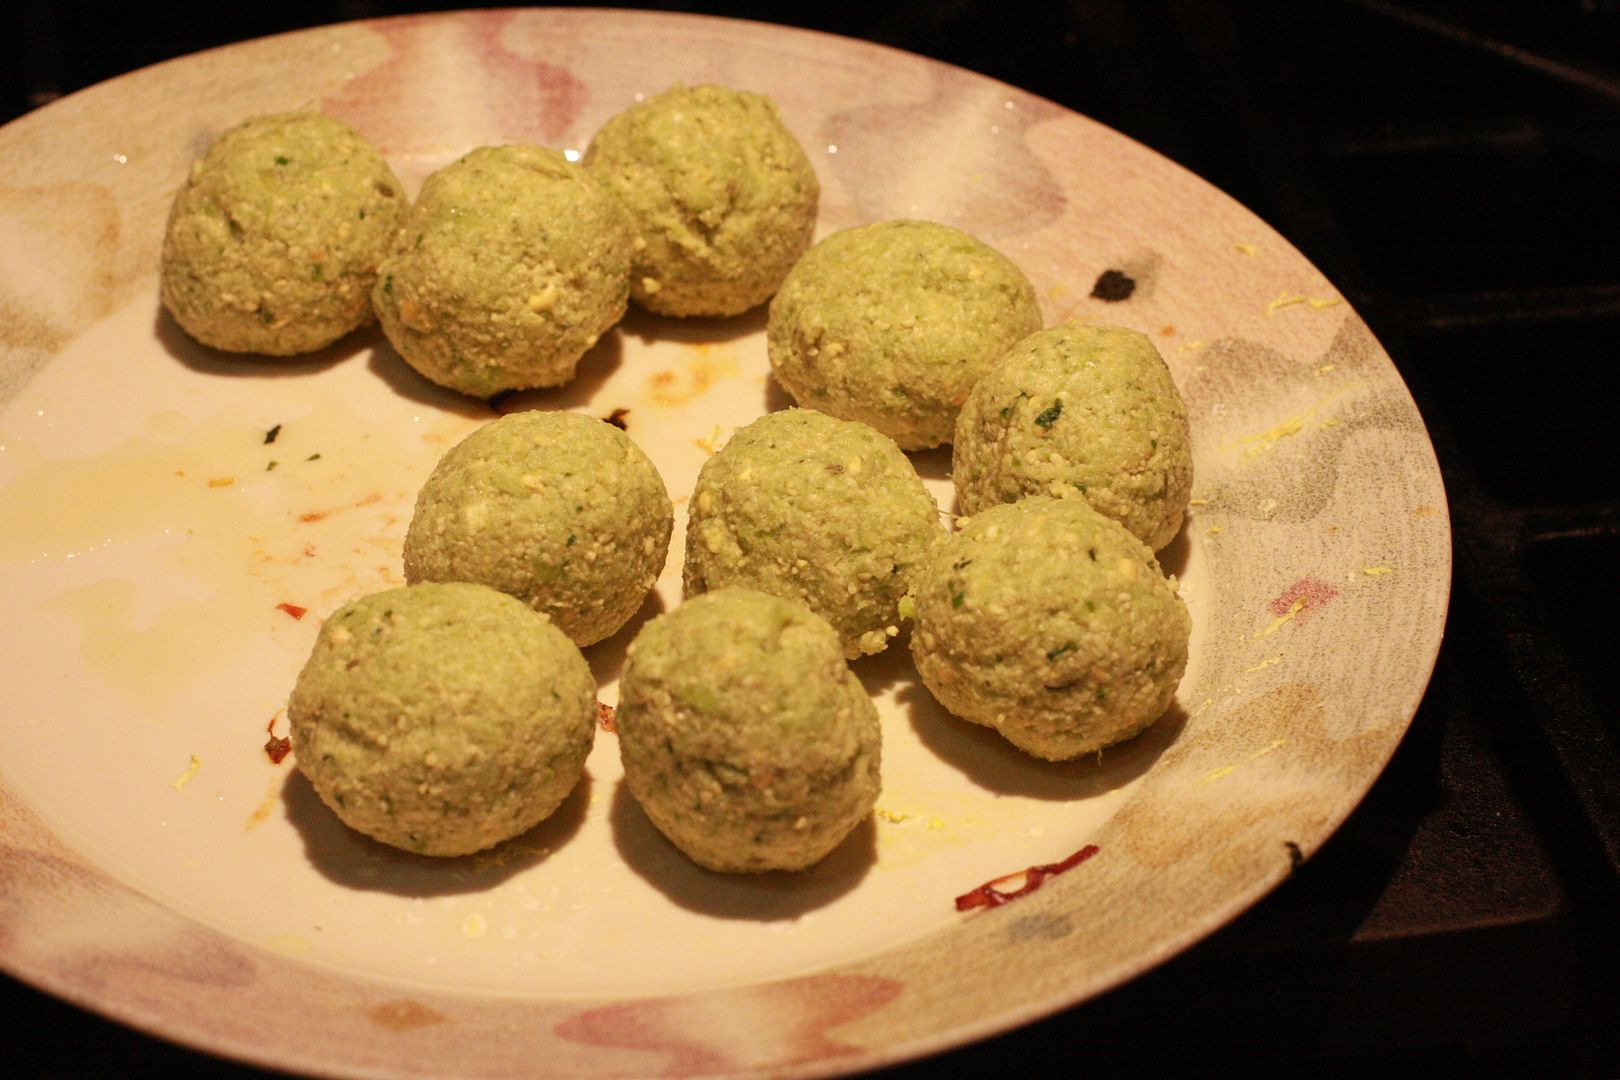
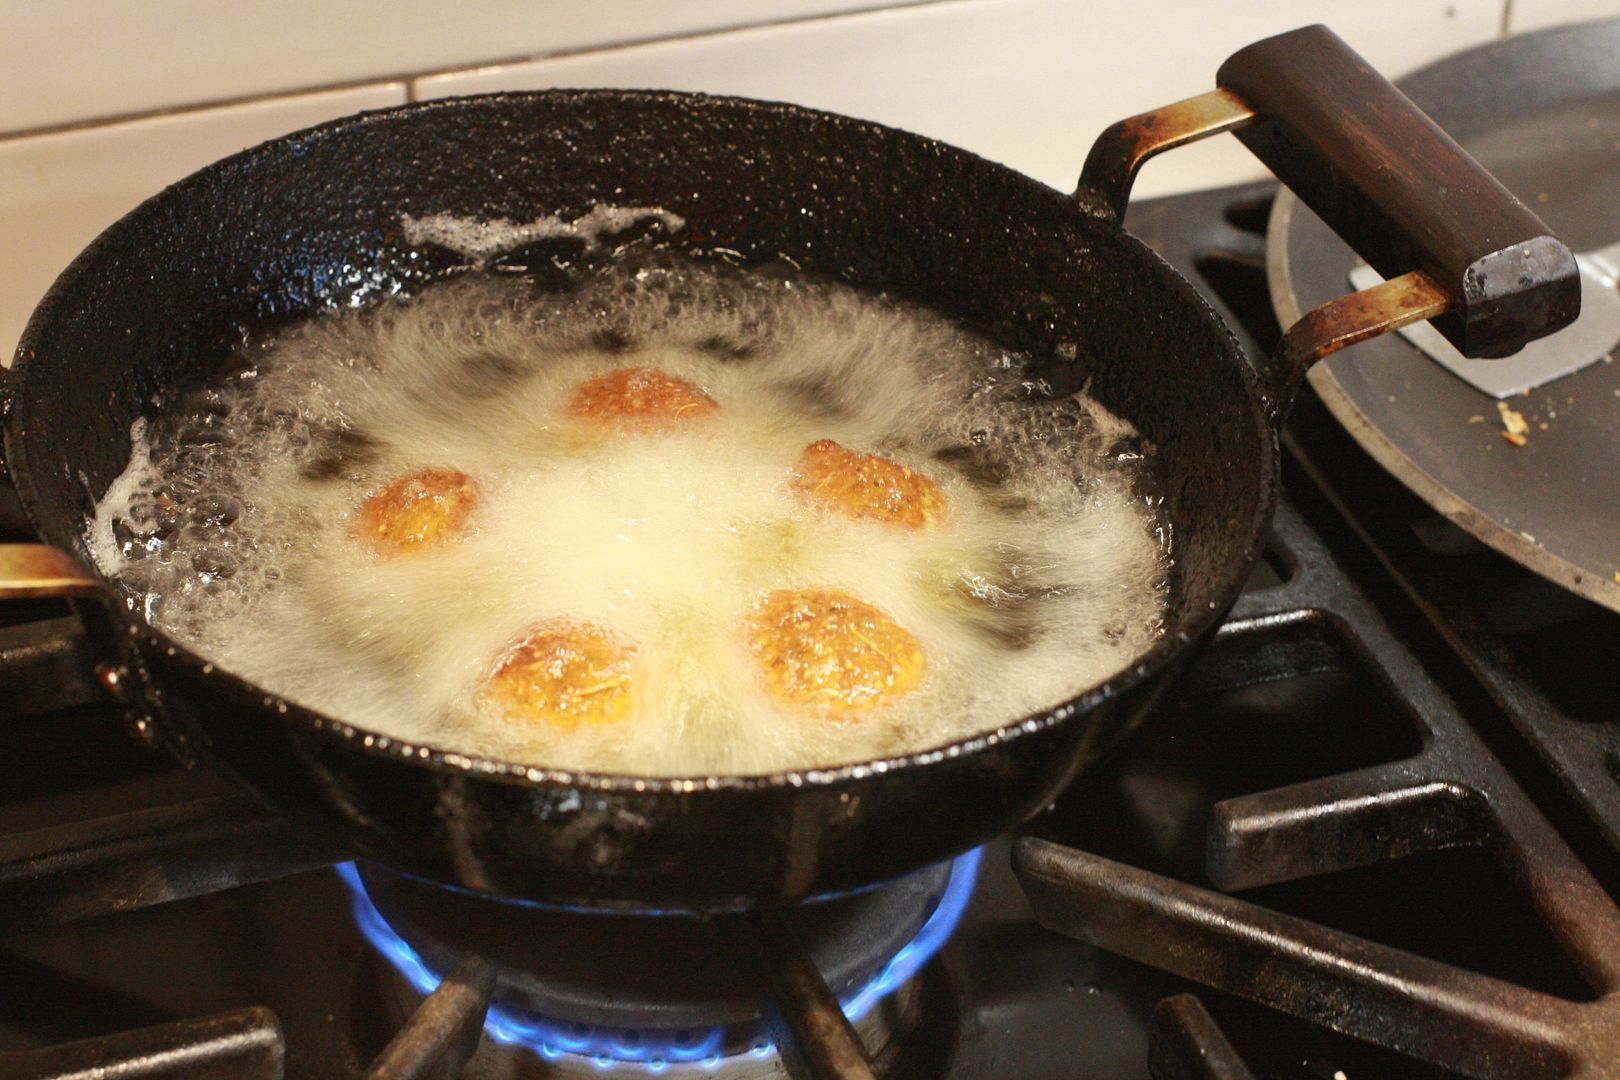
Sprinkle the onion mixture into the oil. Let it cook till the bubbles start subsiding.
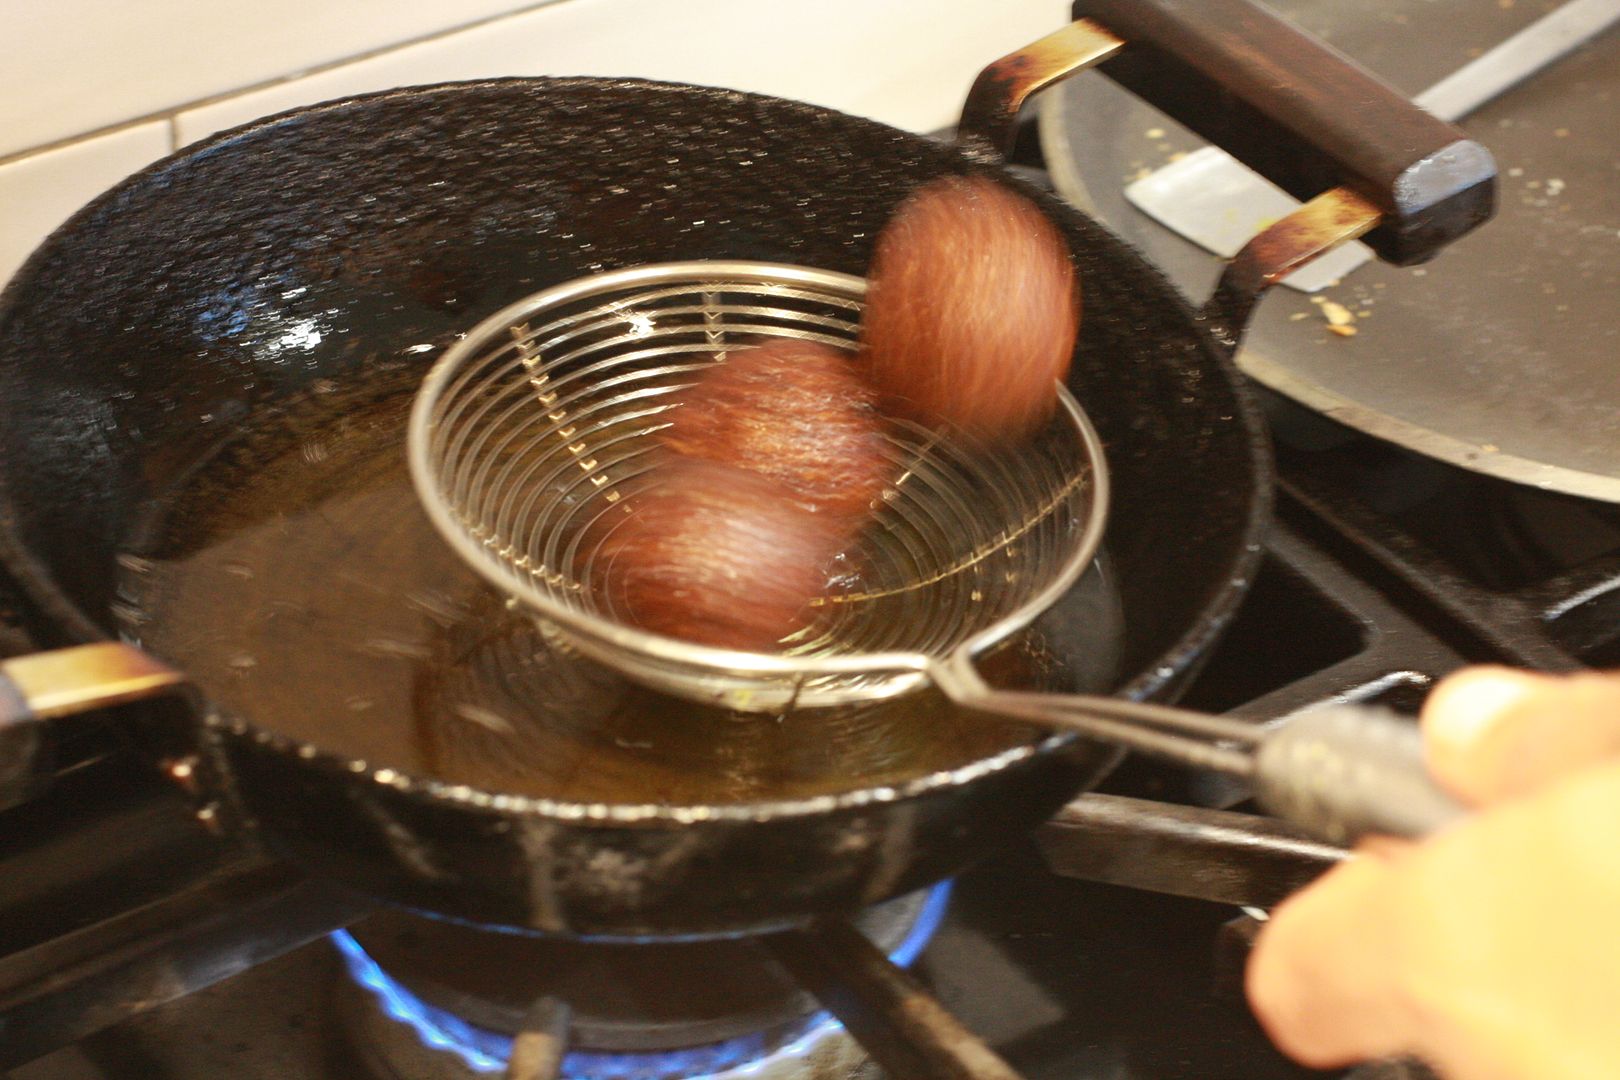
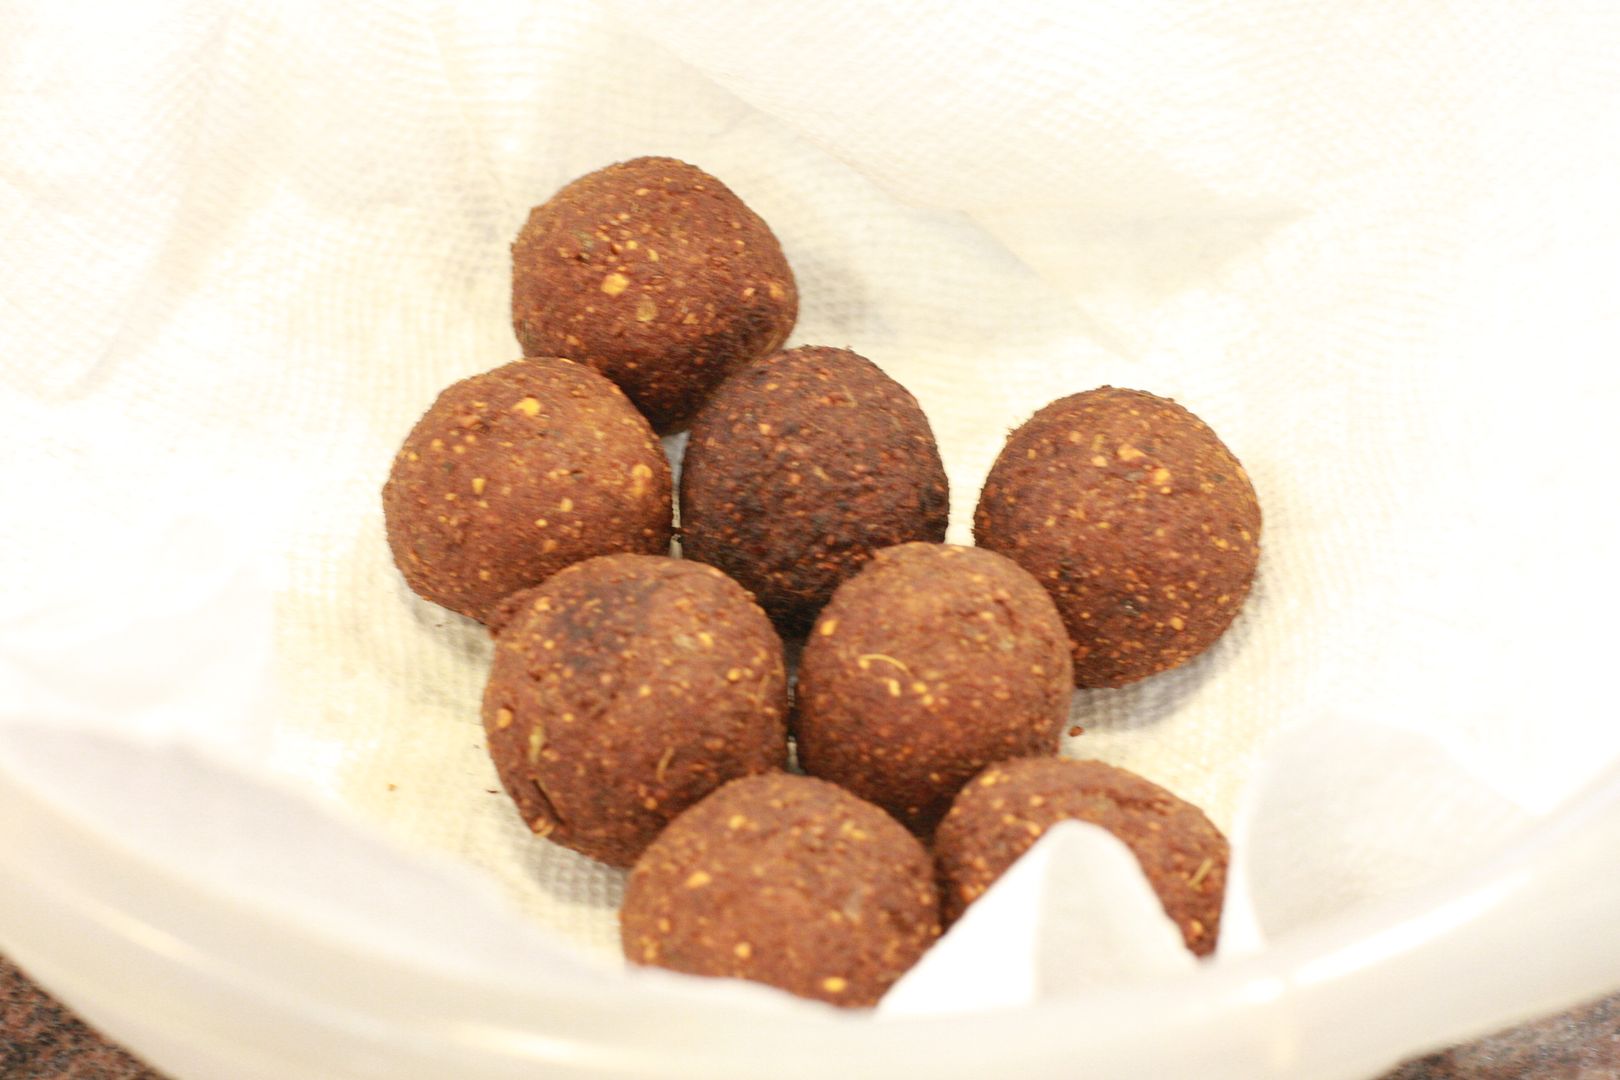
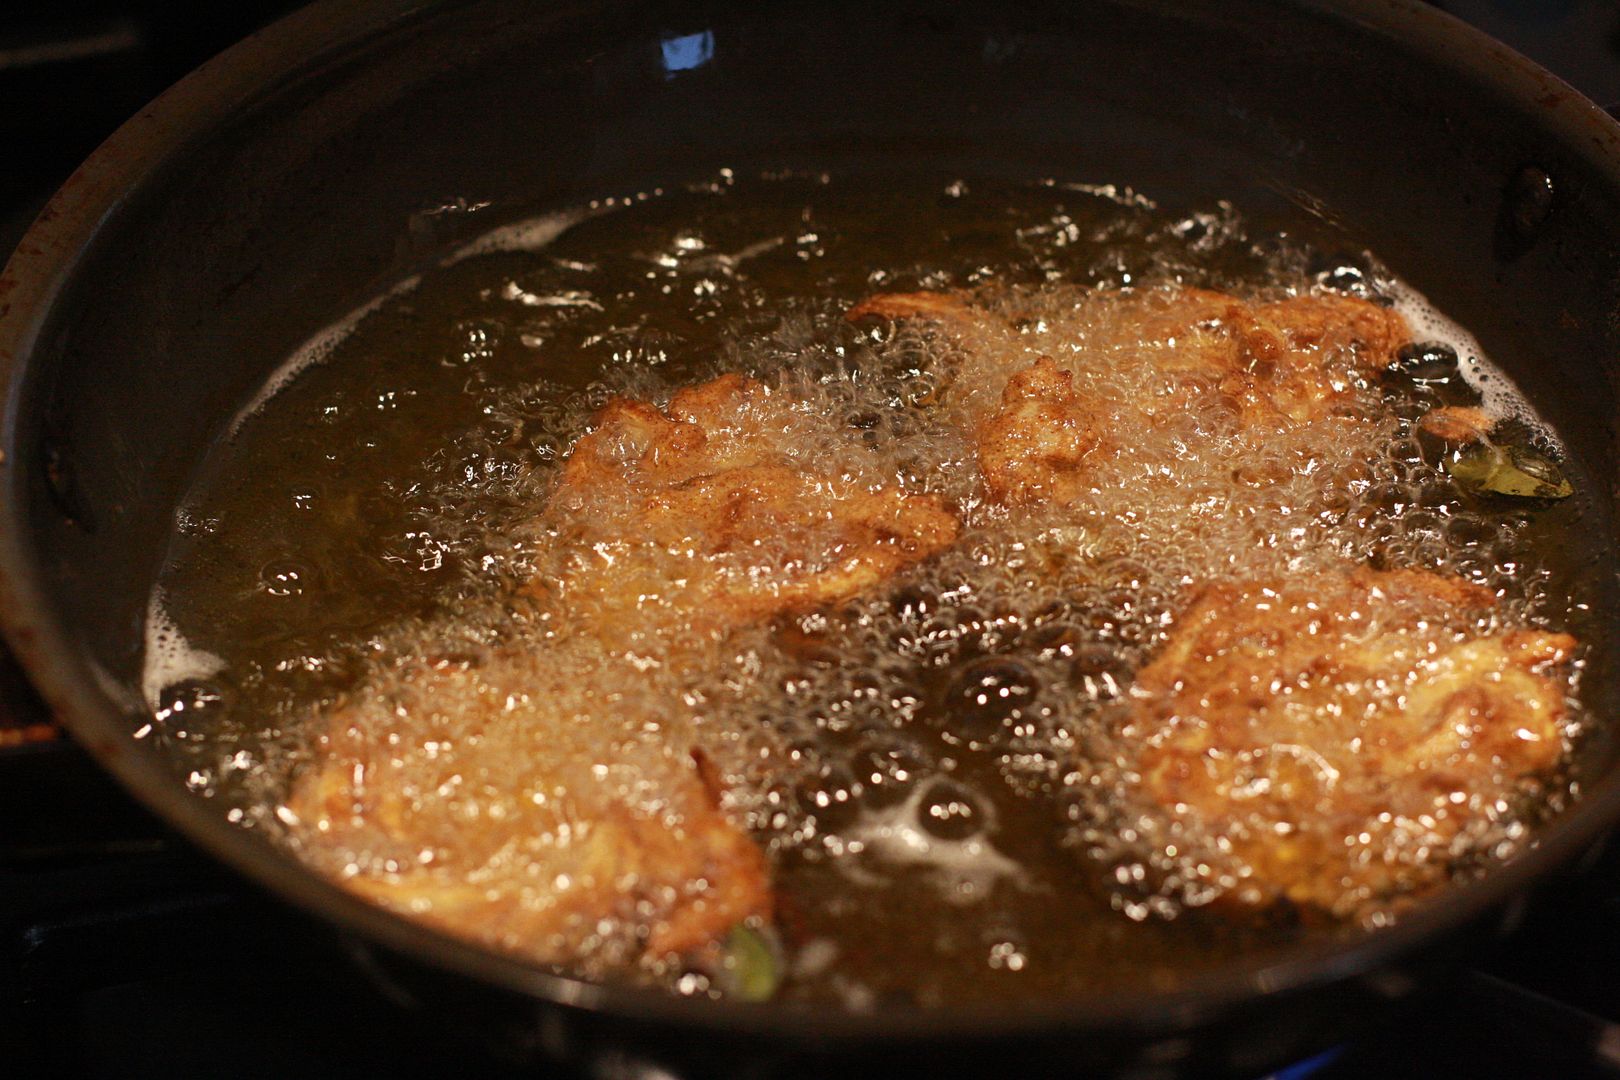
Check if the pakoda is golden brown and remove from oil and drain.

For a deep fried snack it is fairly easy to cook. Other kind of vegetables can also be used.


 photo IMG_4162_zpsopx1tkov.jpg

Ragi Onion Pakoda
Preparation Time: 20 minutes
Cooking Time: 30 minutes
Ingredients
  1. 1 onion sliced thin (I used yellow onion)
  2. 1/2 cup of Kadalai Mavu or Besan
  3. 1/2 cup of Ragi Flour
  4. 1/2 tbsp of Ravai or Sooji
  5. 1/2 tbsp Red Chili Powder
  6. Curry leaves, coriander leaves finely chopped (a handful)
  7. 2-3 green chilies finely chopped
  8. Salt to taste
  9. Oil for Deep Frying

Method
  1. In a pan suitable for deep frying add enough and let it heat.
  2. While the oil is heating whisk together the besan, ragi flour and sooji along with the salt and chili powder.
  3. Begin with 1/4 cup of water and a 1/4 cup of the heating oil. Add the oil and add the water in small quantities into the flour mixture. Mix to form a smooth paste. Ragi is slightly denser flour than rice so a slightly more water might be needed.
  4. Add in the sliced onions, coriander, green chilies and curry leaves and let them coat evenly.
  5. Once the oil is hot, take some of the coated onions and spread it into the oil.
  6. Let it cook and when the bubbles starts to subside, you do not have to wait till the bubbles are fully subsided, when the pakoda is turning golden brown remove from oil and drain.
  7. Continue till all the mixture has run out.
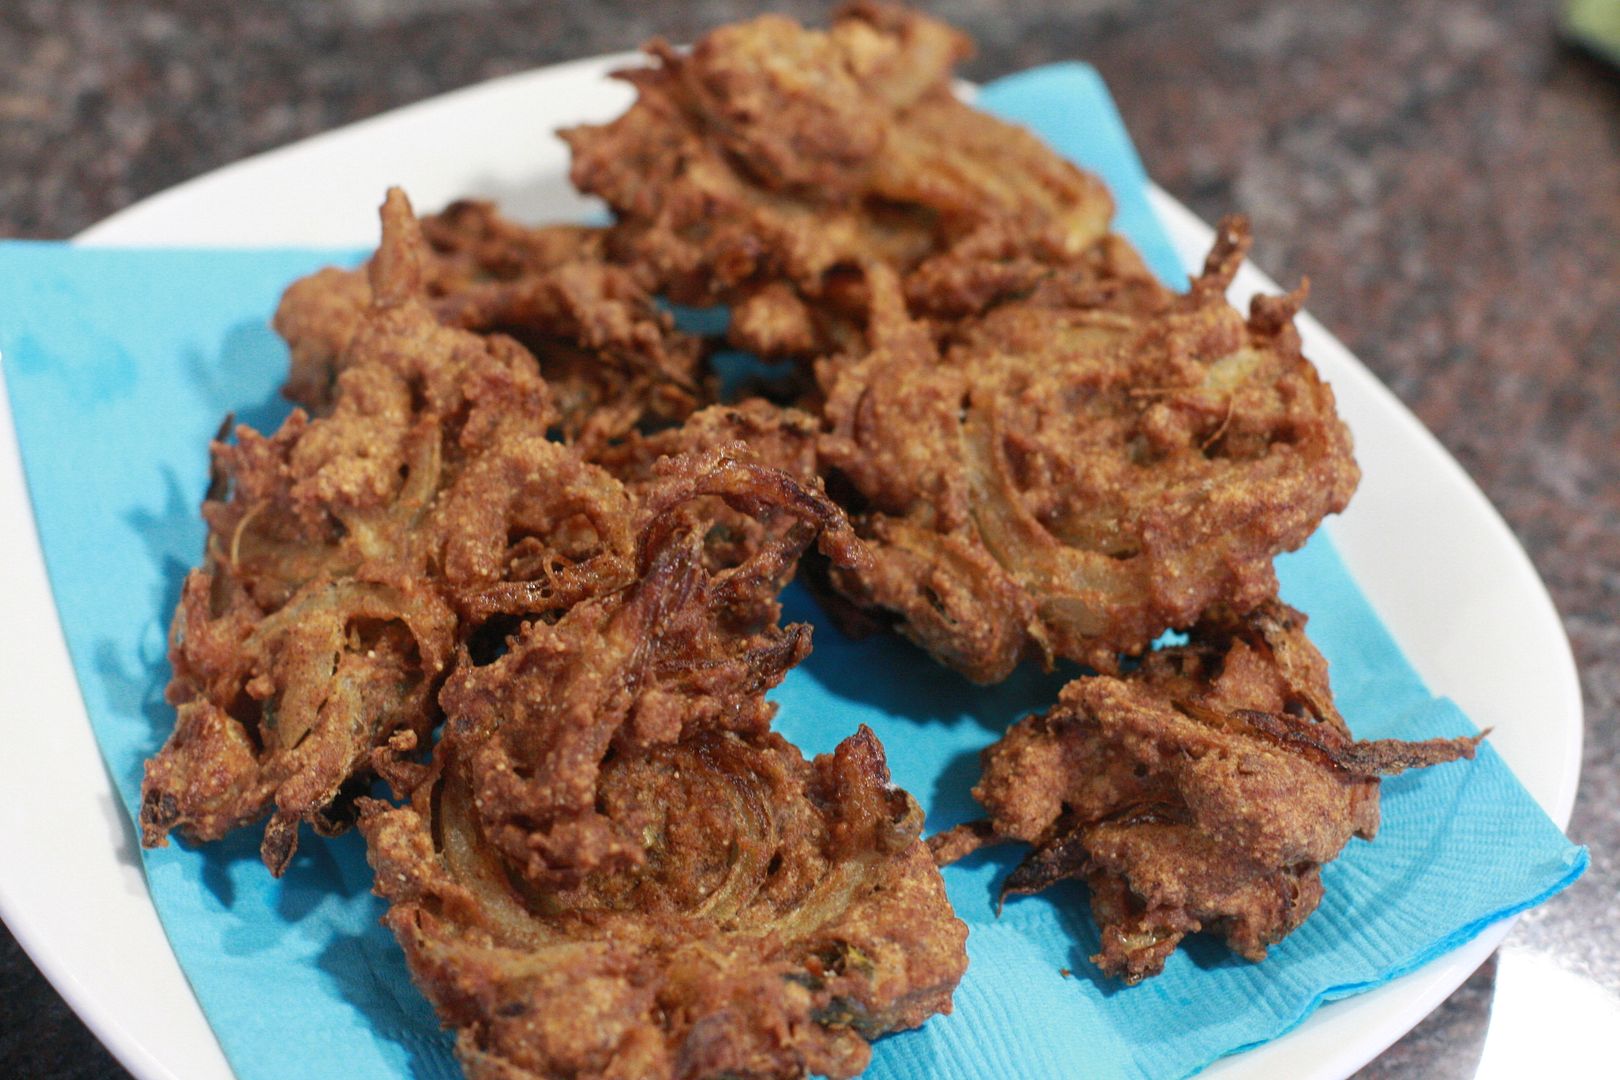
Crunchy and tasty pakoda is ready. Watch a movie or just enjoy the silent world outside :)


Like what you are reading? Subscribe!

Wednesday, December 12, 2018

Spicy Stir Fried Chapathis - Kothu Chapathi - Revisited

Kothu Chapthi - Revisited

Kothu Parotta that street food favorite is easy to recreate at home now that we readily get frozen parotta in stores pretty easily. There is even a whole wheat version of the frozen parotta available these days. But the easiest to do at home is a knockoff using leftover chapathis or rotis or even parathas. It can quickly be made in the morning for a quick breakfast. Family prefers eating boring bagel, cereal or toast for weekday breakfast. So I usually make it for packed lunch to school and office. If you have the cutting done the previous night you can quickly put this together in the morning.

Quick and easy and does not take too much time.


Using nice and juicy tomatoes helps keeps the kothu chapathi from drying out.


Kothu Chapathi
Preparation Time: 5 minutes
Cooking Time: 20 minutes
Ingredients
  1. 8 -10 chapathis or rotis or parathas
  2. 3 eggs
  3. 1 cup onion finely chopped
  4. 1 cup of tomato chopped fine
  5. half bell pepper chopped fine (optional)
  6. 4-5 green chilies seeds removed and finely chopped
  7. 3 garlic chopped fine
  8. 1/2 tbsp fresh ginger grated
  9. 1/2 tbsp ketchup or chili garlic sauce (optional, did not use it)
  10. 2 tbsp coriander leaves chopped fine
  11. 2 tsp turmeric powder
  12. 1 tsp chili powder
  13. 3 tsp oil
  14. Salt to taste
  15. 1 sprig curry leaves (optional)

Method
  1. Fold the chapathis in half and cut into thin strips, set aside.
  2. In a pan heat 2 tsp of oil, add the onions and saute till they just start to turn brown.
  3. Add in the chopped bell pepper and the green chilies and saute for a couple of minutes more.
  4. Add the garlic and ginger and saute for a minute more.
  5. Add in the turmeric and chili powder and mix. Add in the coriander leaves and saute.*
  6. Now add the tomatoes and saute till they get soft and mushy.
  7. Break the eggs into the tomato mixture, mix it in and let cook. This should take about 3-4 minutes.
  8. Add in the chapthis and mix them so the tomato egg mixture coats the pieces.
  9. Drizzle a tsp of oil if required and add the sauces if using. Cook for 2-3 minutes and by now the eggs should be cooked.
  10. *I like the coriander leaves to be cooked so I added it earlier in the cooking process. If you like the smell of fresh coriander leaves add it right before turning off the heat.
Serve hot.

Photobucket

Originally Published - 11/13/2008 at 6:20PM EST

Tuesday, July 4, 2017

Crisp Bread with melted cheese and vegetables

As you are on the road driving have you seen heads on the driver side bent and you are wondering when that car is going to cut into your lane? Then the head lifts up at the last minute and the car corrects itself on the lane and you breathe a sigh of relief and think to yourself you are much smarter than that right? This is until you realize you are doing exactly the same thing!! Though DD2 thinks that I have finally joined the digital world after purchasing a smart phone. I feel like I have lost something and I realize instead of observing people in the cars I am one of those people with a bent head.

I apologize for not being active on this blog. Too many things going on. We moved and now live in the farm, which means more fun and lot more work. Anyway on to the recipe,

A friend made an unexpected visit a weekend. She brought some crisp bread with her. They are more like crackers but only bigger and crispier. While I was wondering what to make I thought who doesn't like melted cheese on crackers? Pair them with some sliced Avocadoes or fig jam and they are a treat. You can also add sauted some vegetables and top them on the crackers.


Get the crsip bread ready. Get the vegetables sauteed and ready to go.
Add the cheese and vegetables to the crisp bread. Place them in the toaster oven till the cheese melts for about 10-15 minutes.
Add the cheese and vegetables to the crisp bread. Place them in the toaster oven till the cheese melts.

An easy to eat snack is ready in just a few minutes. If you do not want to bother avocado, tomatoes or even minced jalapeno pickles very well.


Crisp Bread with melted cheese and vegetables
Preparation Time: 15 minutes
Cooking Time: 20 minutes
Ingredients
  1. 1 Zucchini (mushroom or any kind of squash, avocado, tomatoes)
  2. 1/2 tsp chili or pepper powder
  3. salt to taste
  4. Pepper Jack Cheese chopped or sliced (or any cheese of your choice that can be melted)
  5. 1 packet of Crisp Bread or any hard fairly larger size crackers **
Method
  1. Chop the zucchini into tiny cubes (if using mushroom or squash do the same thing). Slice the avocados and tomatoes if using but skip the next step. *
  2. In wide mouthed pan heat the oil and when hot in high heat add the zucchini and saute till it partially cooked. Add salt and pepper or chili powder and give a good mix and turn the heat off.
  3. Take the crisp bread and line it with cheese mixed in with the vegetables.
  4. Place in a toaster oven at 350F for about 10-15 till the cheese melts.
  5. Note:** Use crackers that can toasted to get the cheese melted.
  6. * If using avocados or tomatoes add them and sprinkle the pepper after the cracker comes out of the toaster.
Like what you are reading? Subscribe!

Tuesday, November 8, 2016

Multigrain flour and Moongdal Murukku - Multigrain savory crackers

Anytime I come across multigrain anything I tend to buy it and give it a try. This time it was multigrain flour gluten free. I bought it for the purposes of making rotis. But using gluten free flour to make rotis requires lots of patience. No gluten means there is nothing to hold it together to make a shape out of it by rolling. You might be far more successful patting them into round shapes. On the other hand, the rotis made with this flour is very tasty.

So we had to find other ways of using it. They make excellent dosai by themselves or mixed with a tiny bit of regular dosai batter. I make roits by using half multigrain flour and the other half regular chapathi flour. They are easy to roll this way. When it came time to make some Deepavali snack I wanted to give this multigrain murukku a try. They did not disappoint. I also added some roasted moongdal flour along with the multigrain flour.


Combine together rice, multigrain and moongdal flour and whisk them together. Add chili powder, salt, asfoetida.
Add cumin seeds and sesame seeds and mix them in. Start sprinkling water and making the dough.
Continue sprinkling just enough water to bring together to form a stiff dough.
In a wide mouthed pan or kadai heat the oil for deep frying. Use the murukku maker to make the murukku shape on the back of a laddle or on a small plate.
Drop the presses murukku into the oil. Initially there will be a lot of bubbles which will slowly start to subside when the murukku is cooked completely. Remove with slotted spoon and drain on paper towels.


Multigrain flour and Moongdal Murukku
Preparation Time: 20 minutes
Cooking Time: 1 1/2 hours
Ingredients
  1. 2 cups rice flour
  2. 1 cup multigrain flour
  3. 1 cup moongdal flour
  4. 1/2 tbsp chili powder (or to taste)
  5. 1/4 tsp asfoetida
  6. salt to taste
  7. 1 tsp sesame seeds
  8. 1 tsp cumin seeds
  9. 1 tbsp butter melted
  10. Oil for deep frying

Method
  1. Whisk together the rice flour, multigrain flour and moongdal flour. Add in the butter, chili powder, asfoetida and salt and mix together with sesame seeds and cumin seeds.
  2. Sprinkle water a little at a time and bring the dough together till it smooth. Do not add too much water.
  3. In a wide mouthed pan or kadai heat oil.
  4. Take the dough in the murukku press and press out the shapes.
  5. Keep the heat in medium once the oil has reached the required temperature. To check if the oil has reached the desired temperature add a tiny bit of dough and see if it comes to the top and bubbling.
  6. Keep the dough covered by a wet towel so it does not dry out.
  7. Once the oil is hot add in the pressed murukku and let it cook. Initially there will be a lot of bubbles which will slowly die down and the murukku will change color to golden brown.
  8. Remove the cooked murukku with slotted spoon and drain on paper towels.
  9. Repeat the process till all the dough is done.
  10. Note:If the dough is too wet it will absorb too much oil. If there is too little it will be hard to press and the murukku won't hold its shape. I had the dough slightly stiff so it was not easy to make shapes but worked for our us.

Like what you are reading? Subscribe!