This is absolutely a 3-4 ingredient recipe. I made my own condensed milk by reducing the milk and adding only the required amount of sugar or you can skip the sugar and add none at all as the ripe bananas are pretty sweet by themselves.
Recipe in pictures below. Very quick and easy, you can use store bought condensed milk for even faster results. Replace with almond milk for a vegan version
 | 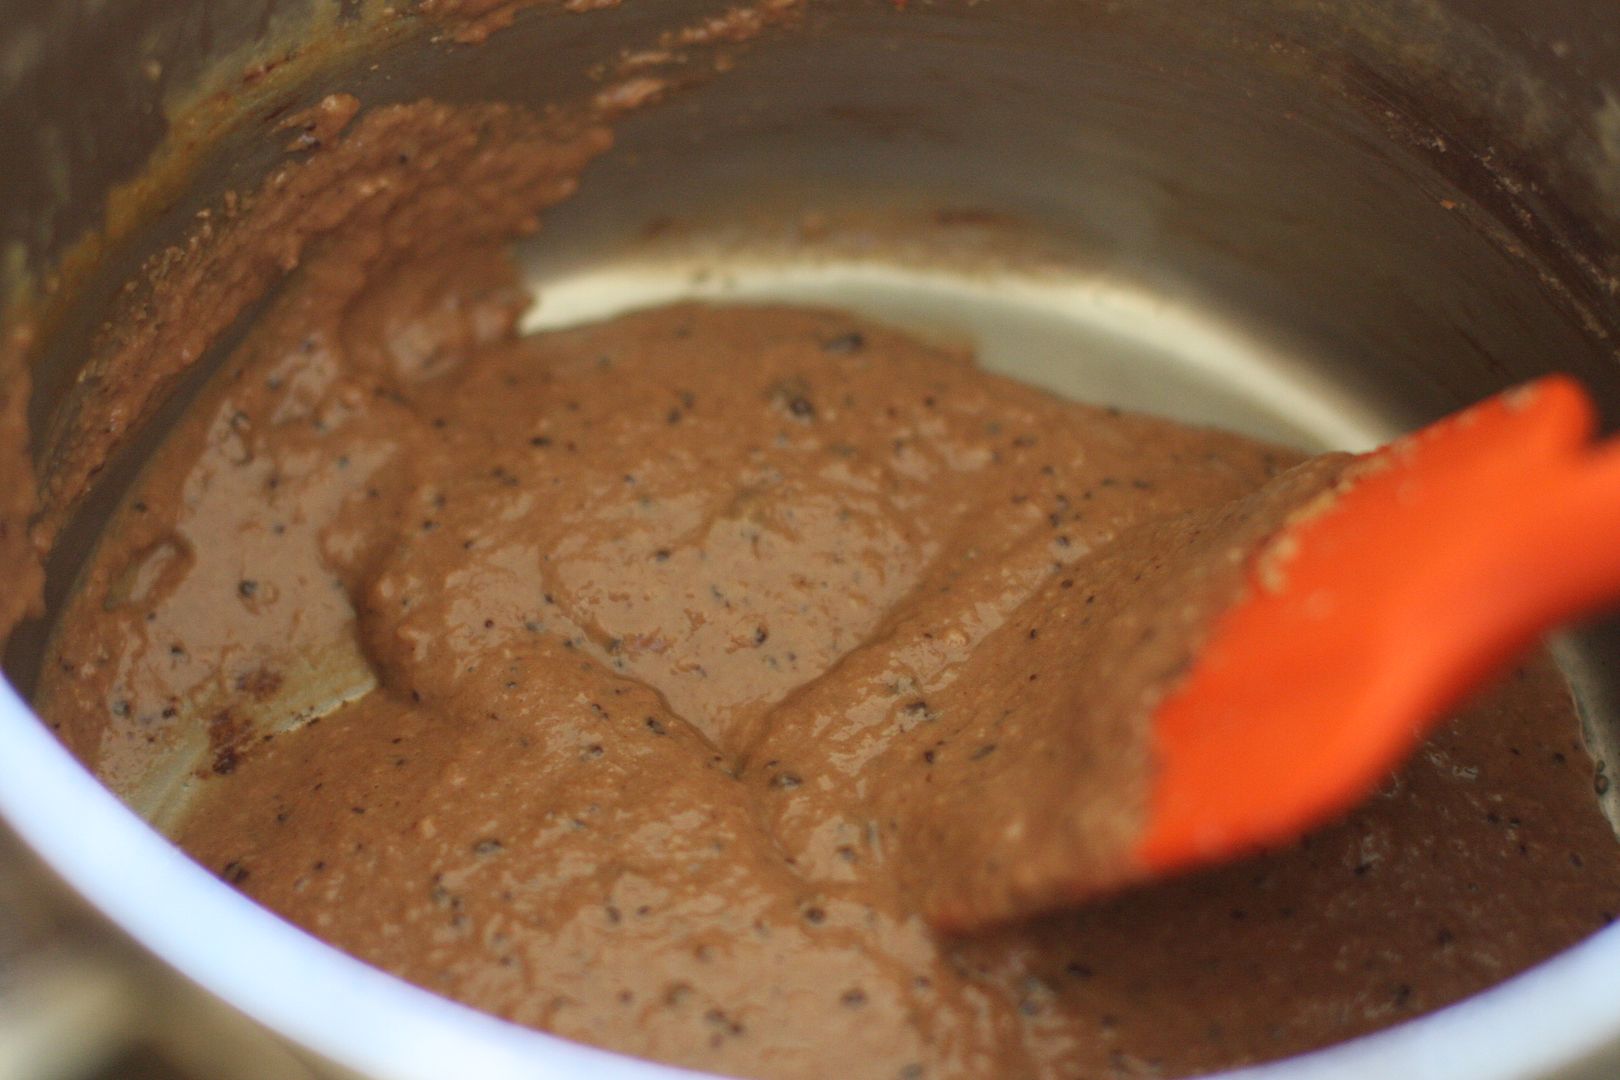 |
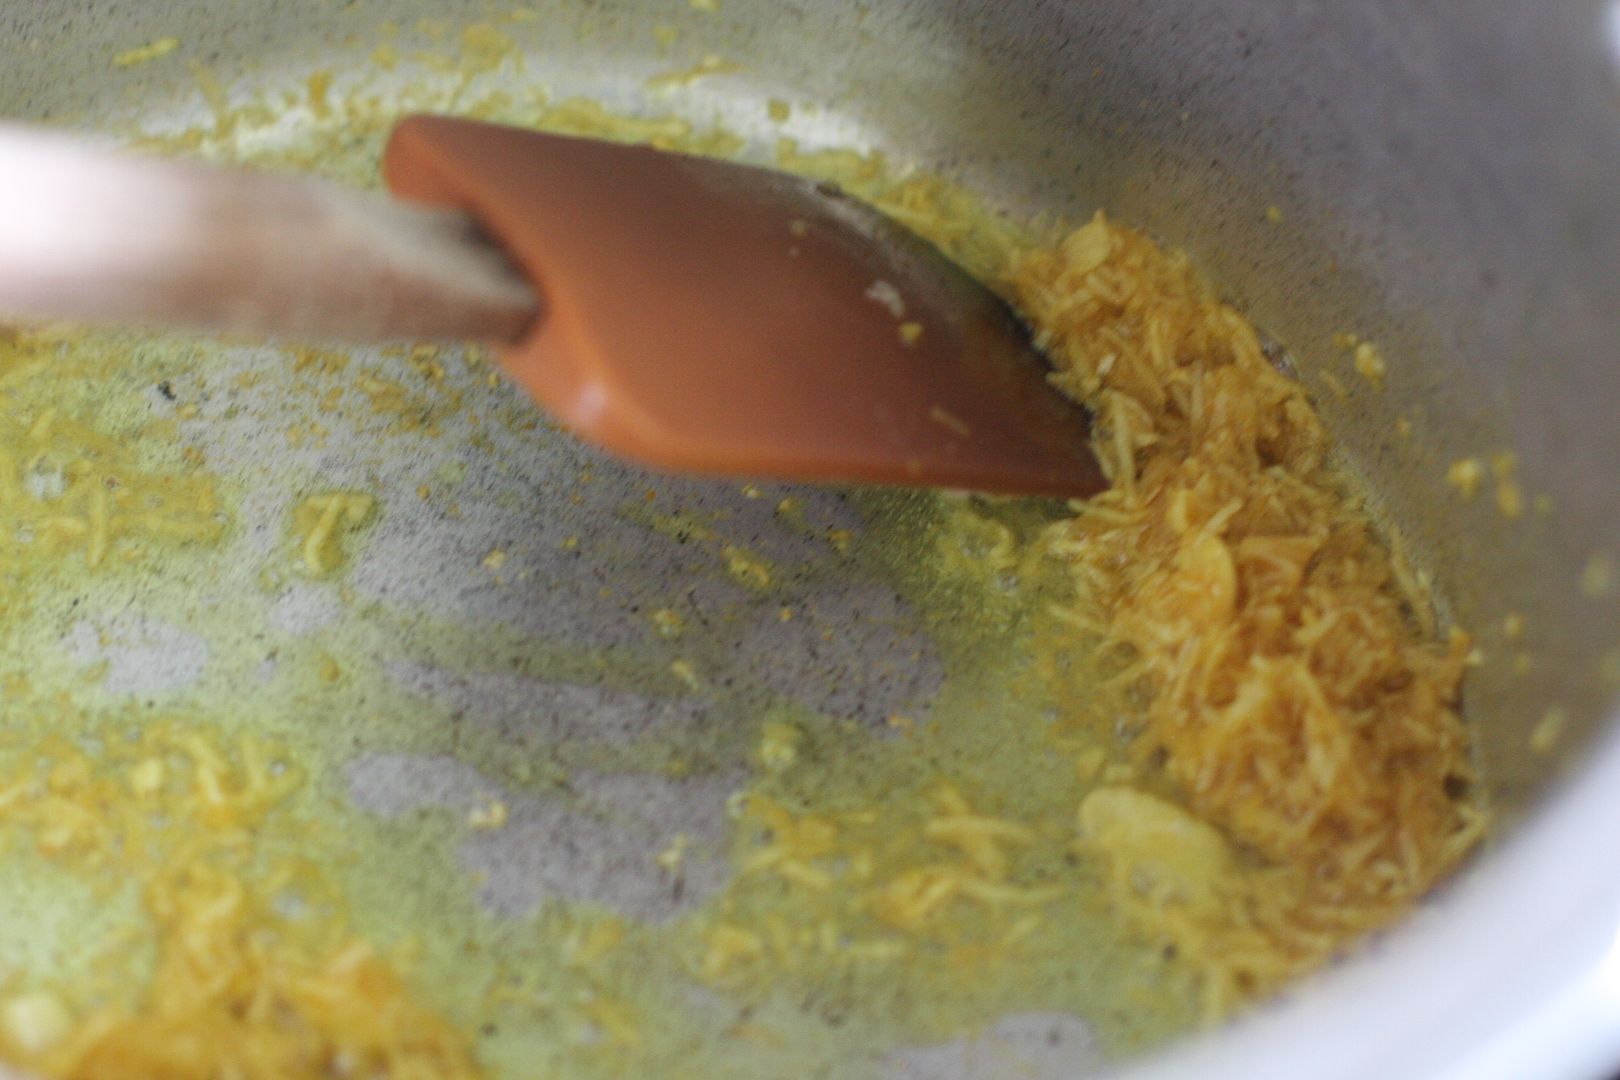
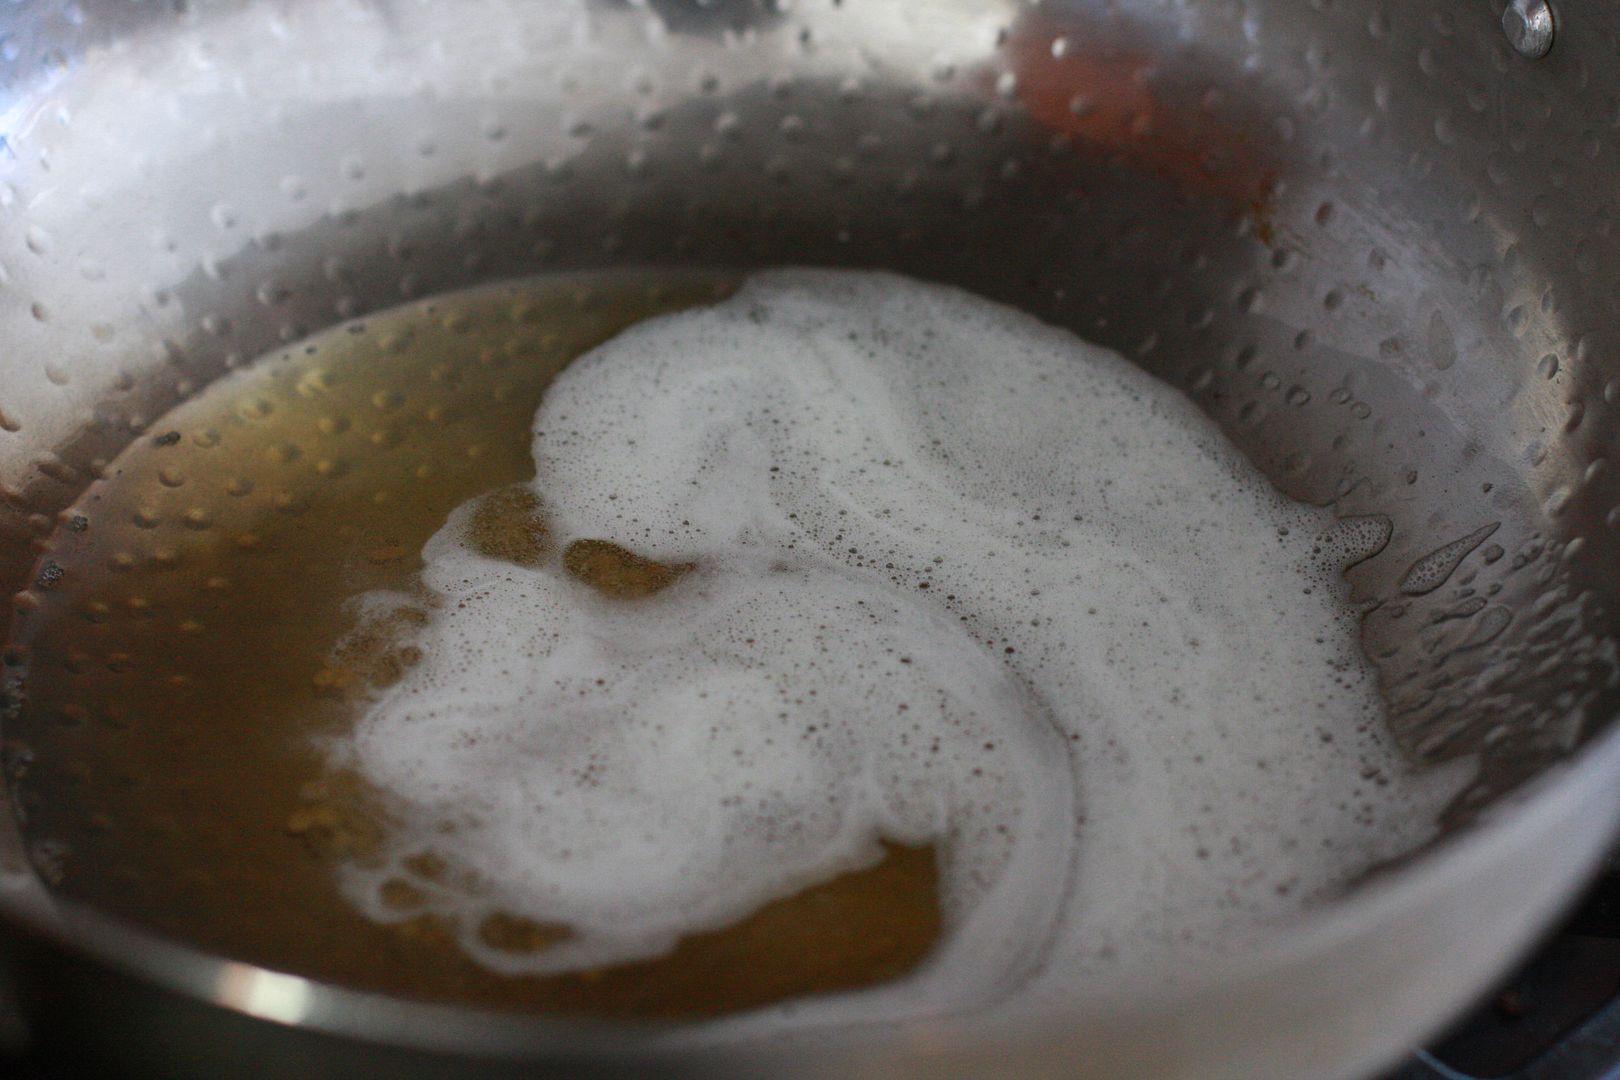
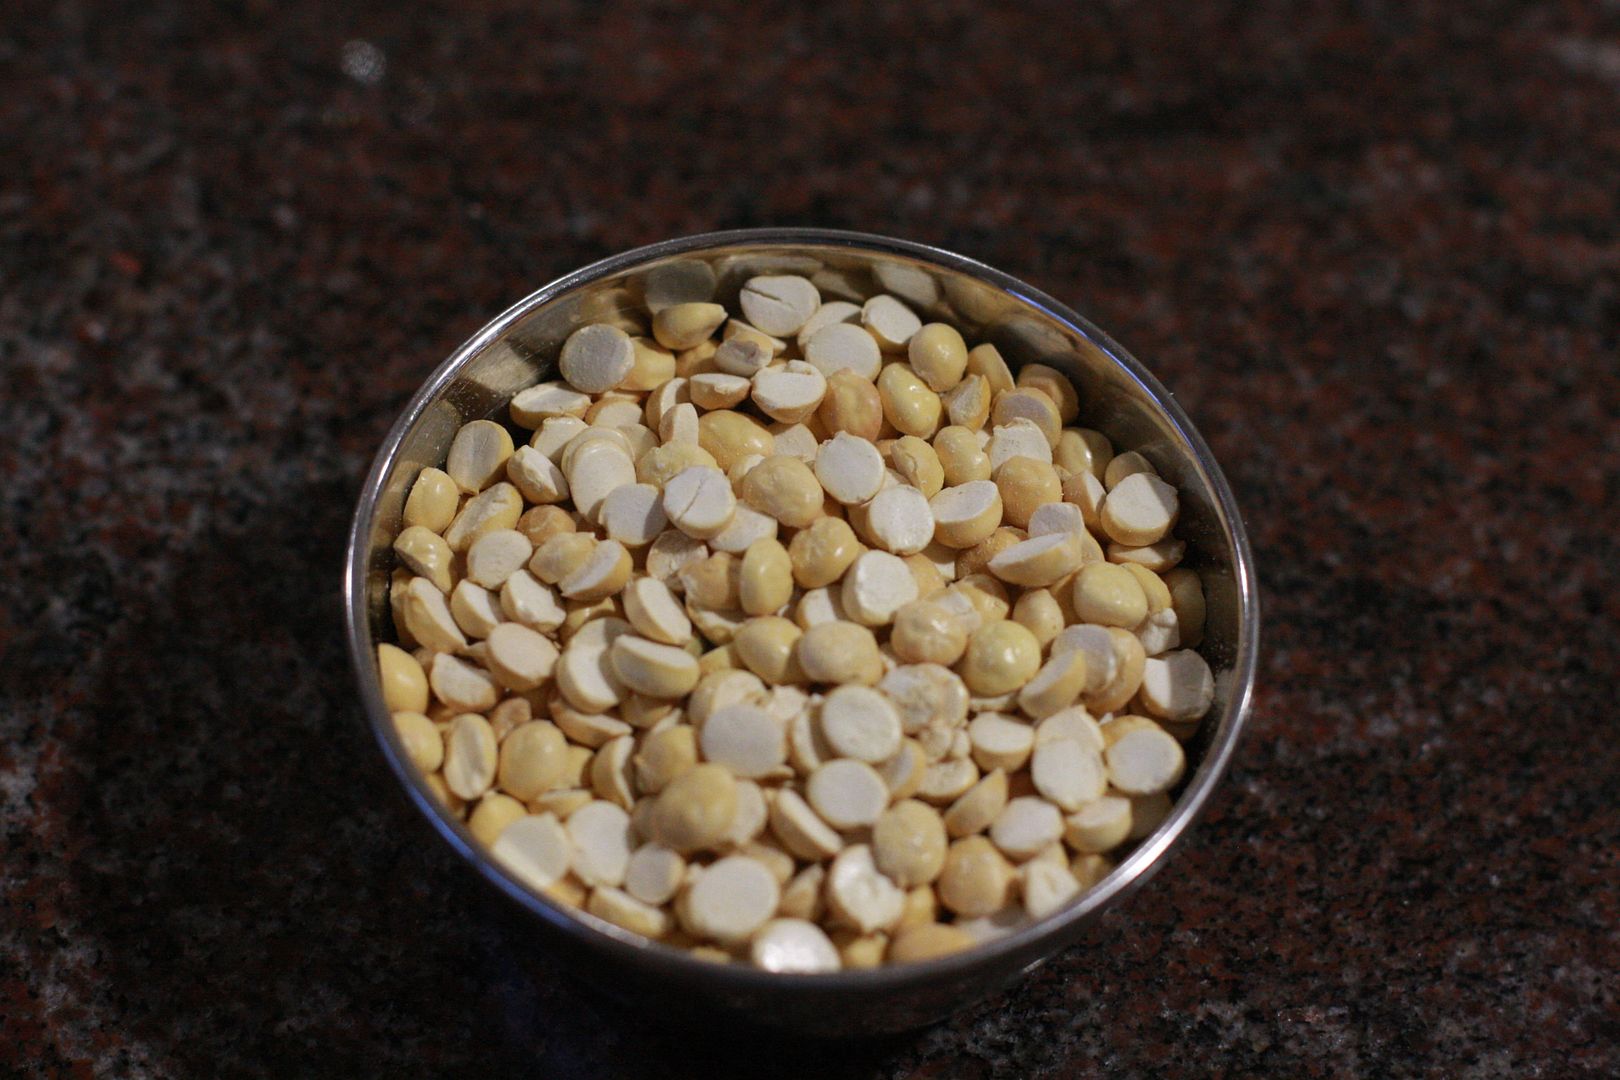
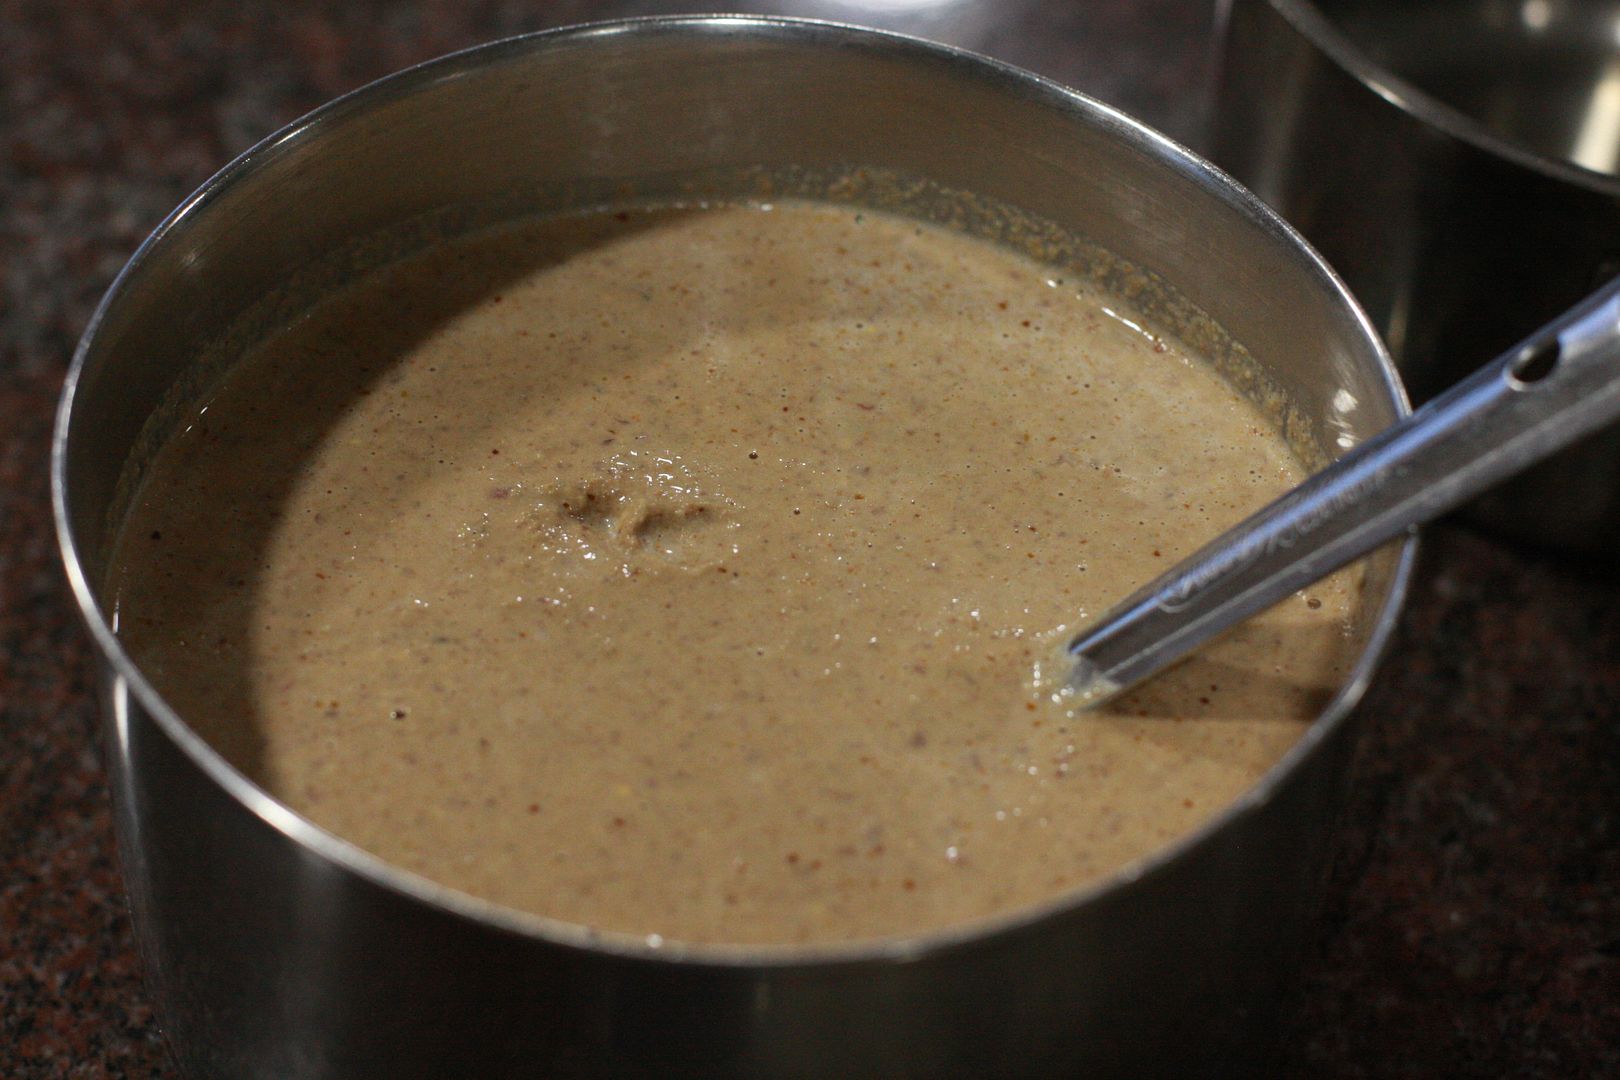
| In a sauce pan, boil the milk till it thickens, once thickened add the cocoa powder, sugar and mix it well and turn off the heat. | |
 | 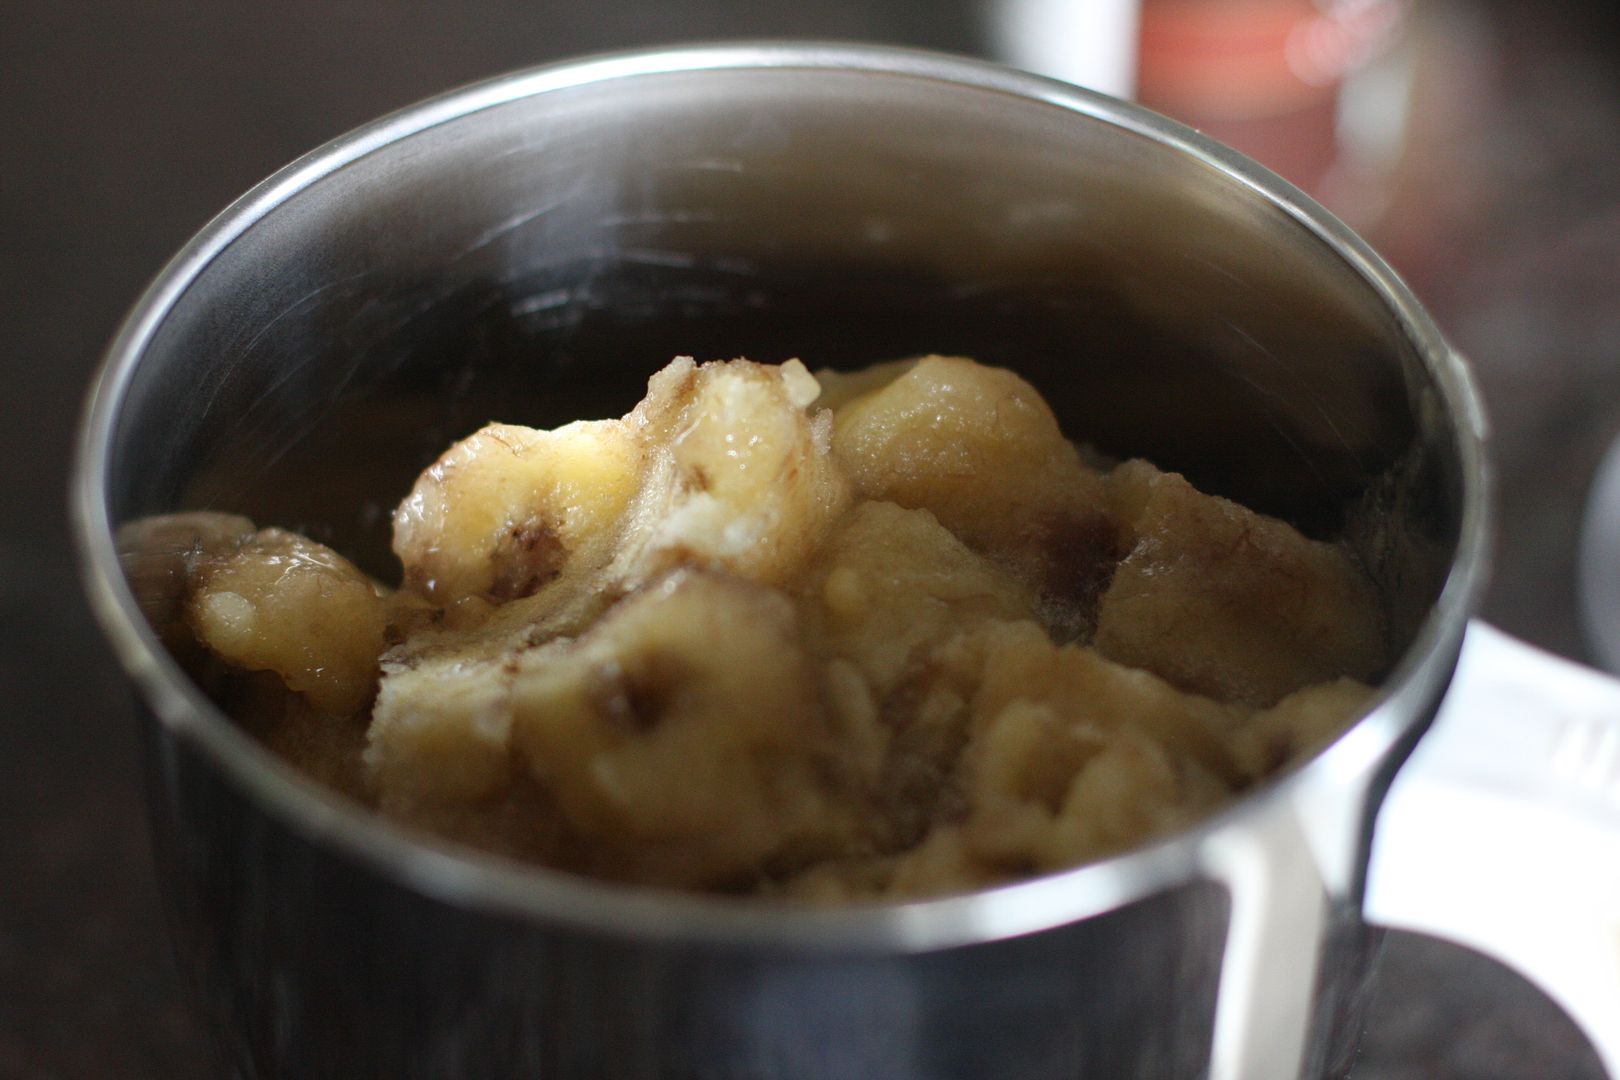 |
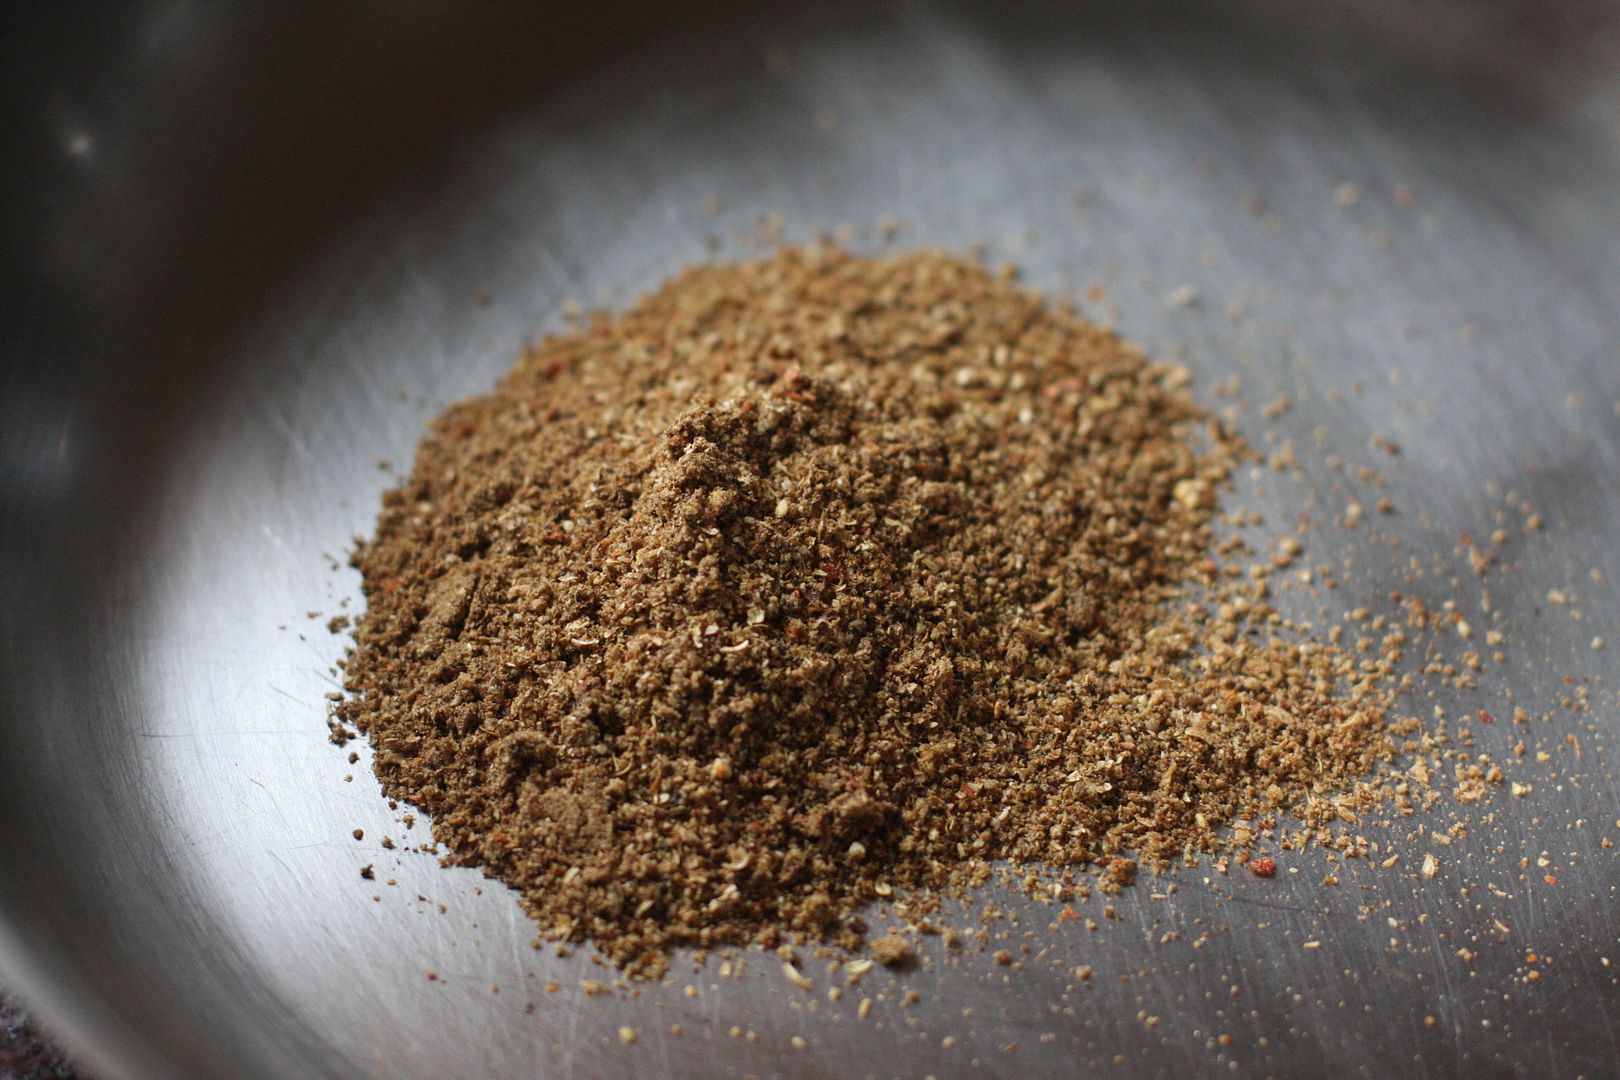
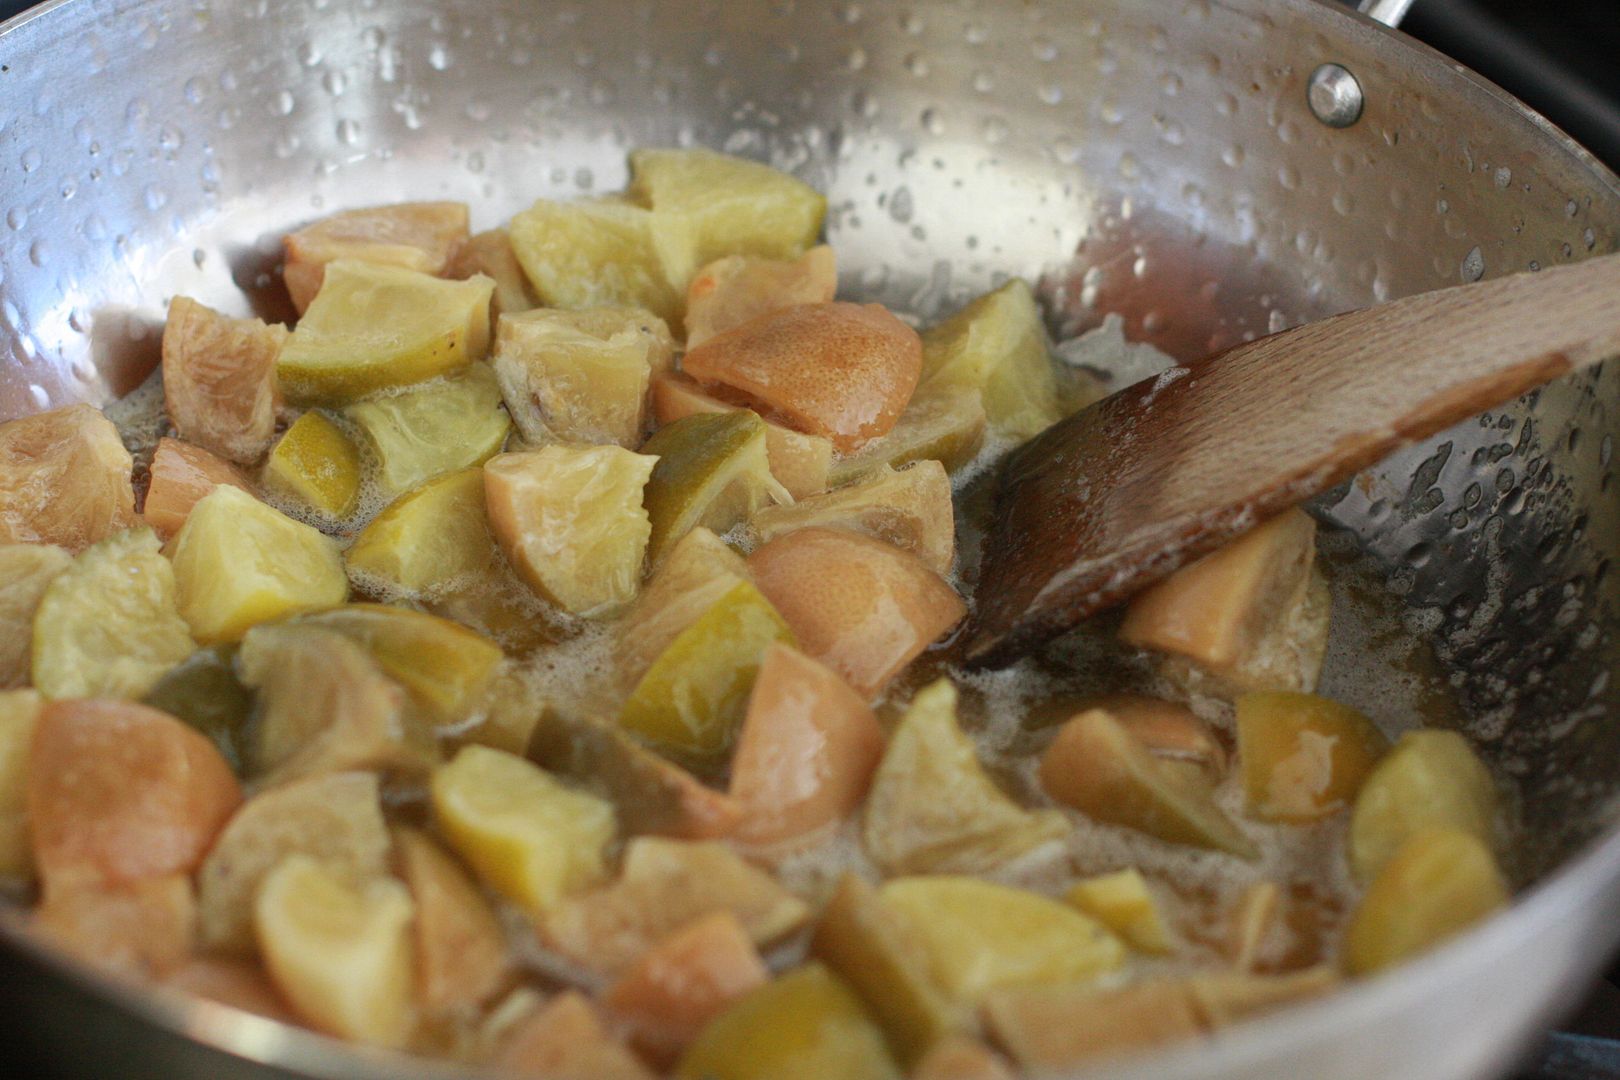
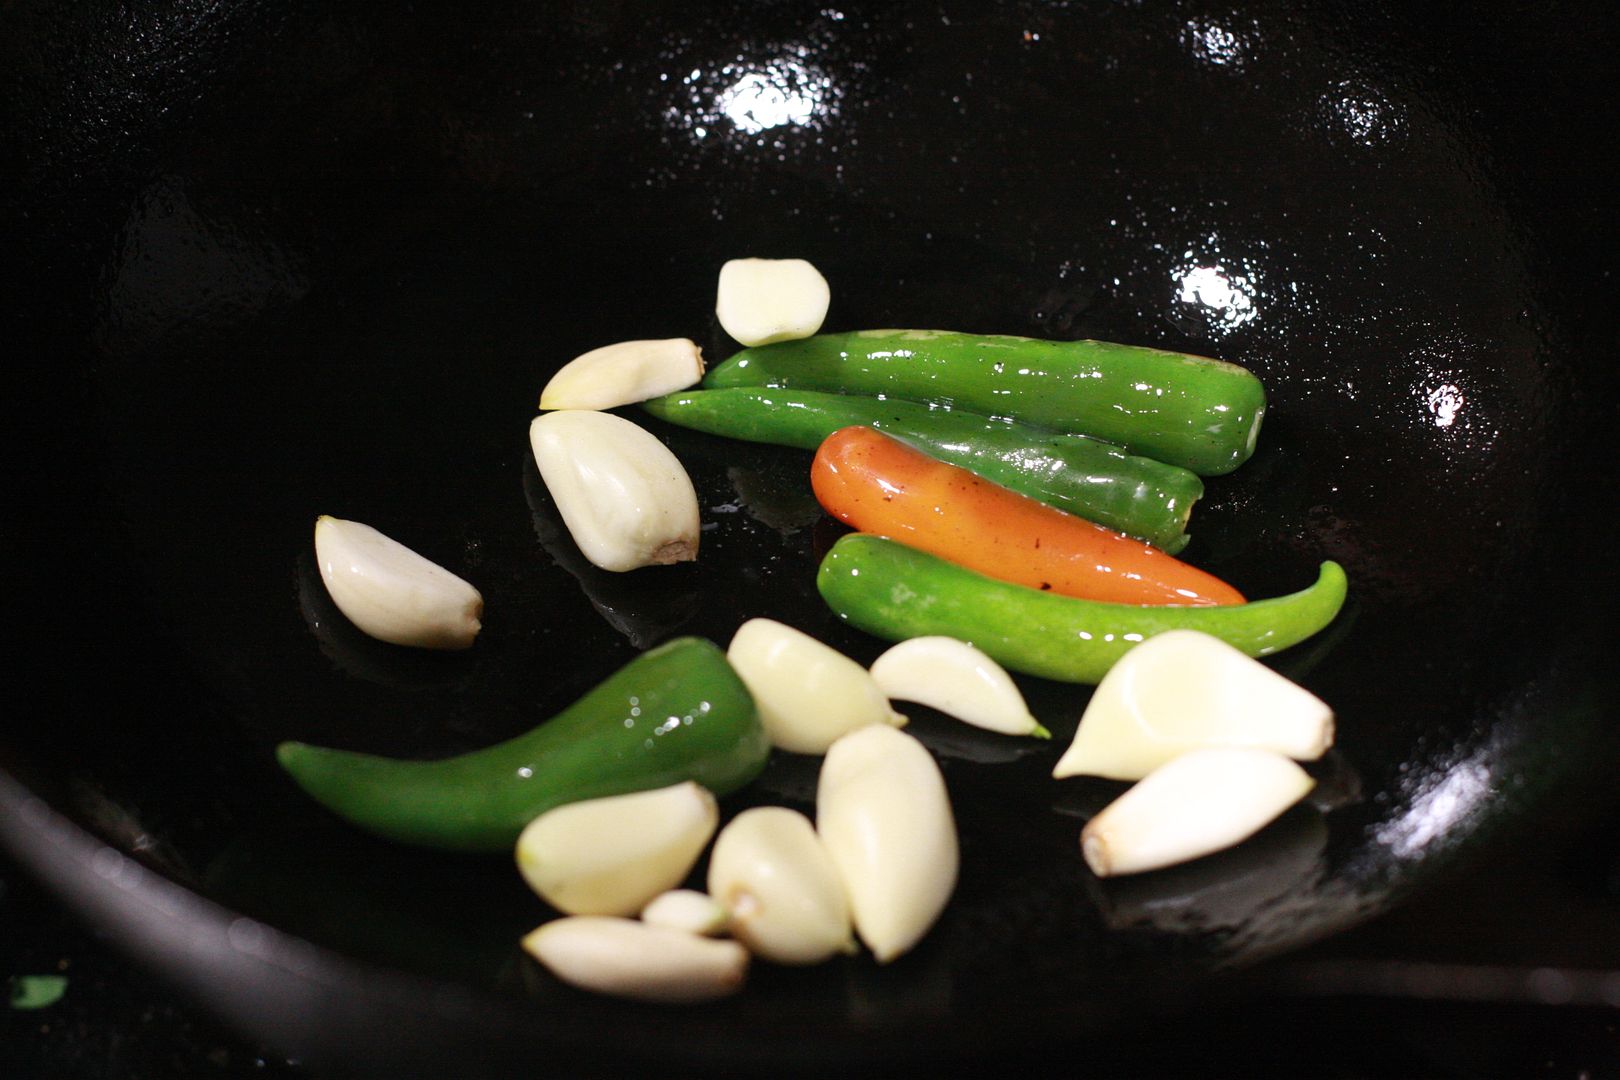
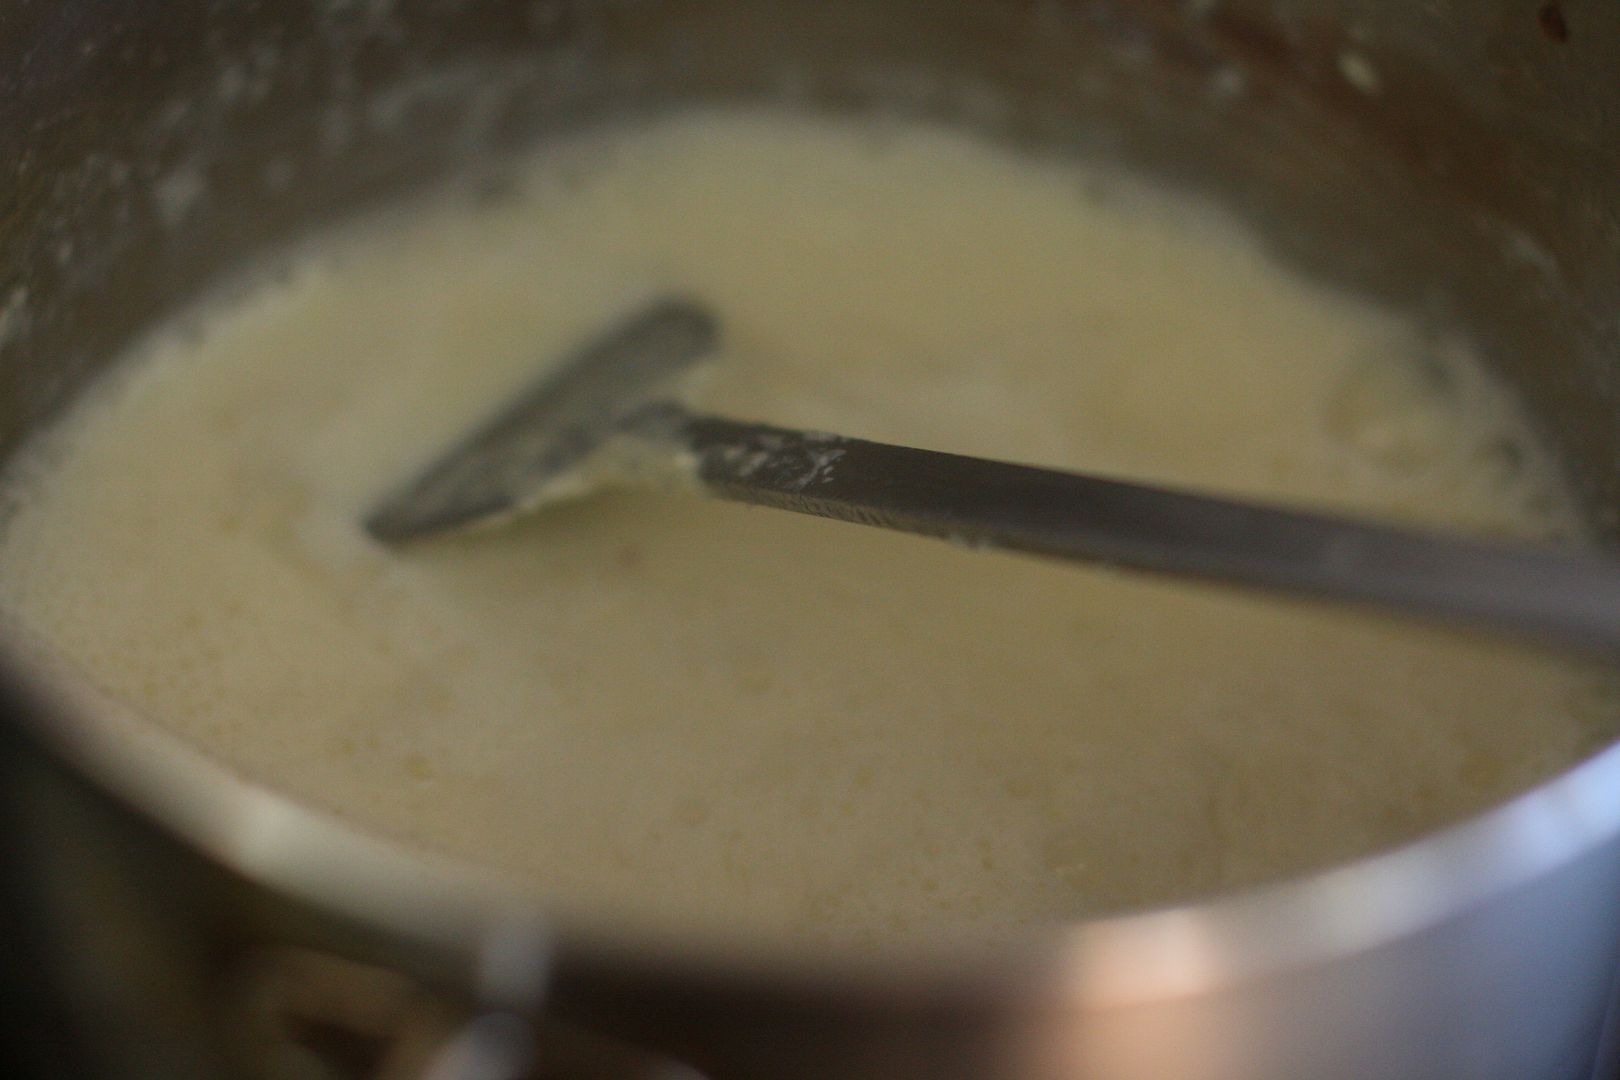
| Pour in a container and set in the fridge to chill. Take the frozen bananas in a blender and blend to smooth. | |
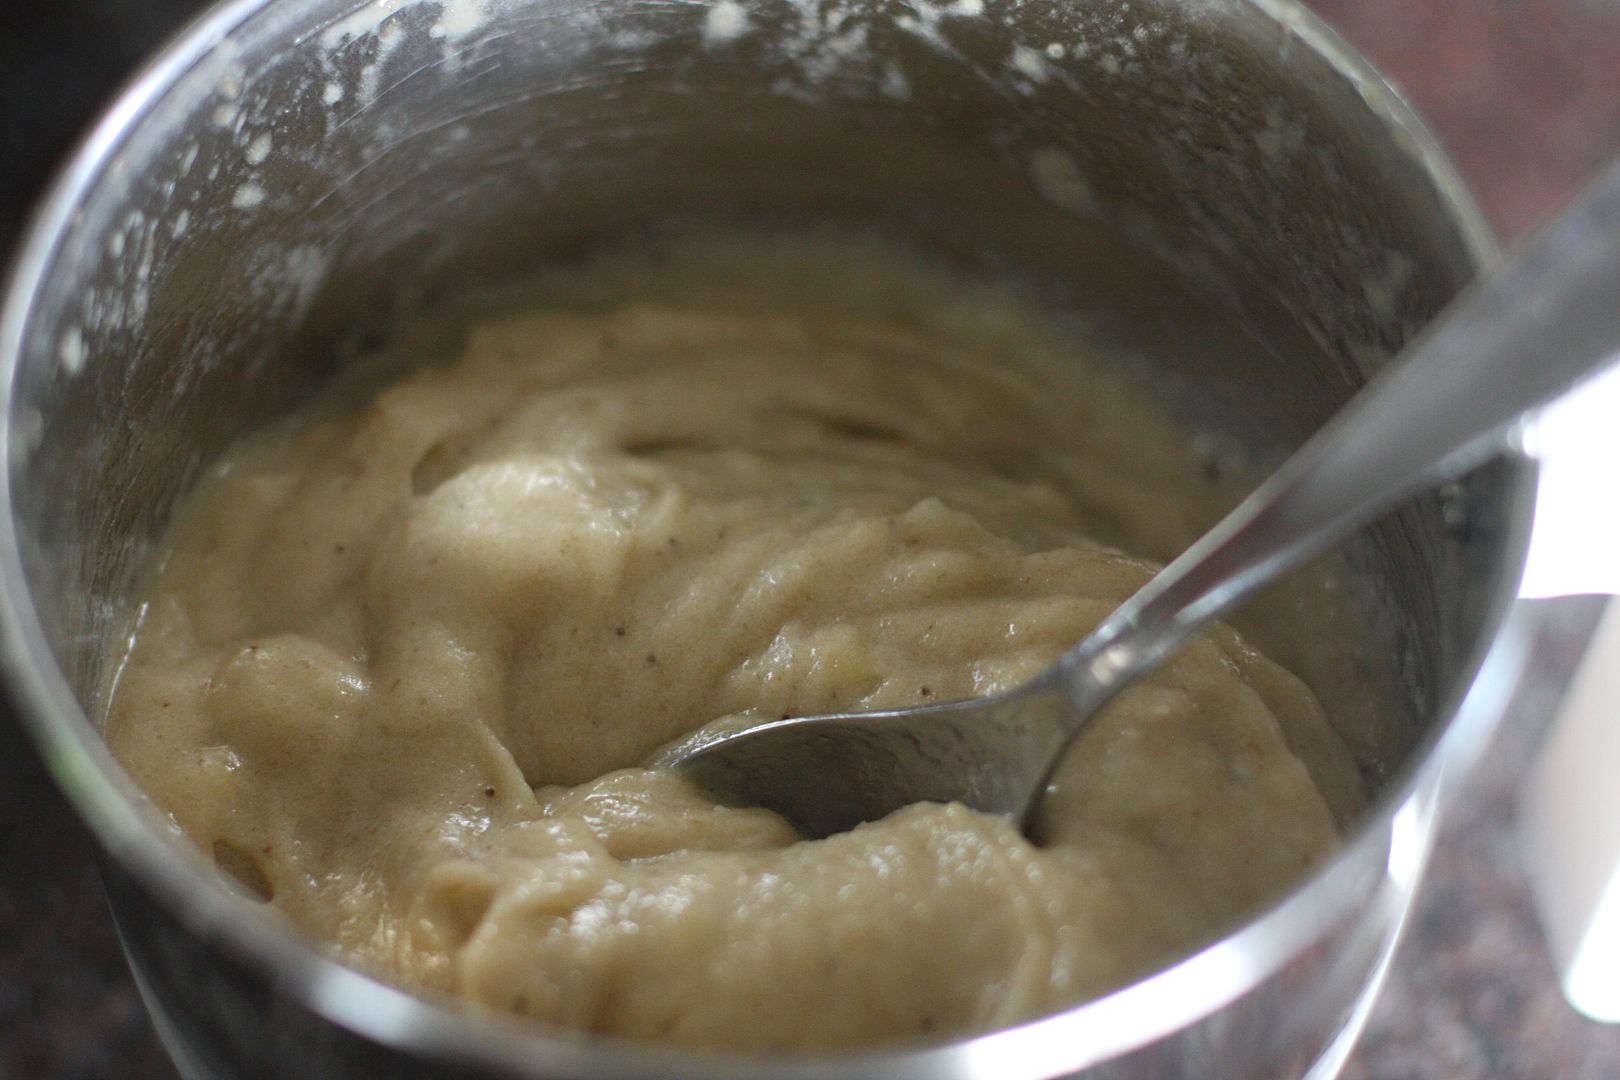 |  |
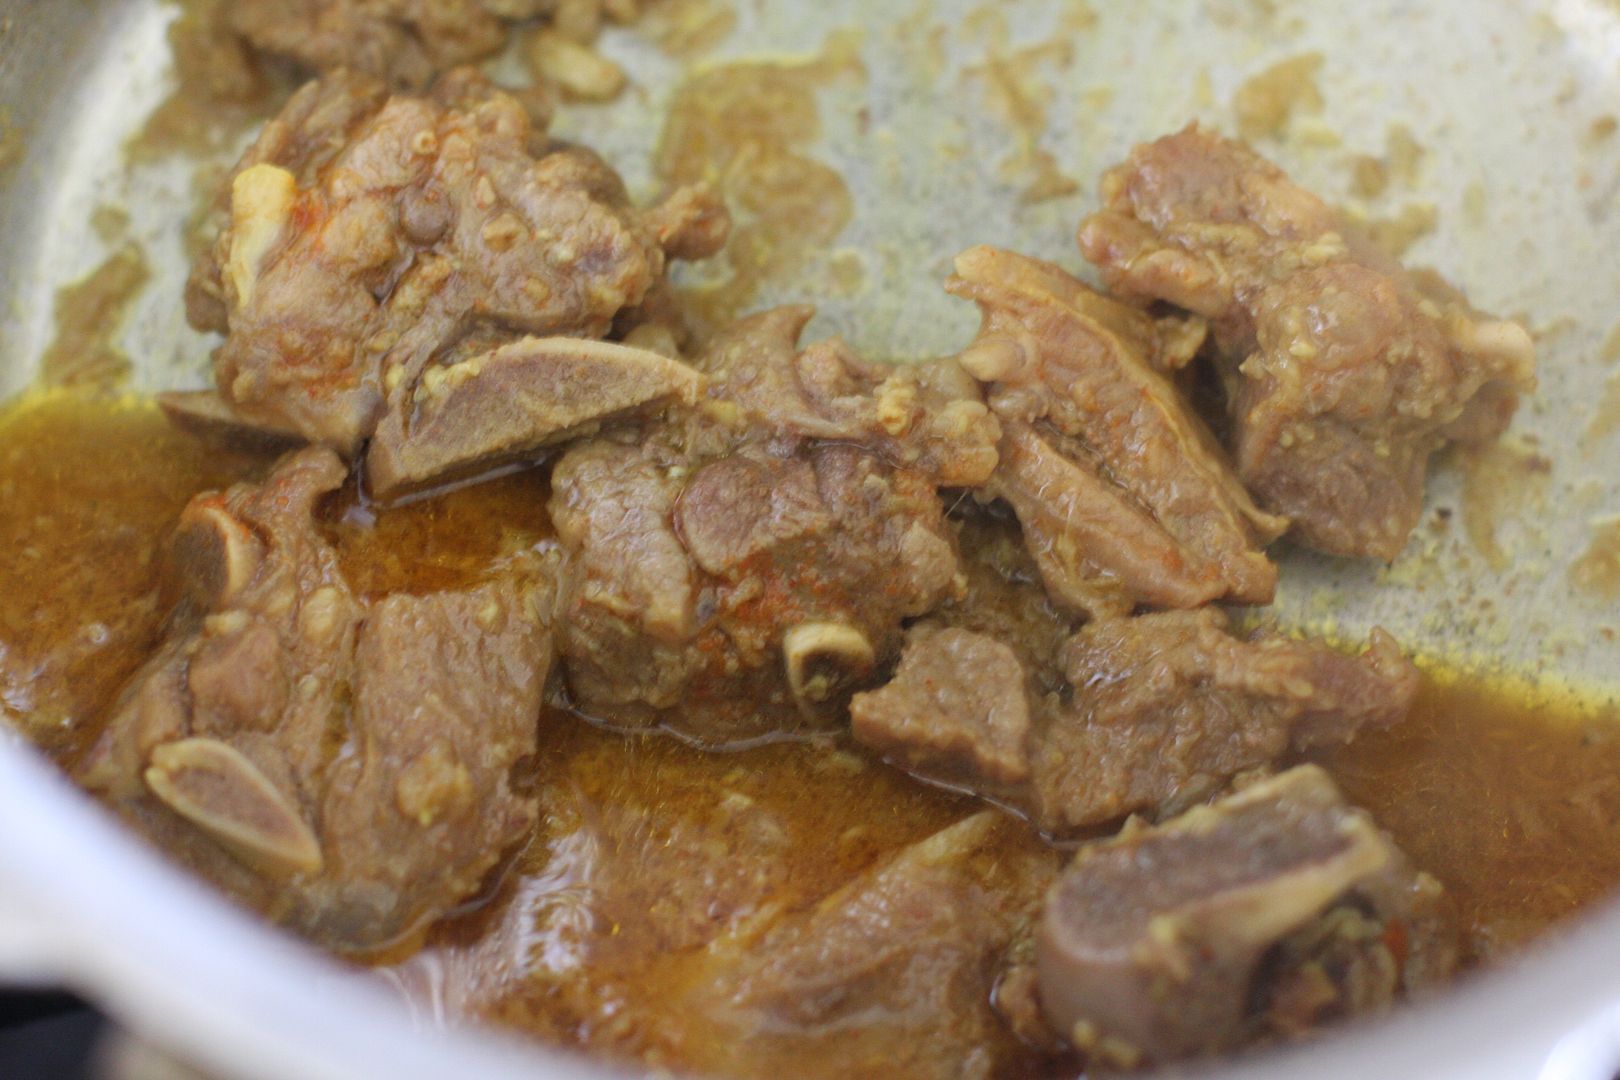
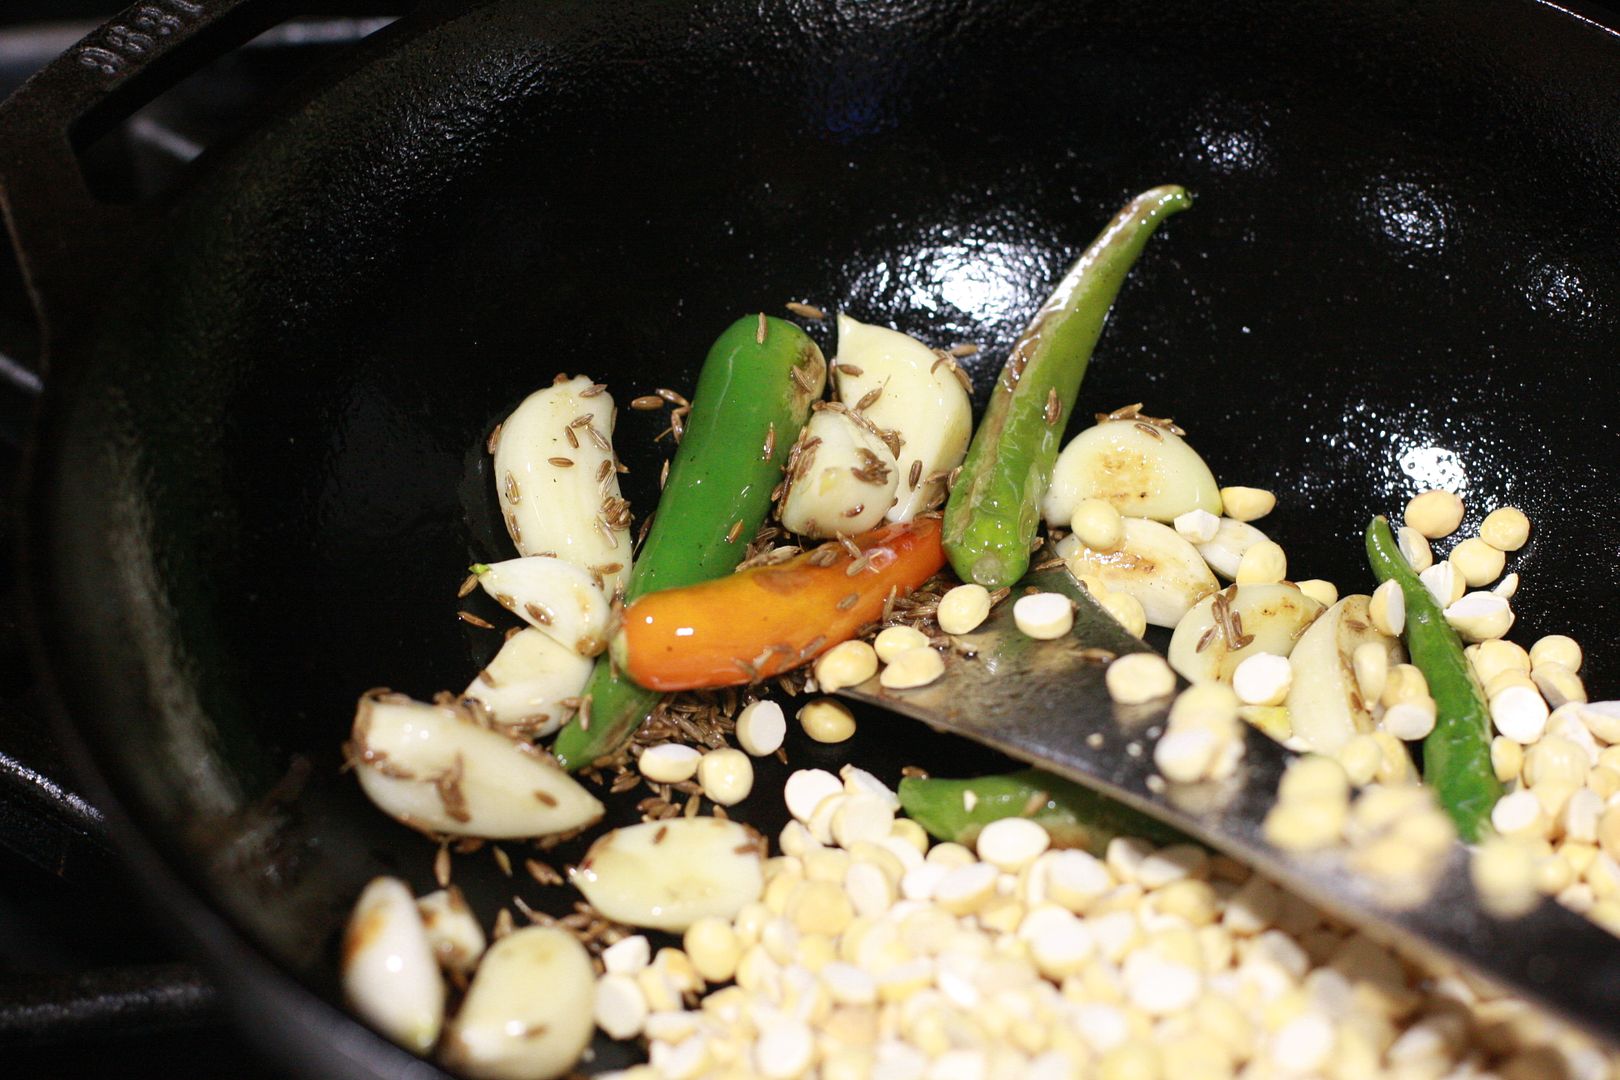
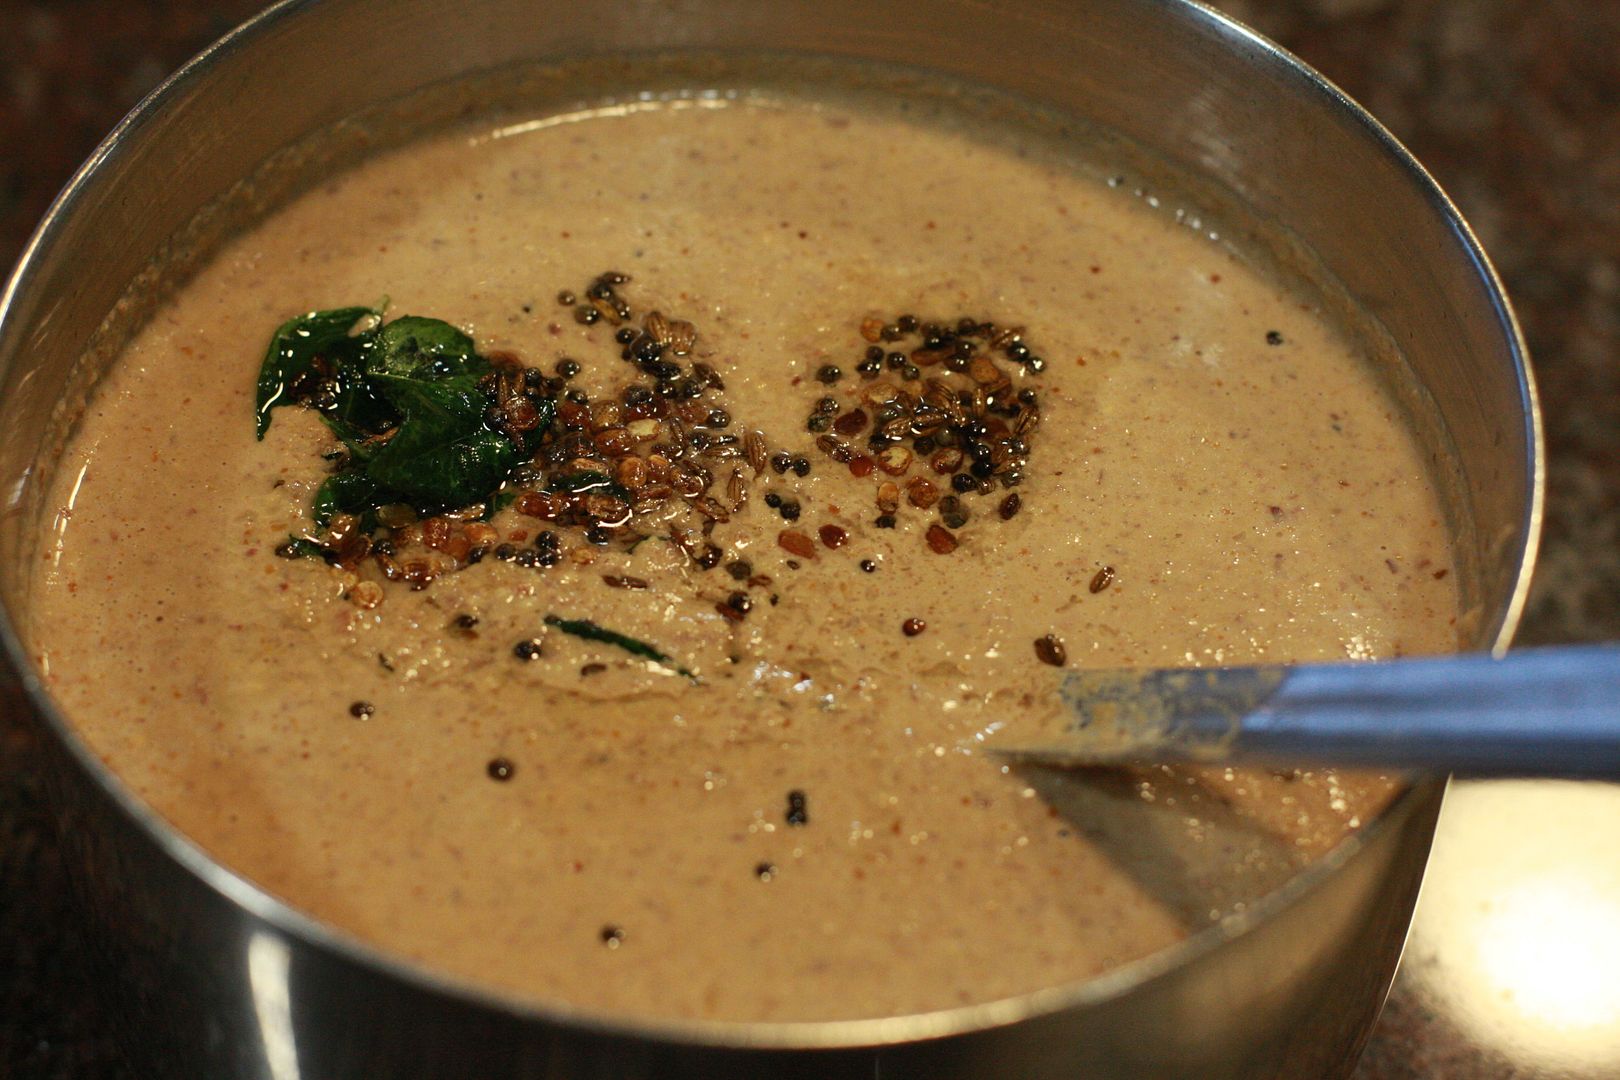
| Add the chilled condensed milk and mix it well in the blender. | |
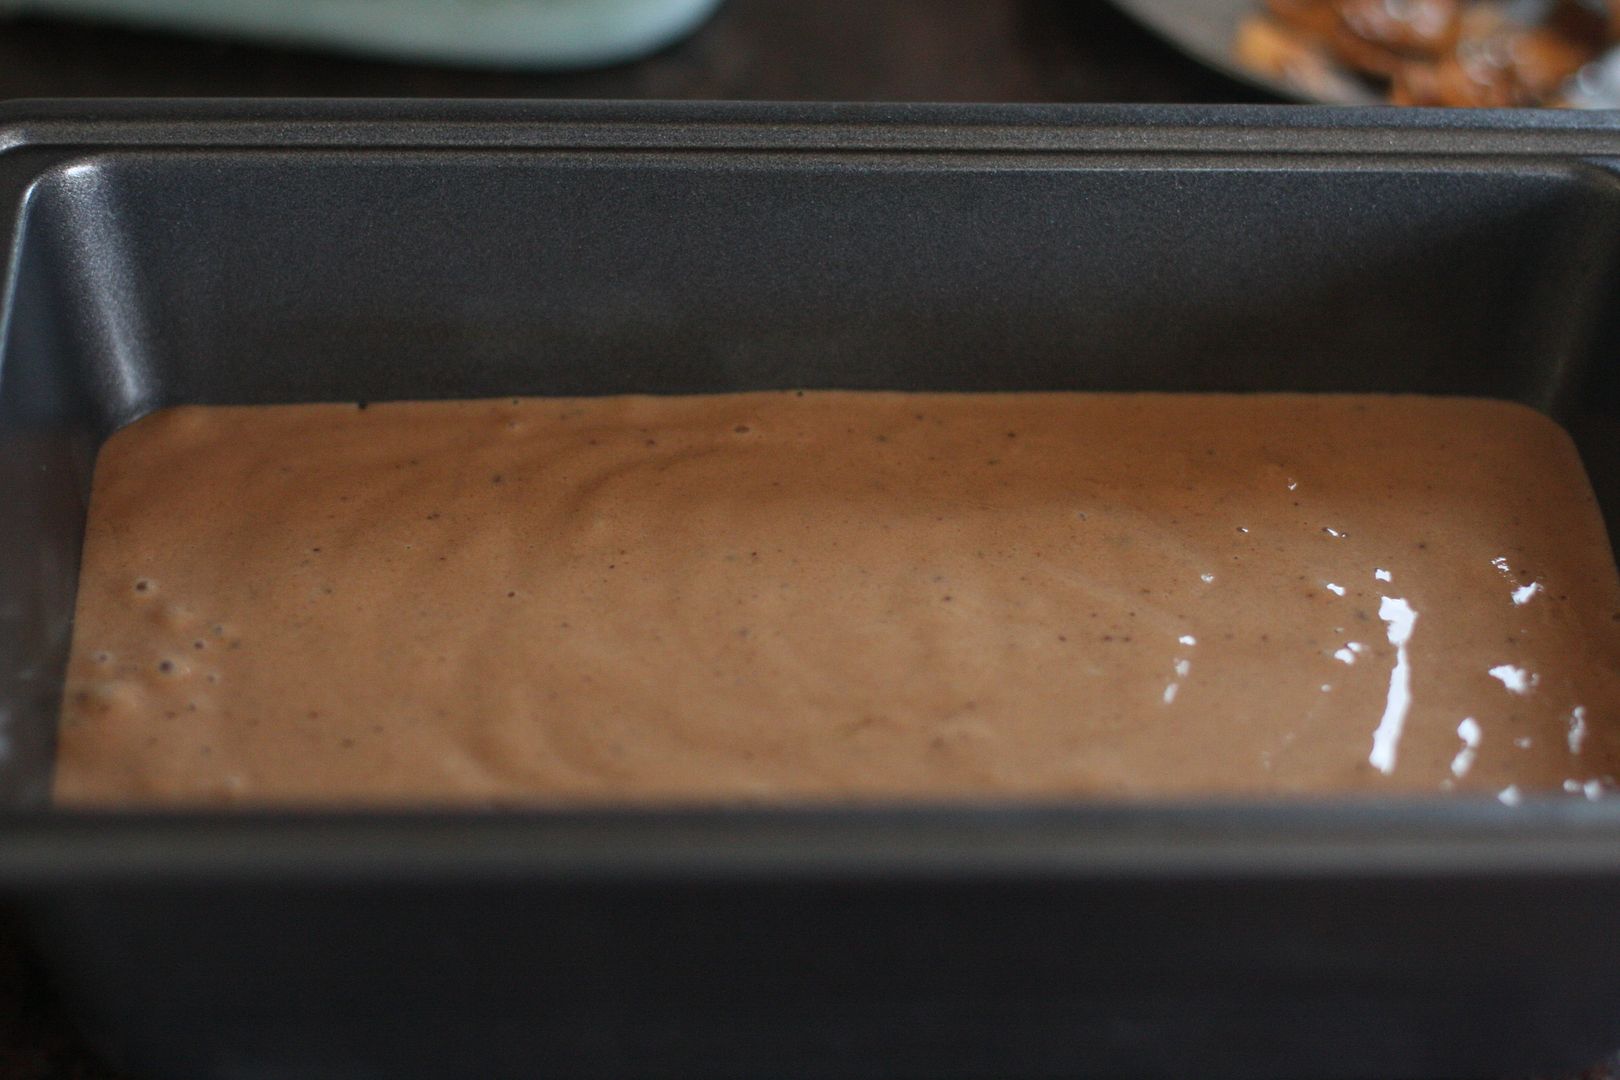 | 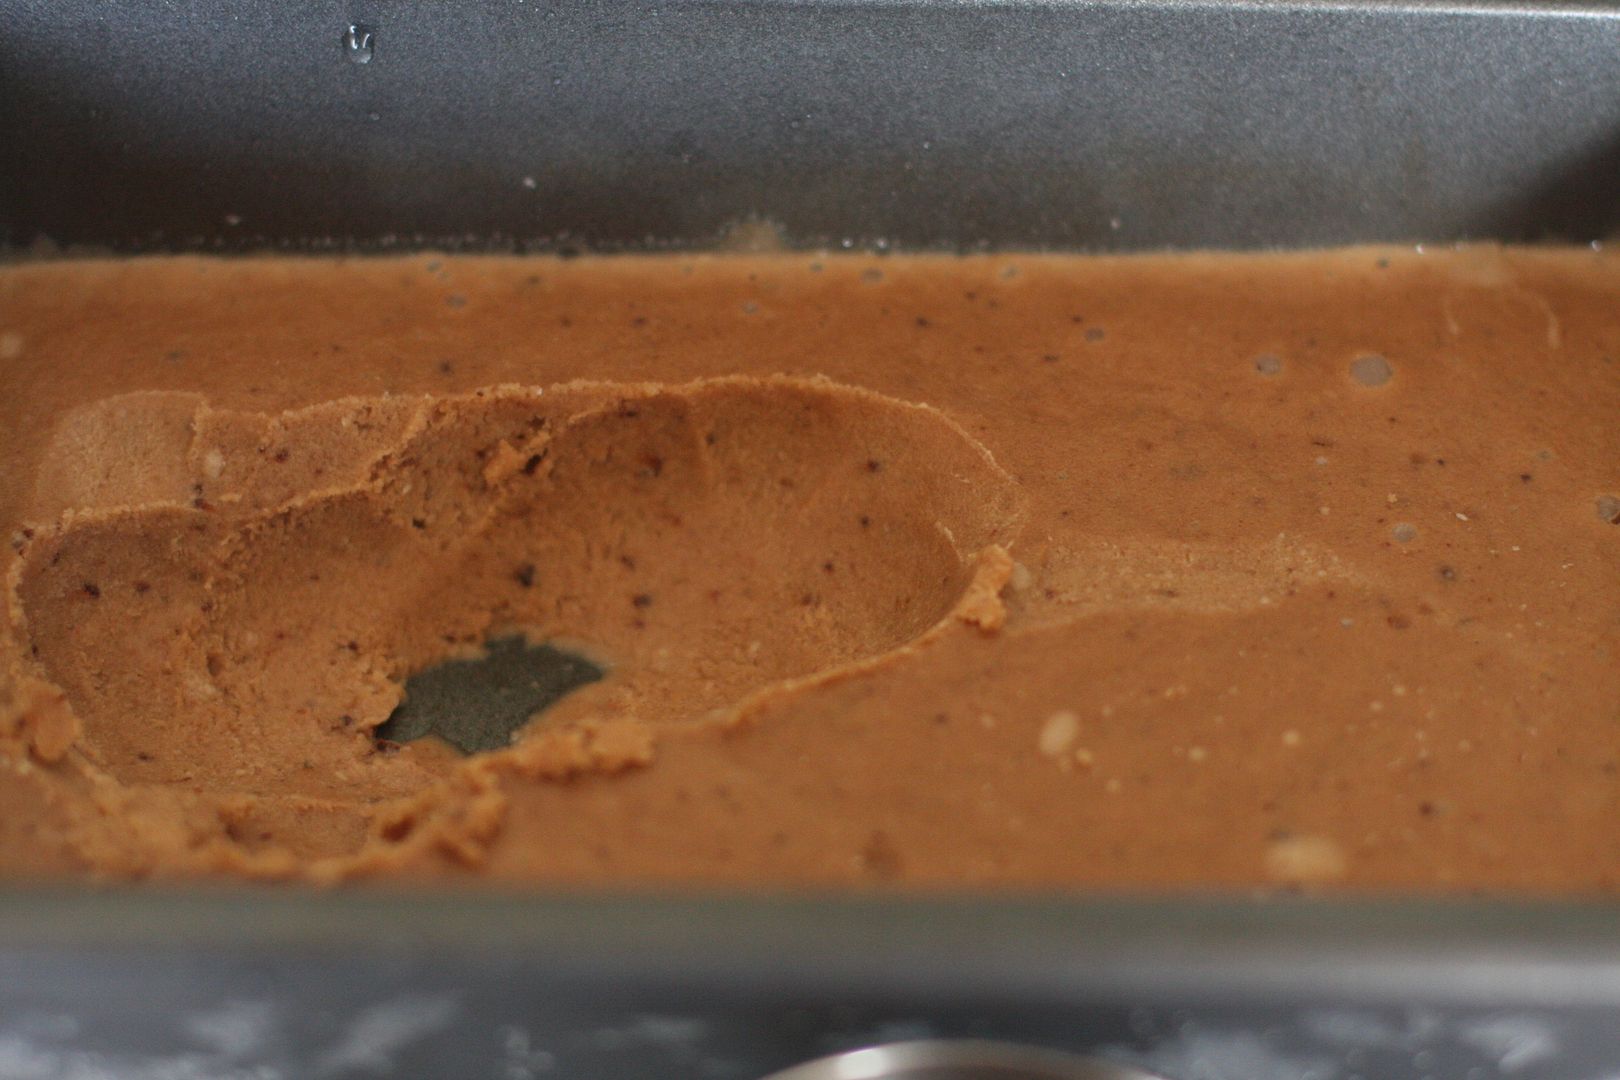 |
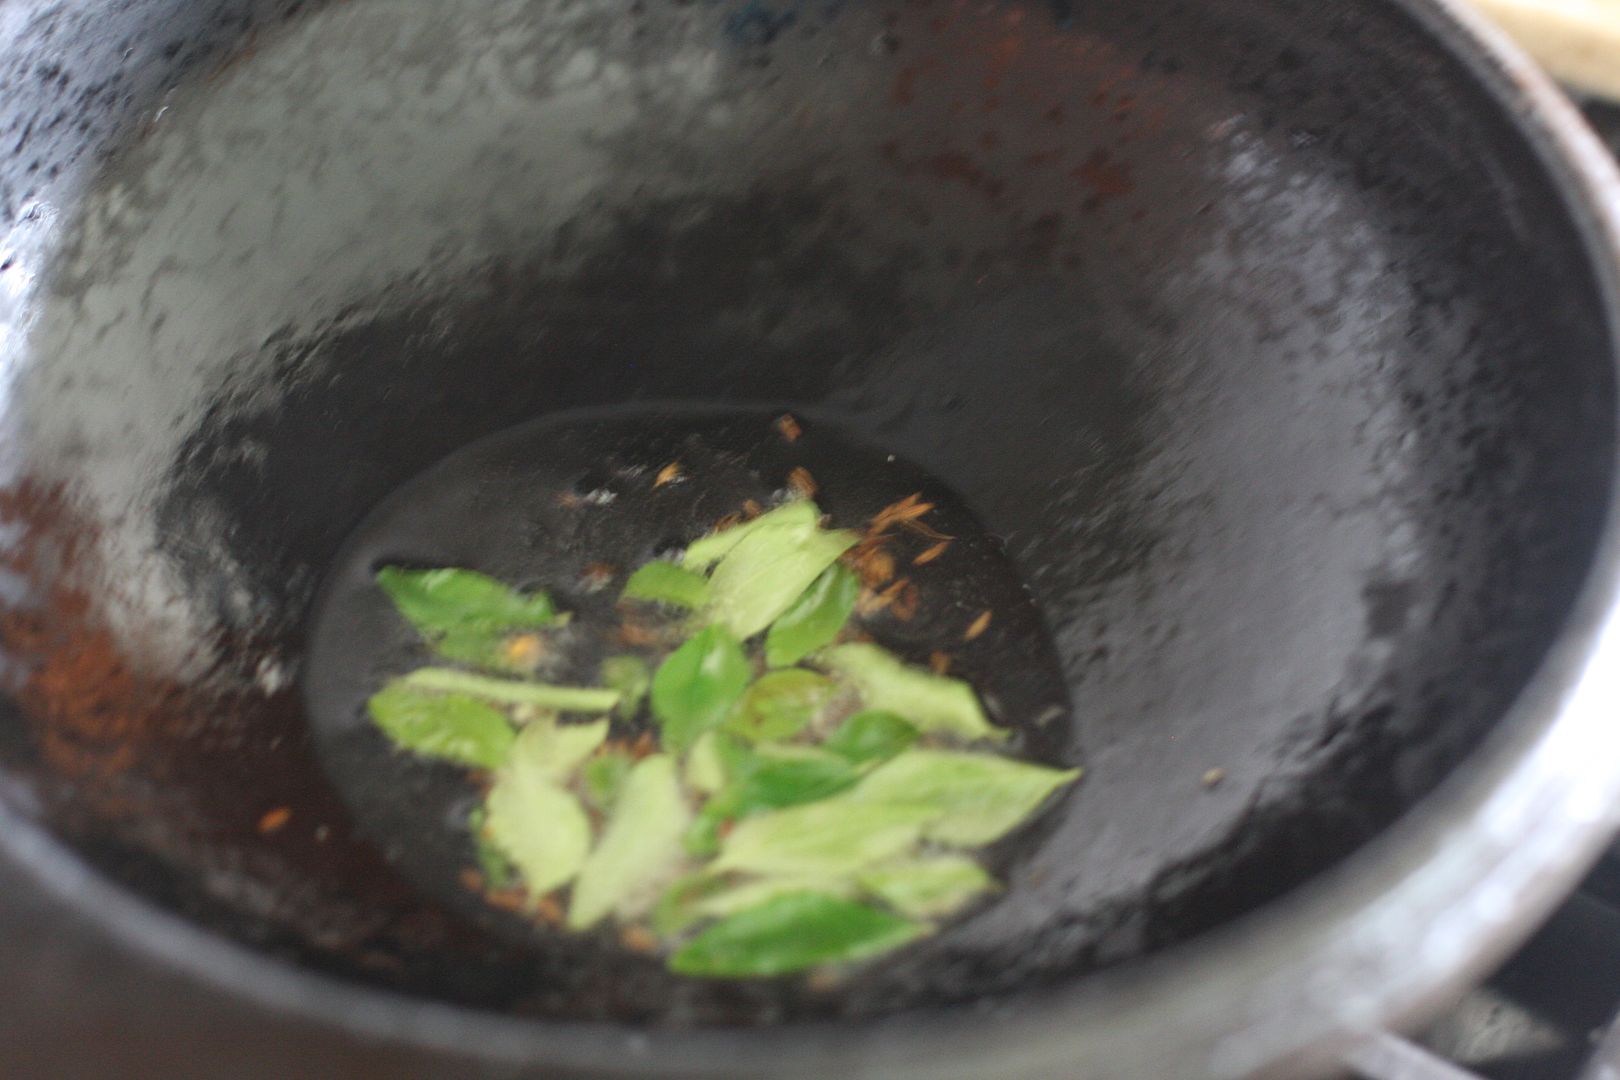
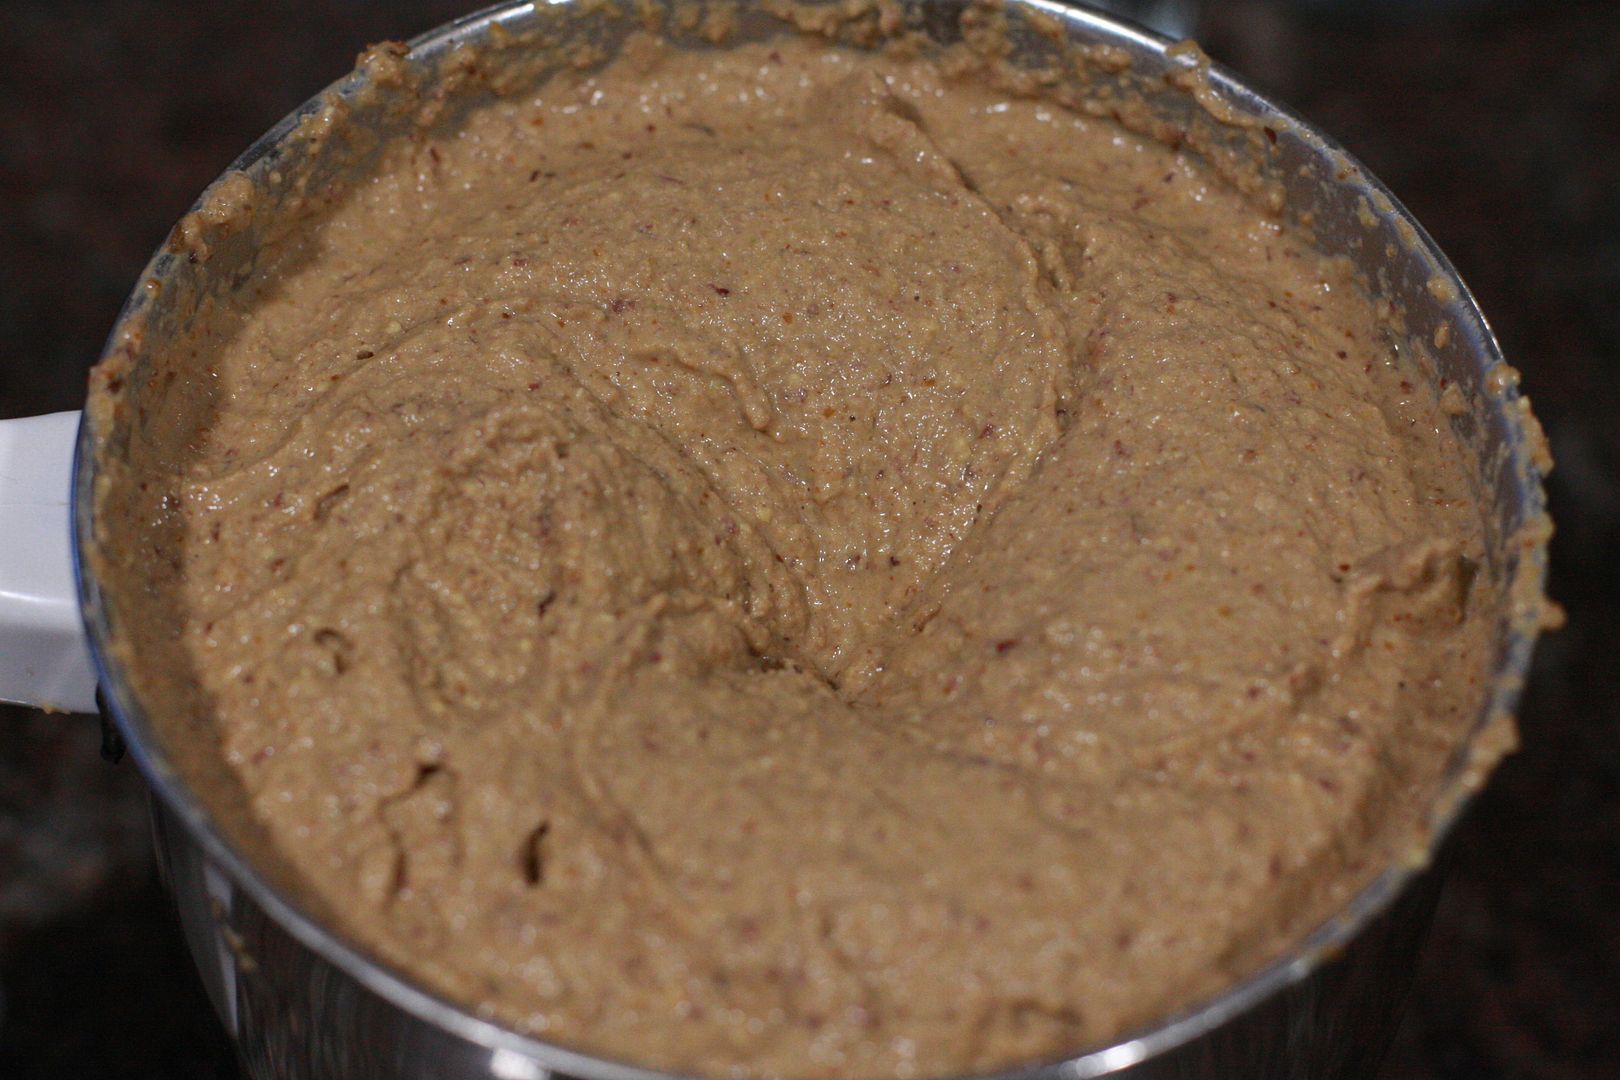
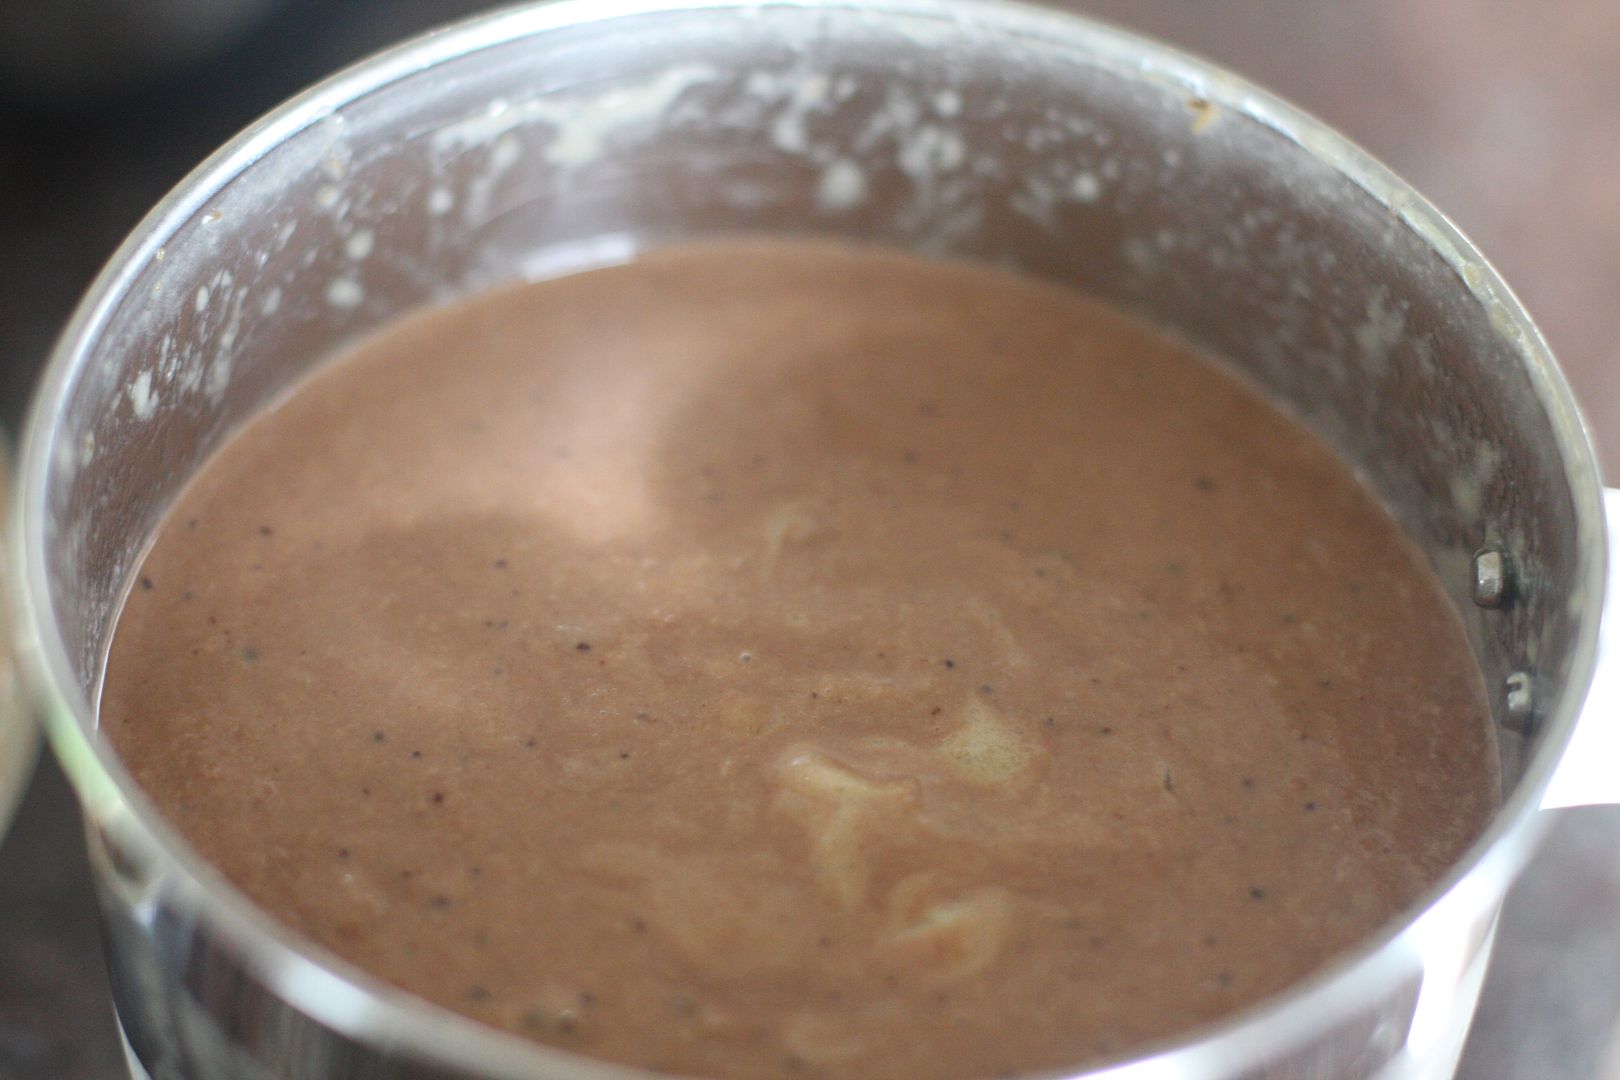
| Pour the banana - milk mixture into a freezing tray and let it freeze for 2-4 hours and then serve. | |
A guilt free treat when you feel like it.
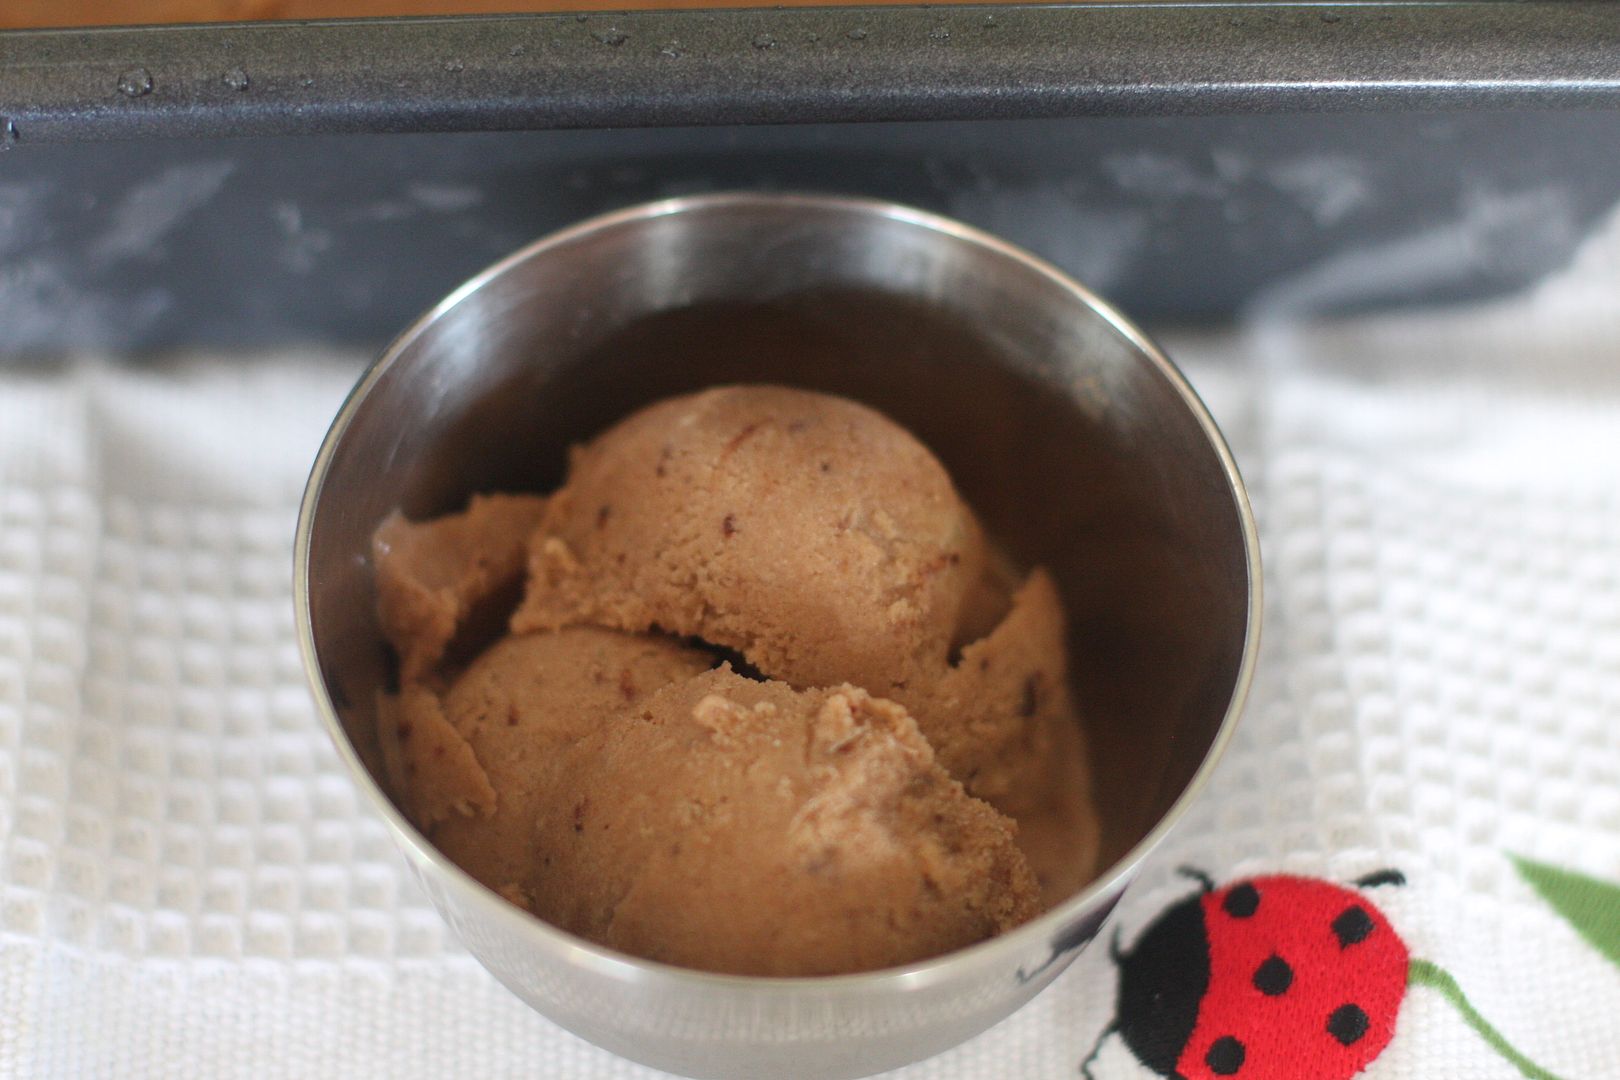
Frozen Bananas Chocolate Ice Cream
Preparation Time:10 minutes
Condensed Milk Cooking Time:30-45 minutes
IngredientsMethod
- 4 frozen bananas
- 1 cup of whole milk reduced to 1/3 or (1/3 cup of store bought condensed milk)
- For Vegan: Use 1/3 cup of almond milk or any milk of choice
- 1 tbsp cocoa powder
- 2 tbsp of sugar (skip the sugar if using store bought condensed milk)
- If making your own condensed milk, take the whole milk and keep cooking till it reduces to a third, keep stirring so it does not stick.
- Add the cocoa powder to the thickened milk. Mix the cocoa in some hot milk prevents lumps. Remove and chill.
- Take the frozen banana in a blender and blend to smooth, now add the cocoa condensed milk and mix it into the banana puree.
- Pour into a tray and freeze for 3-4 hours and then serve.
 Like what you are reading? Subscribe!
|
|
|
|