Saturday, September 28, 2019

Spiced Bell Pepper Rice - Farm to Plate

Have you tried growing Bell Pepper plants? They are easy to grow but have a tendency to topple over with the weight of the fruit. Other than having to support them as they are starting to bear fruit it a pretty easy plant to grow. I talk a lot about growing because I like growing them but if you don't then if you have a farmer's market or a farm nearby, stop by and get some bursting with freshness vegetables. While I am on the topic, this is a beautifully made magazine called Plenty about our county's agricultural reserve where a number of farms are located. If there was no agricultural reserve there wouldn't be farms and if there were no farms ...

I am very careful about completely cooking store bought bell peppers because of some issues related to indigestion with under cooked bell peppers. So it goes without saying that I don't eat raw bell peppers. But the amazing thing about these farm grown bell peppers is that they don't cause that problem. It has less water content than the store bought ones for one thing and lot more tastier.

There are couple of other recipes that I regularly use bell pepper in :
Bell Pepper Tomato Masala
Quiche - Bell Pepper - Mushroom Omelette

Now this bell pepper rice has also become one of my favorites. Very easy to make with minimal ingredients but tasty and is great as lunch box item. I use tomato pickle as a taste enhancer instead of using fresh tomatoes and it makes the cooking process much faster.


 photo IMG_3746_zpsoy9mwljc.jpg


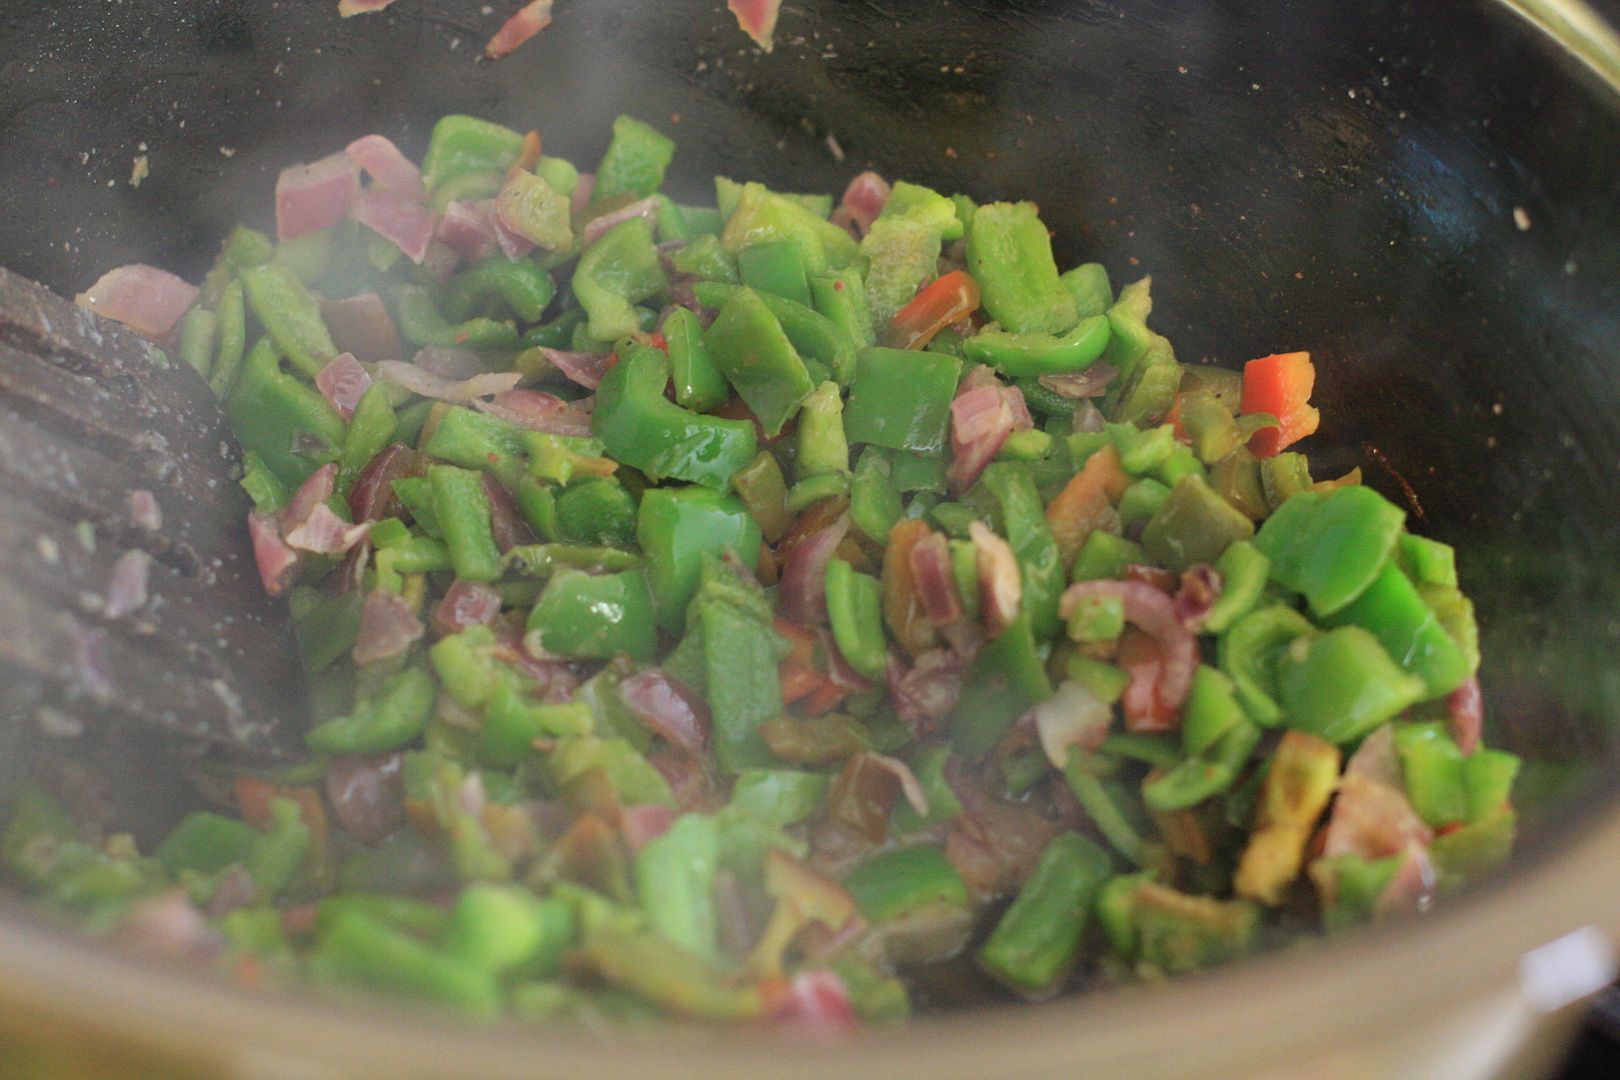
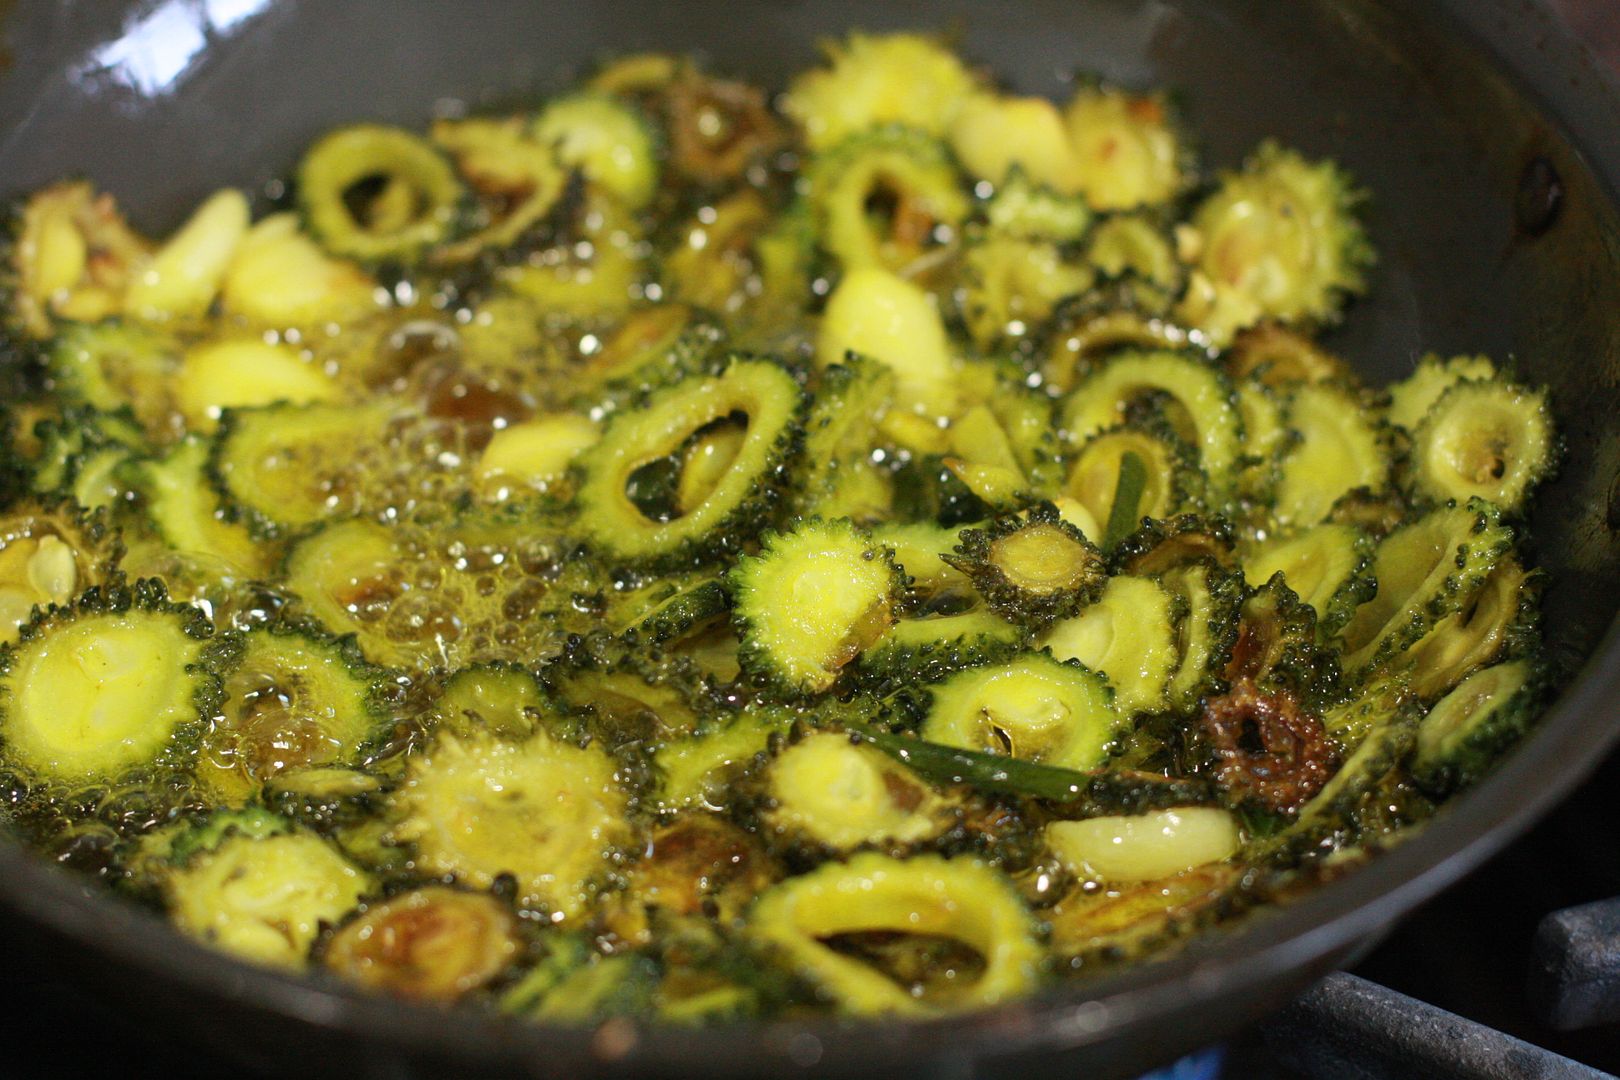
In a saute pan heat the oil, add seasonings then garam masala followed by the onions, green chilies and when the onions are translucent, add the garlic and ginger, follwed by the bell pepper.
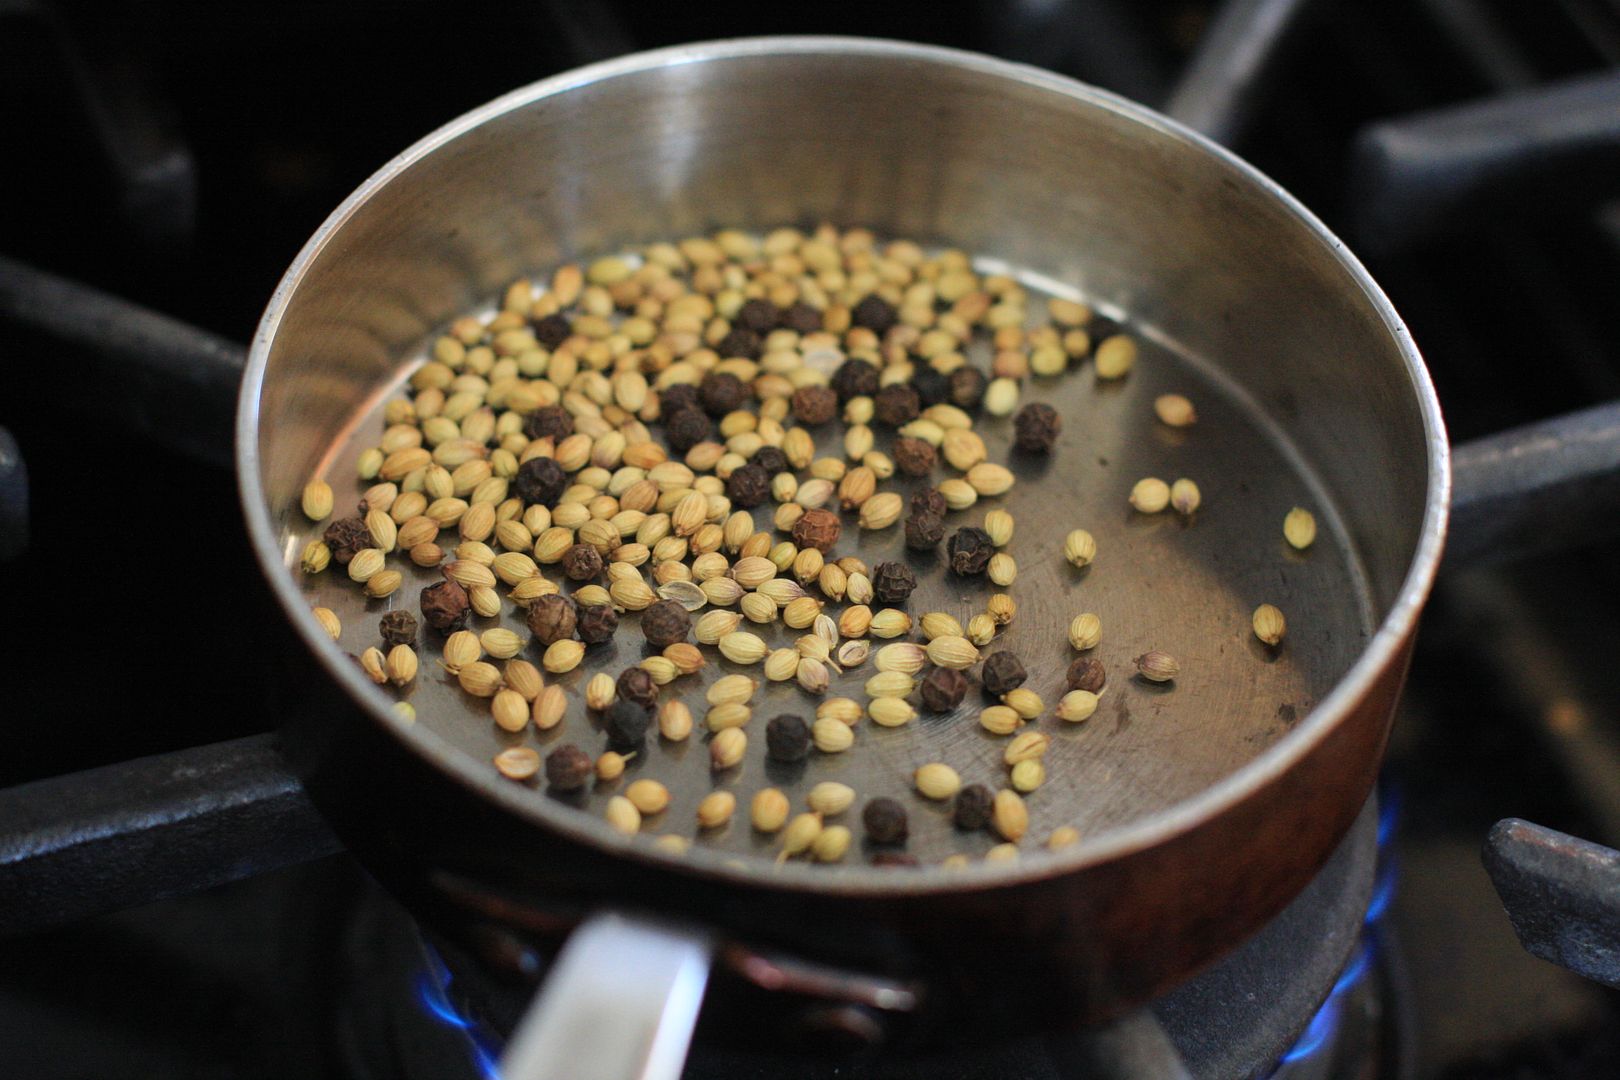
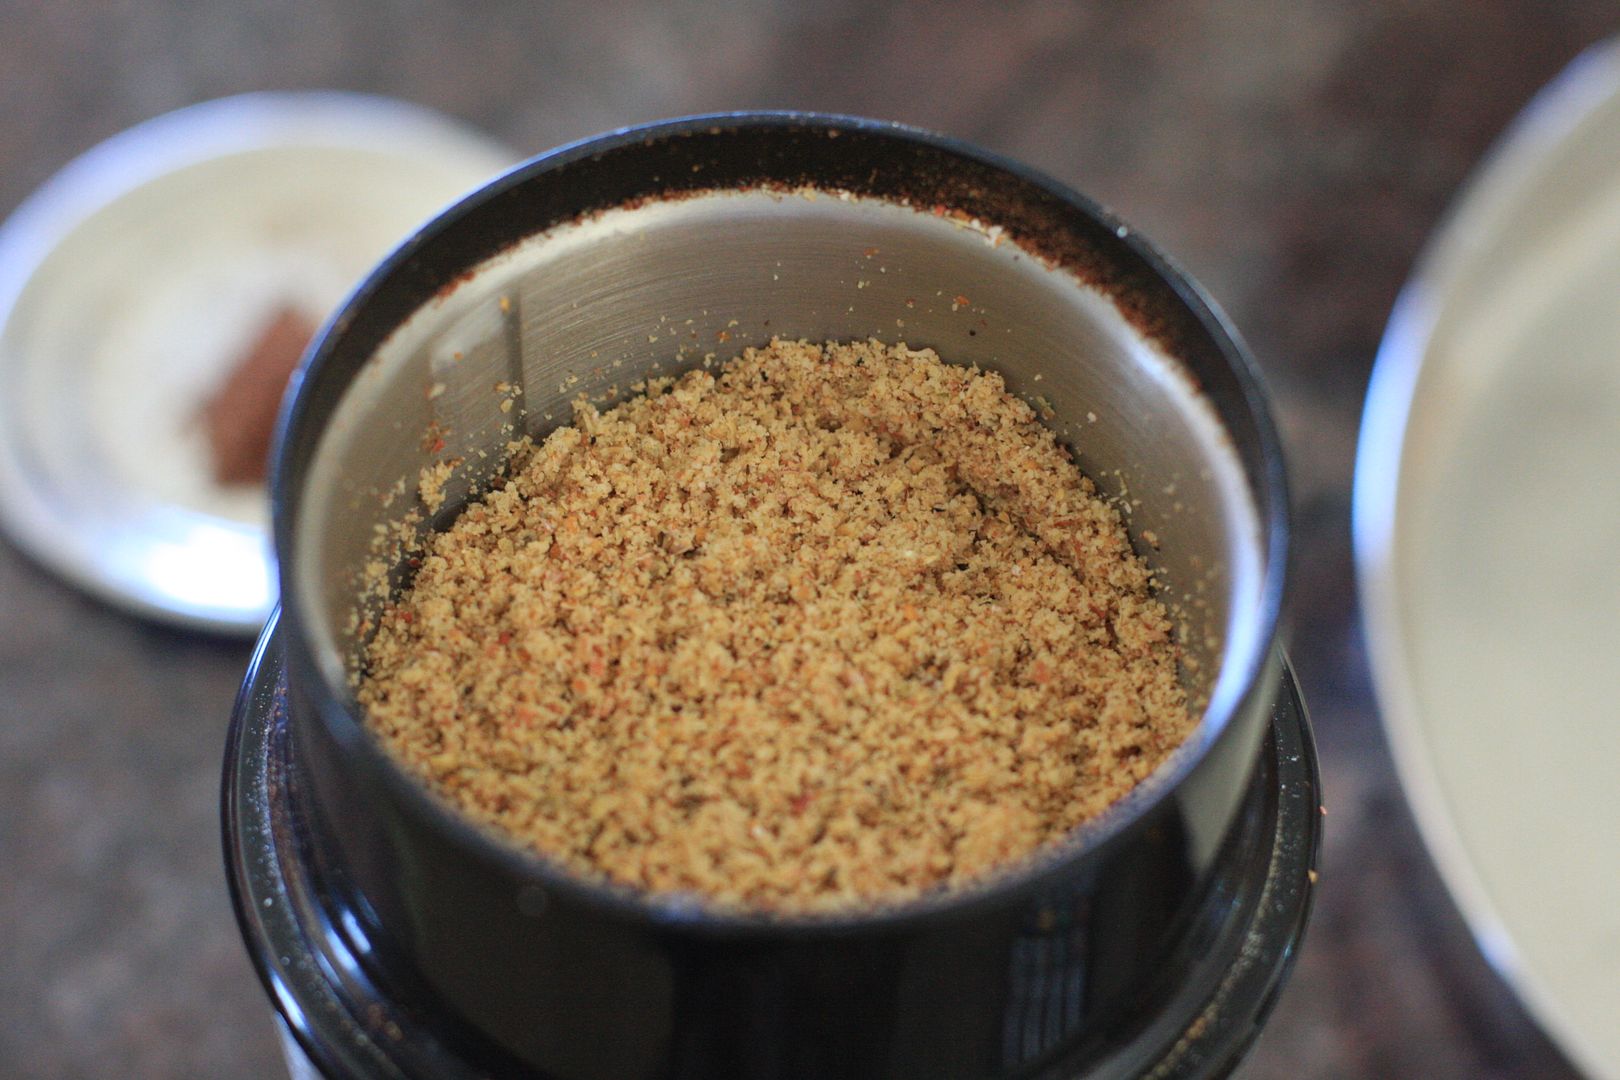
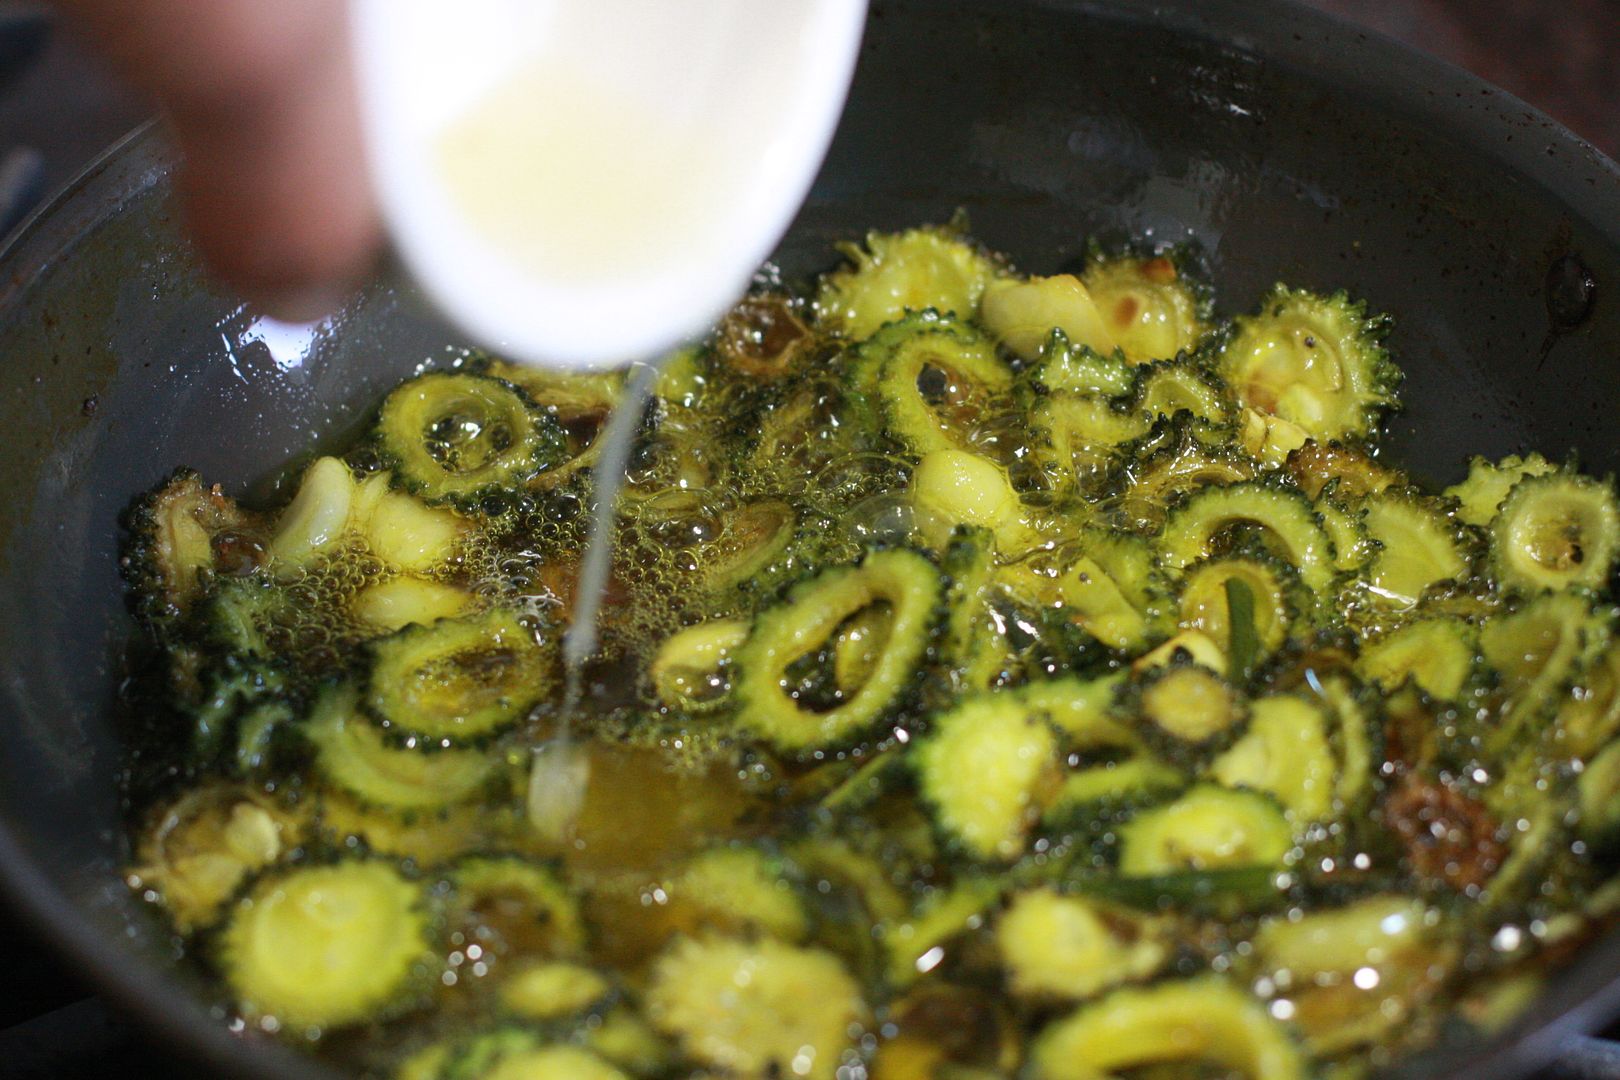
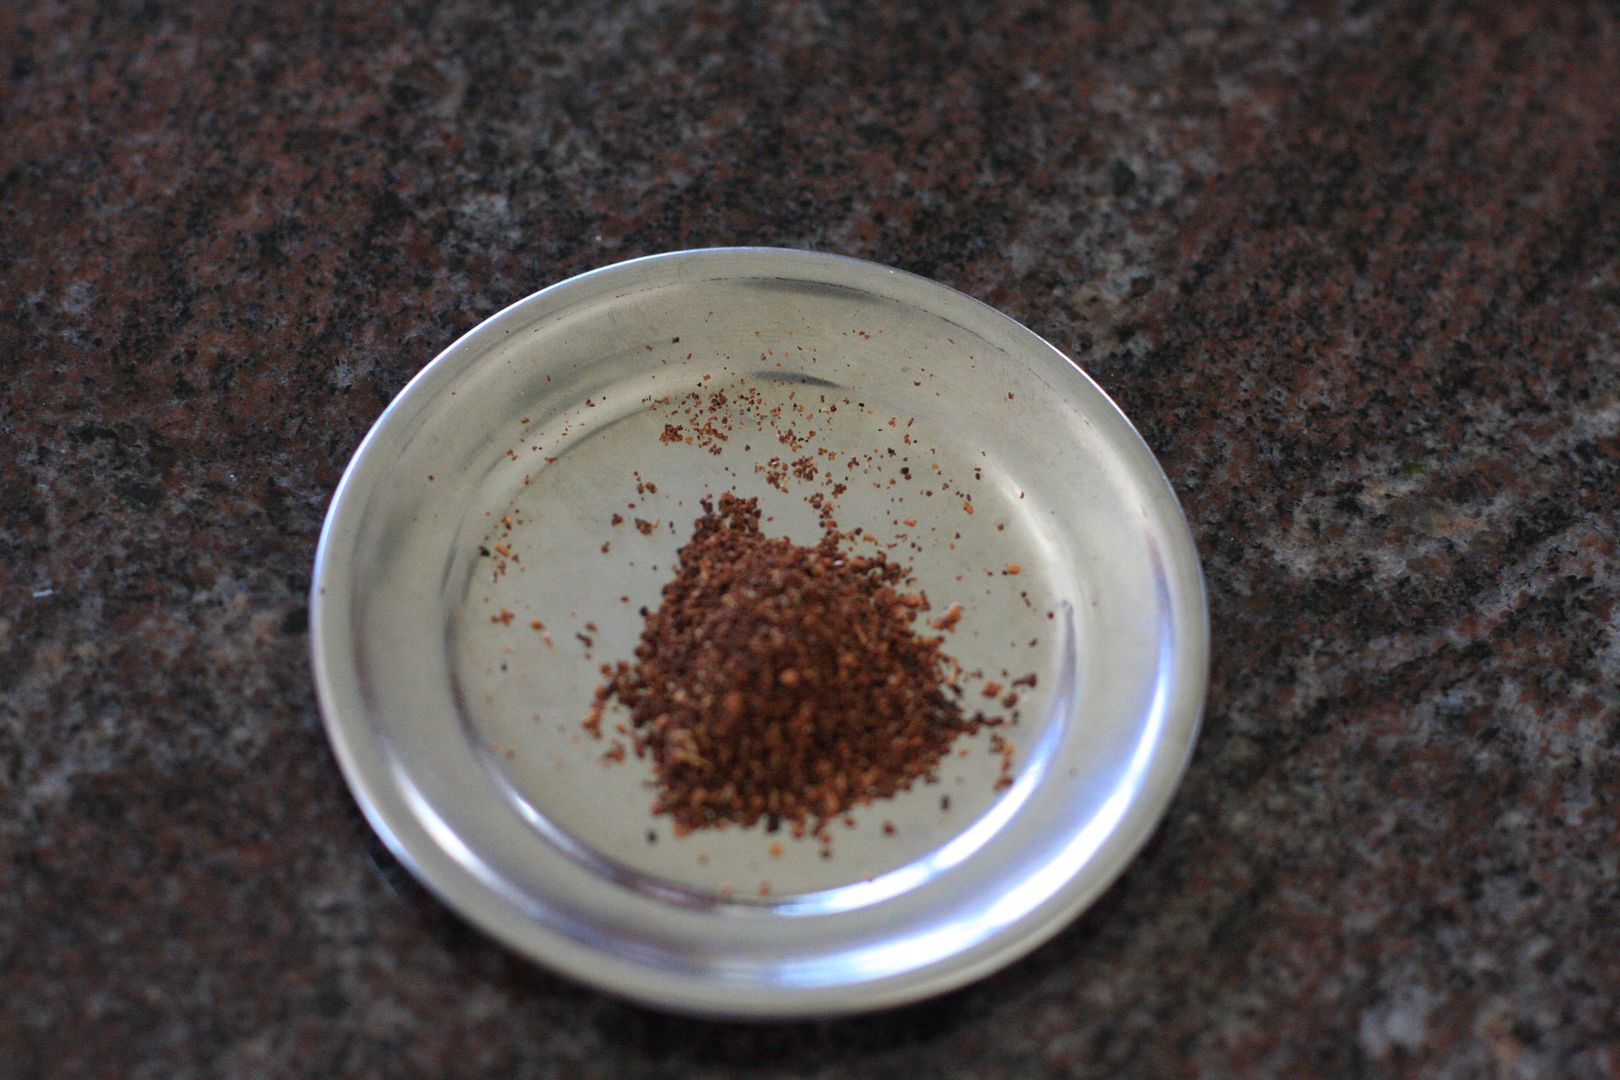
Roast the coriander seeds and pepper corn. Using a coffee grinder or blender make a coarse powder.
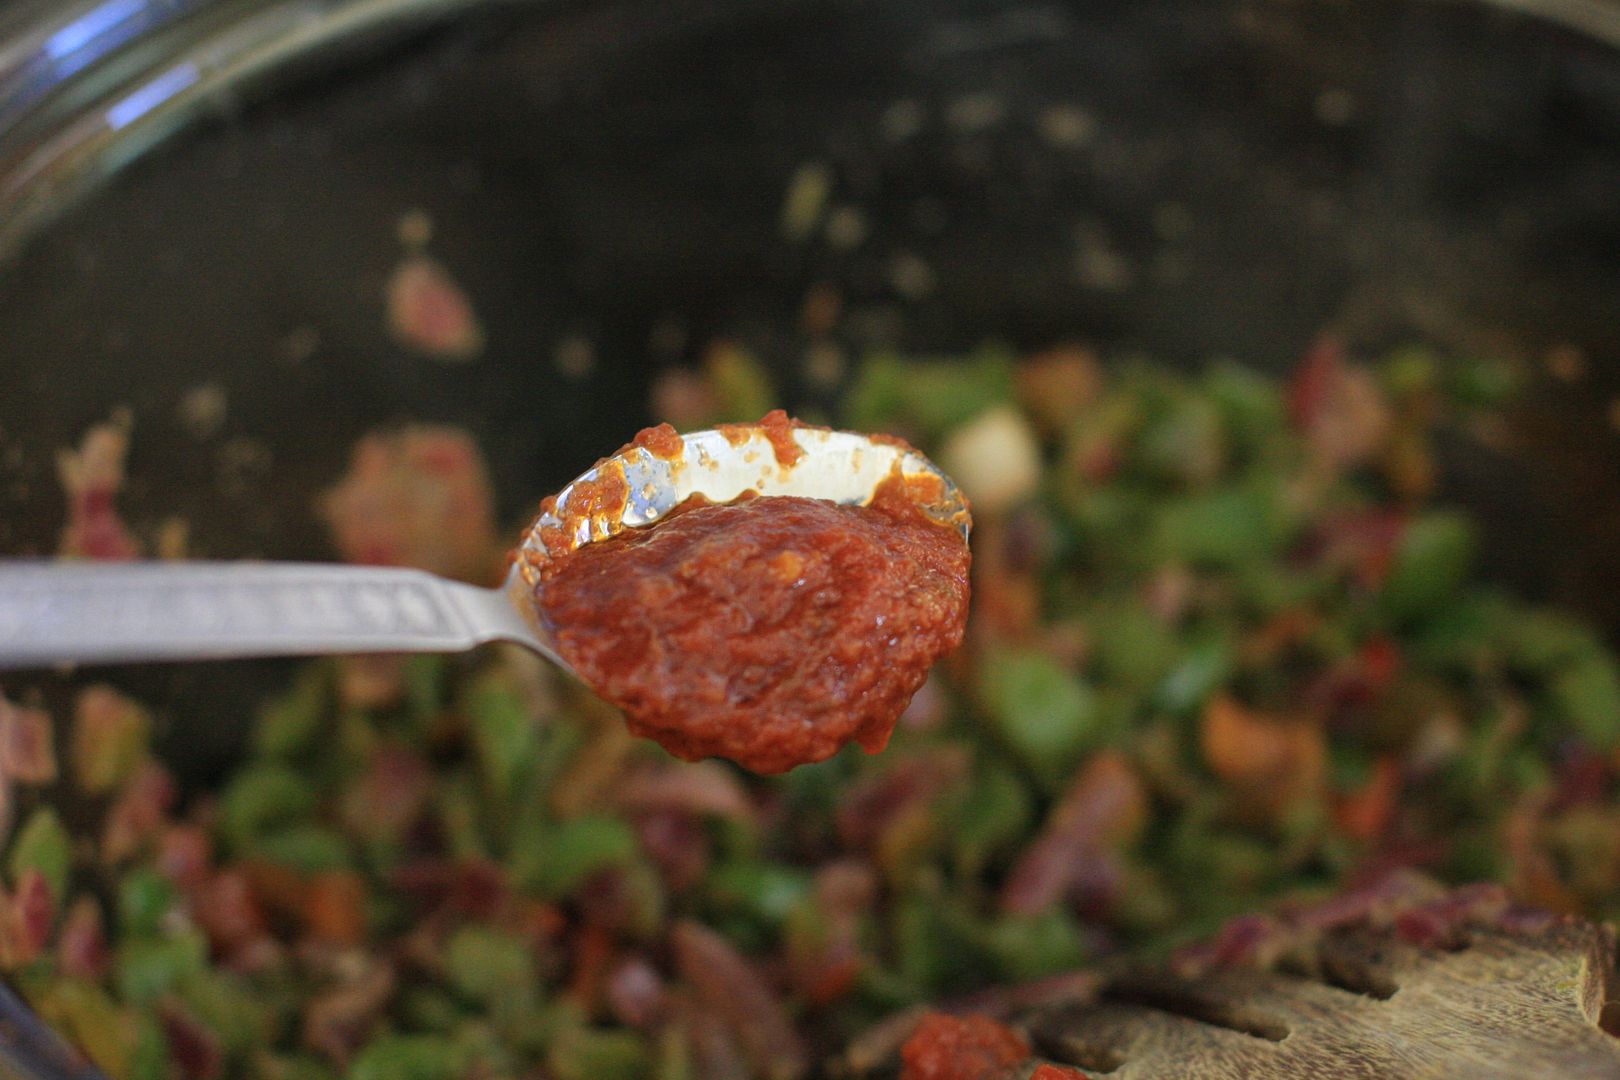
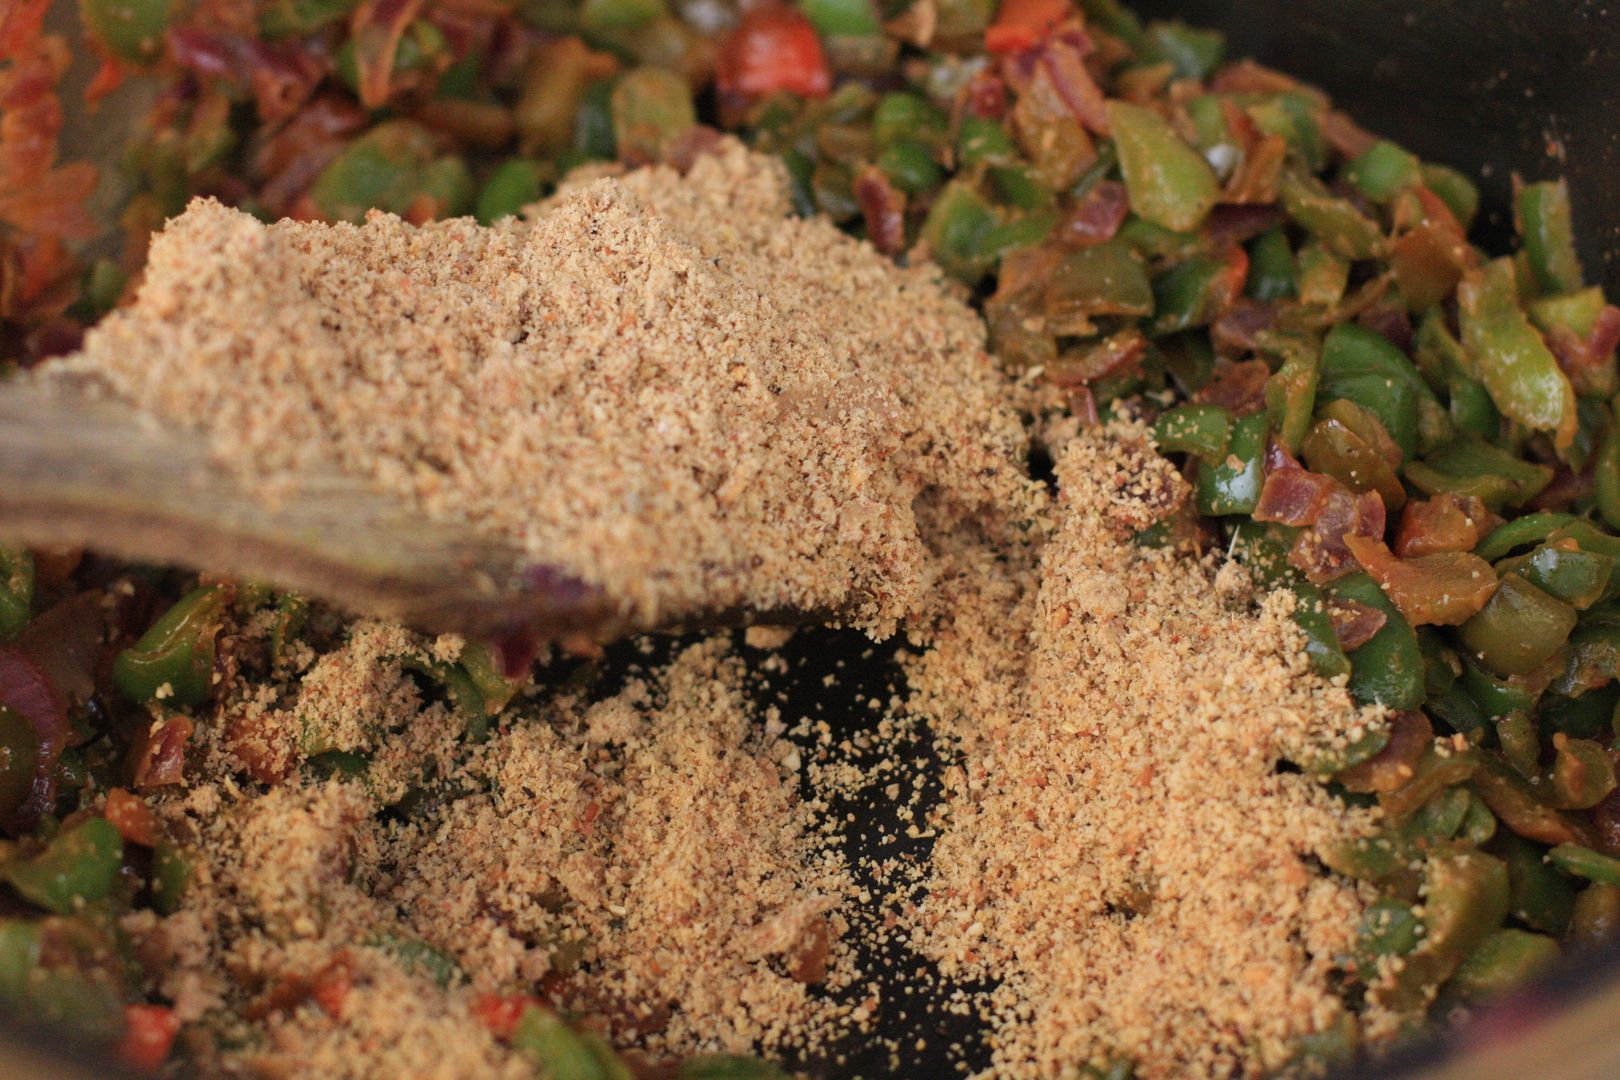
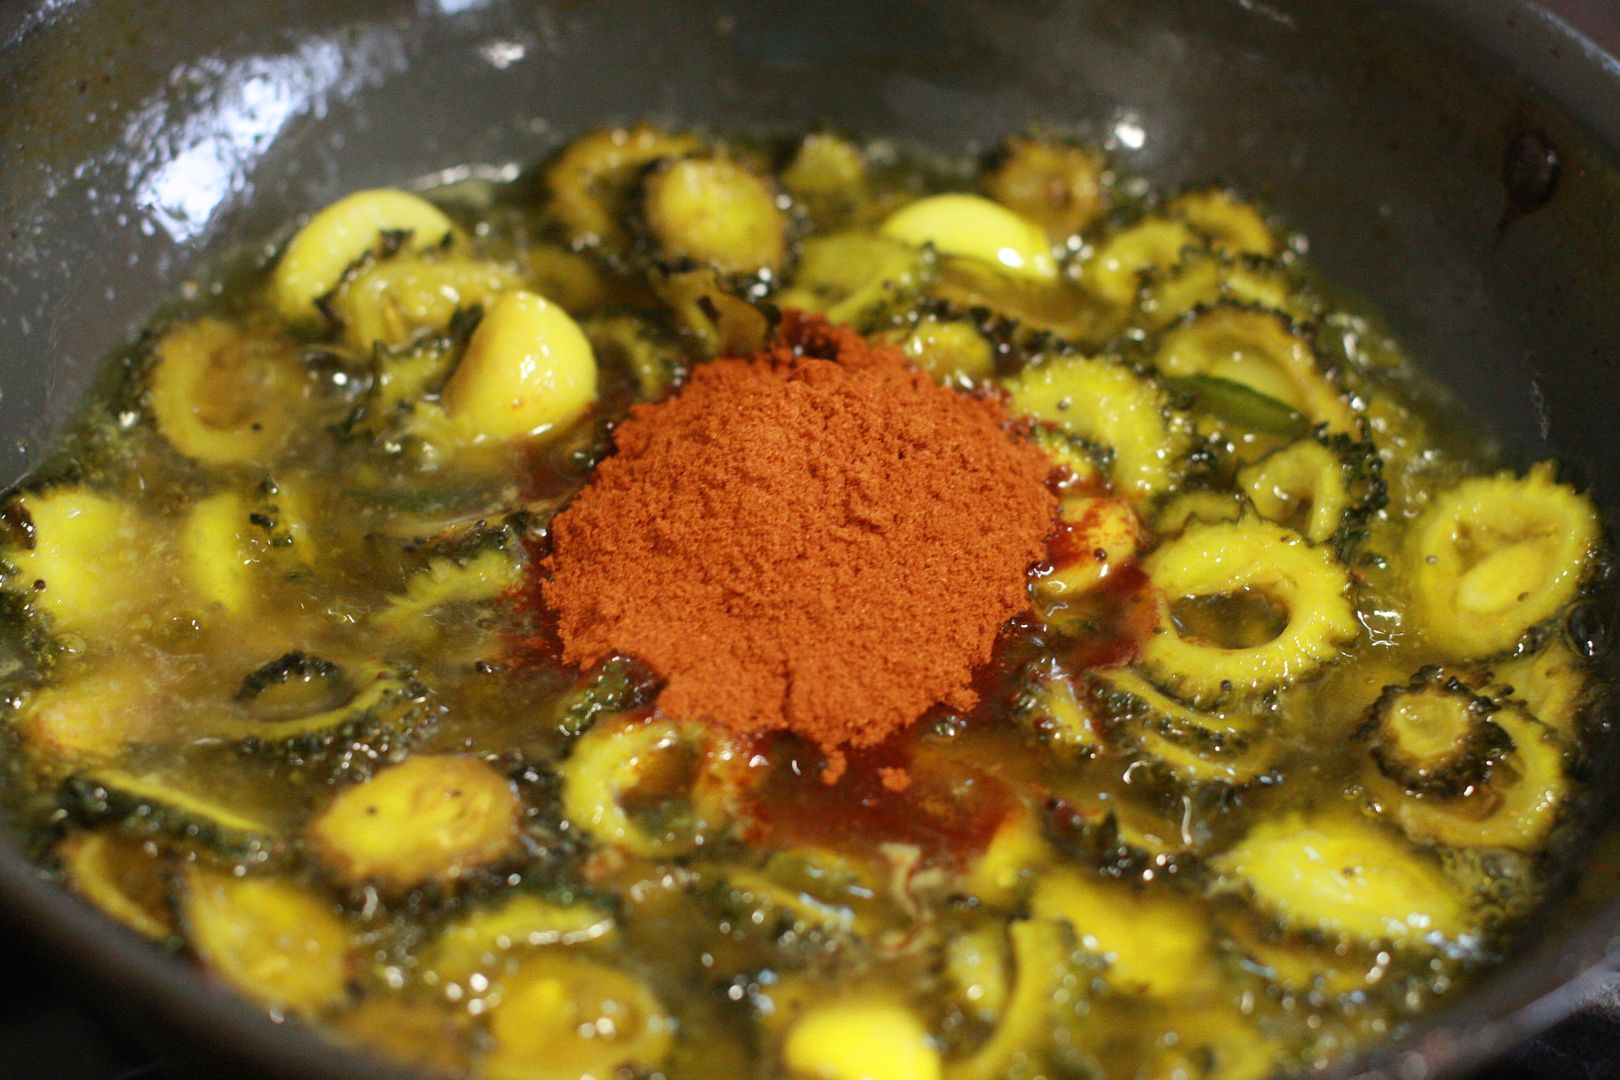
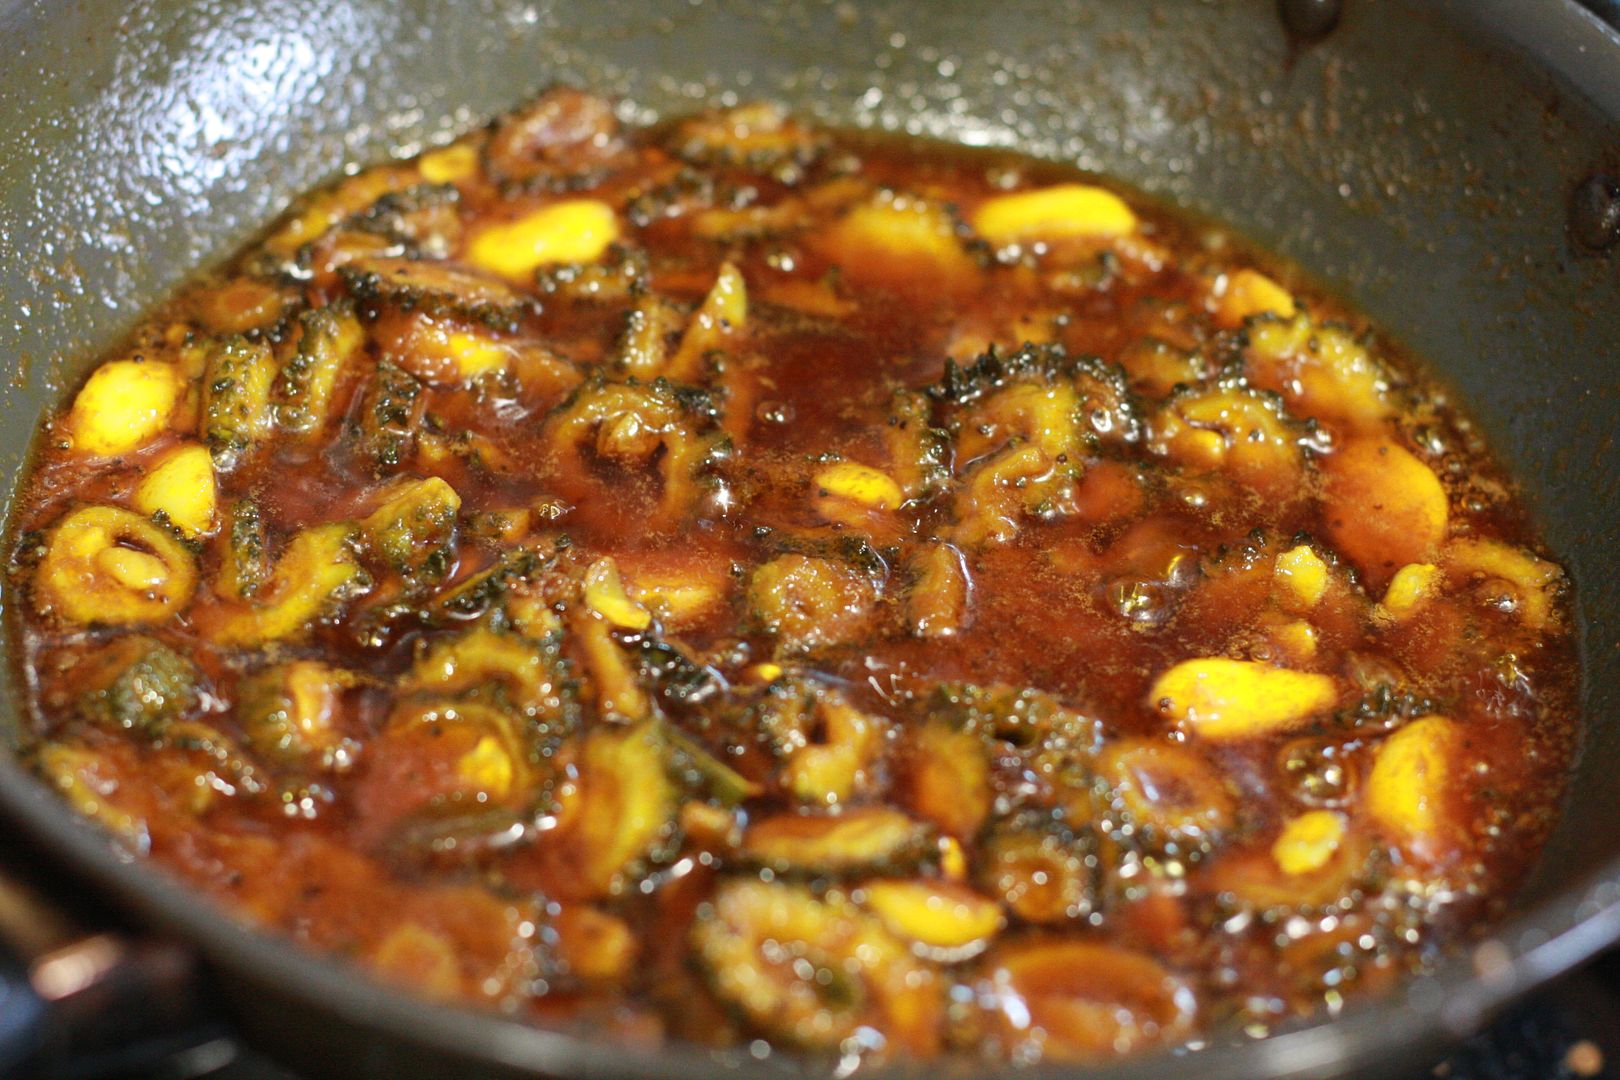
Add in the tomato pickle mix it into the cooked bell pepper followed by the powdered penauts and mix it in well.
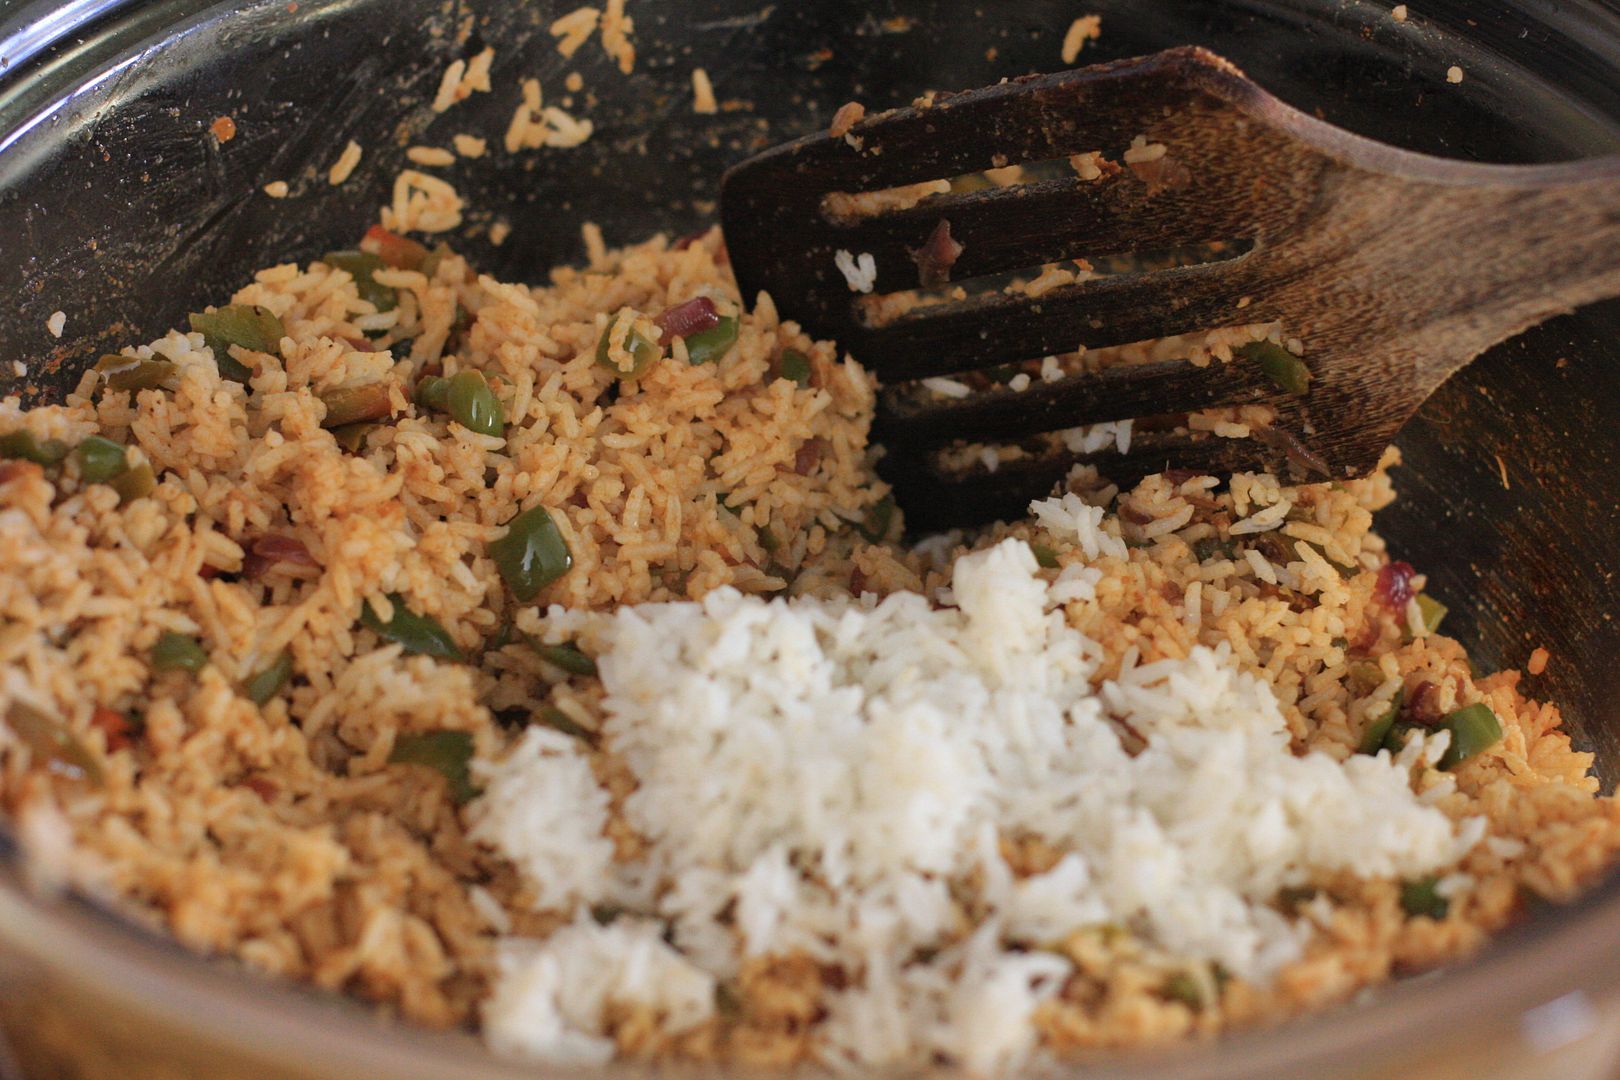
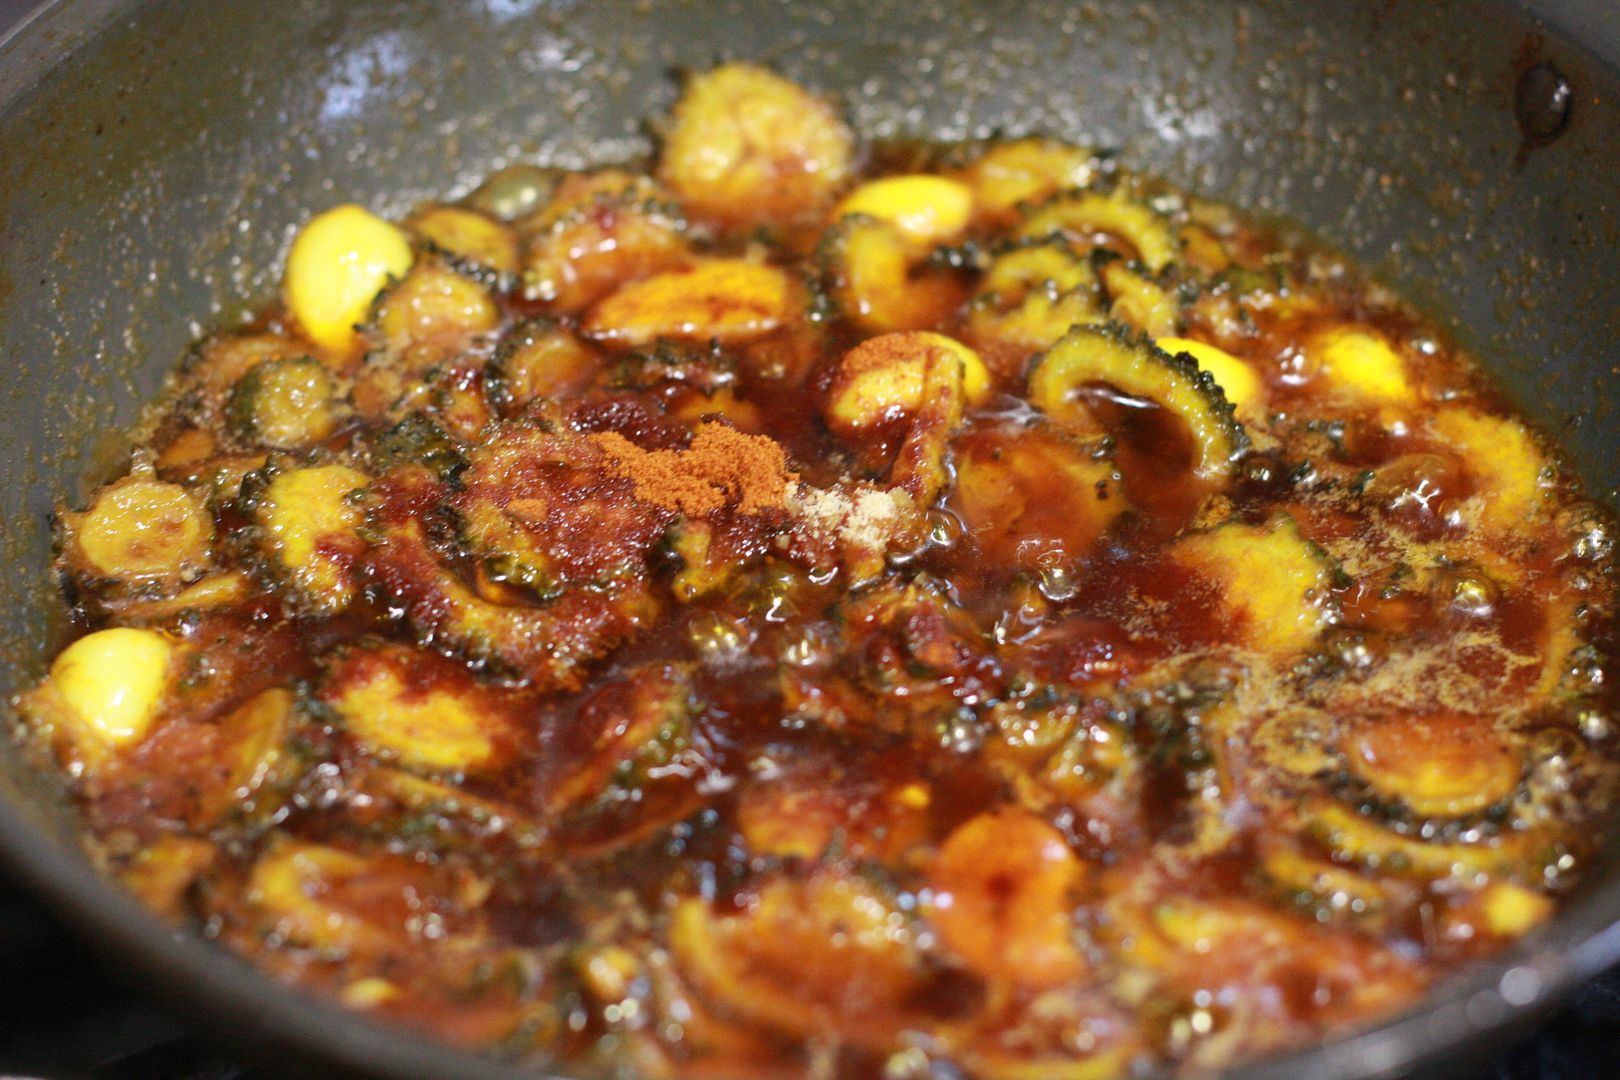
Add the cooked rice into the bell pepper mixture and mix it well till the rice is coated.

Colorful bell pepper rice is ready.

 photo IMG_3841_zpsosou8clb.jpg


Spiced Bell Pepper Rice
Preparation Time: 20 minutes
Cooking Time: 20 minutes + Rice cooking time
Ingredients
  1. 1 1/2 cup of Basmati rice (I used Surti Kolam Rice )
  2. 2 cups of diced bell pepper
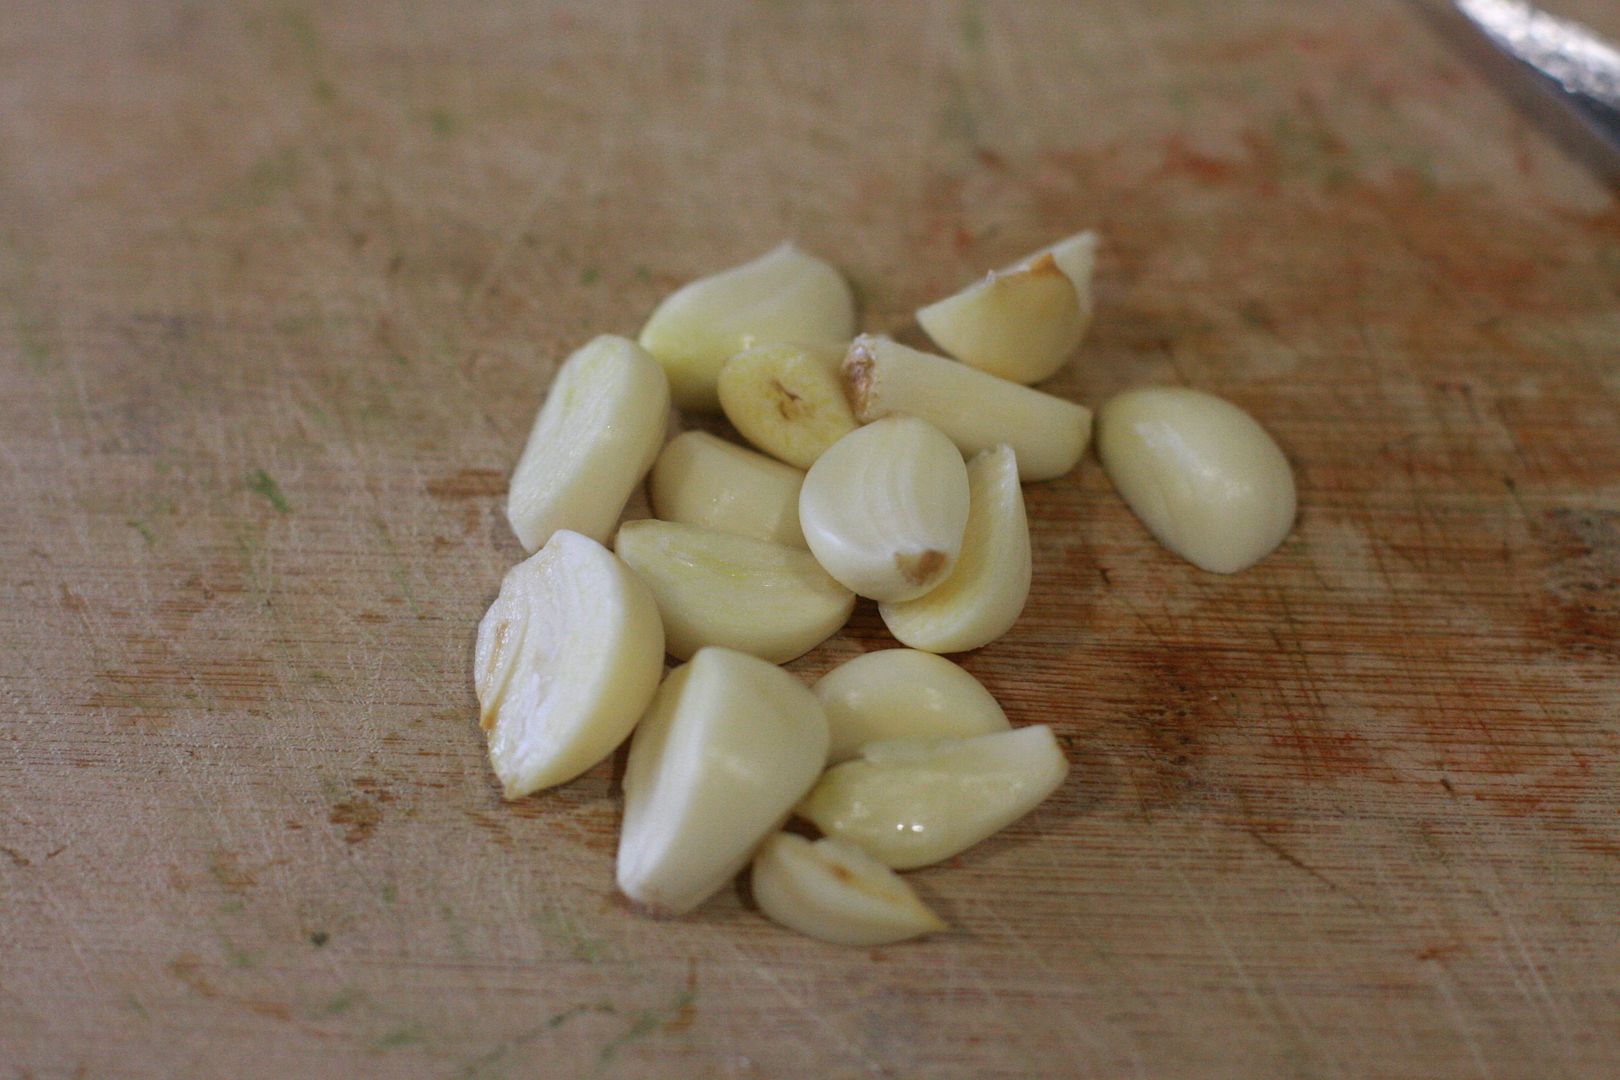
  3. 2 cloves of garlic sliced
  4. 1 tsp grated ginger
  5. 1/2 cup chopped red onions
  6. 4 green chilies slit or 2 jalapenos chopped fine *
  7. 1/2 tsp of coriander seeds + 1/2 tsp of pepper corn (or substitute with coriander and pepper powder
  8. 1/4 cup of roasted peanuts
  9. 2 tomatoes finely chopped or 1 tbsp of tomato pickle
  10. 1/2 tbsp oil + 1 tsp of sesame oil
  11. salt to taste
  12. seasonings: Cumin seeds, curry leaves
  13. 1 tsp garam masala powder (store bought or powder cinnamon, cloves and star anise)

Method
  1. Cook the rice with some salt a tsp of sesame oil along with the required amount of water. I used Instant Pot and both Basmati and Sruti Kolam Rice use 1 1/2 cups of water for a cup of rice. Once cooked fluff up the rice and set aside.
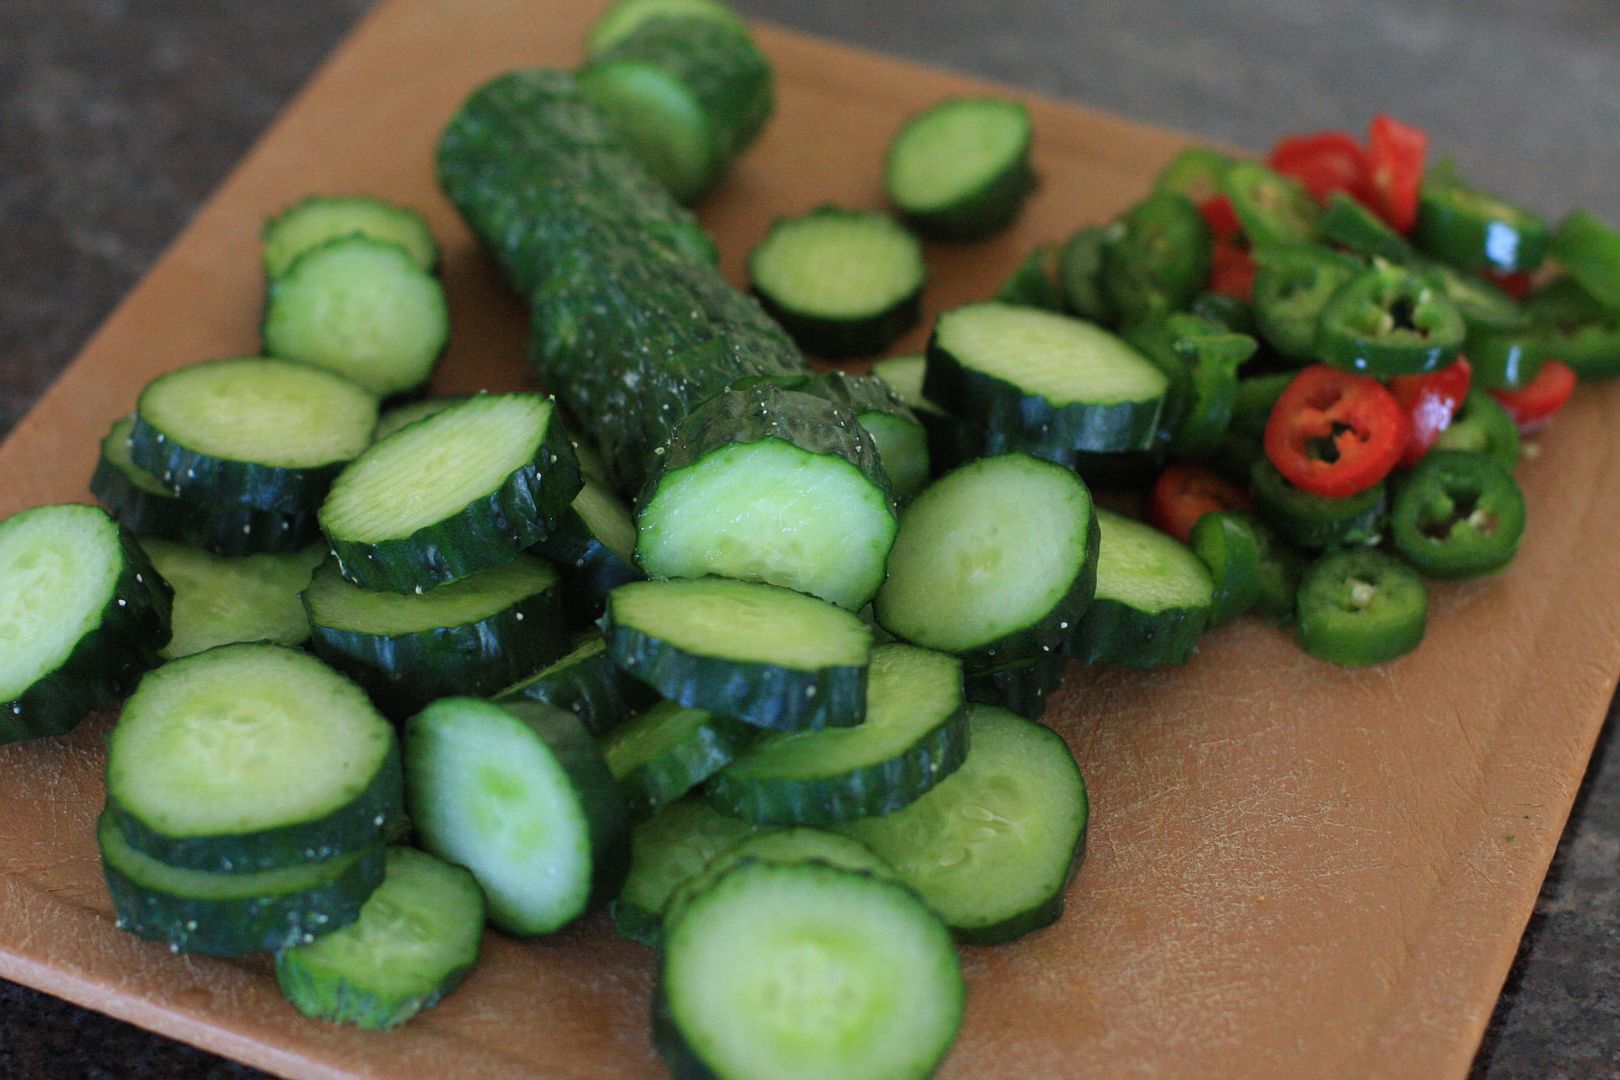
  2. Cut the bell pepper into about 1/4 inch dices after removing the seeds from the inside.
  3. In a saute pan, add oil and when hot add the cumin seeds and curry leaves followed by the garam masala.
  4. Add in the onions, green chilies and saute till the onions are translucent, add the garlic and saute for a minute followed by the ginger and saute for another minute.
  5. If you are using fresh tomatoes add it at this point and let it become mush and saute till oil separates.
  6. Now add the chopped bell pepper and saute till the bell pepper is cooked, cooking times will vary depending on how much you want the bell pepper cooked, takes about 7-8 minutes for it to be completely cooked.
  7. While the bell pepper is cooking saute the coriander seeds and pepper corns till they are just browned. Powder along with the roasted peanuts in a coffee grinder or blender to a coarse powder. Set aside.
  8. Add salt and add in the tomato pickle if you are using and let it cook for about 2-3 minutes.
  9. Add in the rice and mix it gently into the bell pepper mixture.Add the cooked rice in batches. Do not add too much rice.

Serve along with raita.

Like what you are reading? Subscribe!

Saturday, September 7, 2019

Bitter Gourd Pickle

Have you tried growing bitter gourd? They reliably produce fruit all through summer without much fuss. There are a lot of people who love this vegetable but of course there quite a few who hate this vegetable also. So there is a love or hate relationship with bitter gourd perhaps because it is an acquired taste. Bitter gourd is very good at managing blood sugar levels so its popularity is increasing. There are people who swallow bitter gourd pills but I'd say go with the real deal. It tastes far better.

I simply like the taste however it is cooked. It has been my wish to try bitter gourd pickles for a long time but never quite got around to making them but I have been finessing the recipe in my head for even longer. Two things I had in mind, I wanted it like the fish or shrimp pickles from Kerala and also the way my ammayee makes garlic pickle. The former I have only tasted the latter my grandma gave the recipe. The garlic pickle if you are interested in here.

I have made these pickles twice already. I added a few garlic cloves the first time. The second time I left the garlic out but added jalapenos. The two are purely optional. I added those for added taste and since I had those readily available. The amount of lemon juice added depends on how sour you want it to be. I added the maximum that could be without it becoming overly sour.

Usually it is better to use young and tender bitter gourd where the seeds don't have to be removed. If you are using bitter gourd which is slightly mature you can remove the seeds after slicing but it is ok to leave them be.


 photo IMG_3749_zps6ecgg0v4.jpg


This pickle is vey easy to make and for those who like bitter gourd, this is something to be tried.

Cut the bitter gourd, peel and slice the garlic.
Get the lime/lemon juice and the other spices ready.
Heat oil in a pan and shallow fry the bitter gourd pieces and fry till the bitter gourd pieces turn brown.
Fry the garlic pieces and set it aside. Then add more oil to the pan and when hot add the mustard seeds.
When the mustard starts to pop, add curry leaves. Add the garlic and fried bitter gourd pieces and turmeric powder.
Add in the lemon juice and let it boil for 5 minutes. Now add the chili powder and mix it in.
Add in the fenugreek mustard powder and mix and turn off the heat.

The pickle stays on the counter top for 2 weeks. Refrigerate for use longer.


 photo IMG_3871_zps86yxxtik.jpg
Bitter Gourd Pickles
Preparation Time: 10 minutes
Cooking Time: 30 minutes
Ingredients
  1. 1 lb of Bitter Gourd - about 2 cups of sliced bitter gourd
  2. 6-8 garlic gloves sliced
  3. 3/4 - 1 cup of sesame oil
  4. 2 tbsp of red chili powder (more or less)
  5. 2 tsp turmeric powder
  6. 1/2 - 3/4 cup of lemon juice (I used both limes and lemons)*
  7. seasonings: 1 tsp mustard seeds, curry leaves
  8. 1/2 tbsp salt
  9. 1/4 tsp of roasted mustard and fenugreek seeds powder
  10. a small pinch of asfoetida

Method
  1. Cut the ends of the bitter gourd and slice the bitter as thick or thin as you want. I made 1/8 of an inch slices.
  2. In a shallow wide mouthed pan, add about 1/4 cup of the oil and when hot shallow fry the bitter gourd pieces in batches and set them aside. Remove the bitter gourd pieces from oil when they start to turn slightly brown. They should not be fried to crisp.
  3. Once the bitter gourd is done add the garlic pieces and fry them for a minute. Take care not to burn the garlic. Set it aside.
  4. Now add the rest of the oil and when it is hot add the mustard seeds and when the seeds start to pop add the curry leaves followed by the fried bitter gourd pieces and garlic. Add turmeric powder.
  5. Fry for a few minutes till the bitter gourd pieces are mixed in the oil. Add the lemon juice and let the liquid come to a boil.*
  6. Add the chili powder and salt and mix well. Let it cook for about 3-4 minutes. Check for salt and heat. Add the powdered mustard -fenugreek powder, mix and turn off the heat.
  7. Let the pickle sit for a couple of days before using. Transfer to sterilized glass jars**. Stays fresh on the counter top for 10 days. Refrigerate if you want it to stay longer.
  8. Note:*If you need a little bit more gravy in the pickle increase the quantity of lemon juice. It might increase the tartness of the pickle too. A combination of lime and lemons tends to keep the tartness low.
  9. **For sterilizing the glass jars I put in the microwave for 1 or 1 1/2 minutes.


Like what you are reading? Subscribe!

Monday, September 2, 2019

Cucumber Pickle in Vinegar

Have you tasted cucumbers plucked fresh off the vine? They are nothing like the ones you get at the grocery store. Crunchy and with a burst of flavor there is no comparison. The thing with growing anything during summer is that you get more than what you can do with it. And produce grown without pesticides have that sweetness and genuine glorious taste of nature. This is something I would call an "All Natural" snack. I grew Persian cucumbers called Beit Alpha Mid eastern cucumbers which were sweet but not with as much moisture as the normal cucumbers and with smaller seeds.

That leads to the 'All Natural' label we see on a lot of foods today. If you are one of those people who is looking for this label and assume that there is some higher quality to that label. You are mistaken. There is no enforcement of the ingredients by the FDA and the label does not mean a thing. It's just another label invented by the food companies to mislead consumers into thinking they are purchasing something better than what it is.

Where food is concerned it is better to use common sense than be taken in by anything said on the labels. I used to buy cucumber pickles and jalapeno in vinegar all the time. I had assumed that these are simple things that would not have any added chemicals but boy was I wrong. I have bought these numerous without every reading the labels till one day I happened to glance at them and was pretty surprised to see yellow 5 color in both of them. I started looking for ones that don't have any food coloring. The sad thing is none of the American brands were free of the food coloring. There are few brands that do not have the food coloring which are usually found in the Latin food aisle.

So why bother with the labels and the hassles, these pickles are absolutely easy to make. They are great in sandwiches, in salads and also as a snack. The addition of jalapenos just gives it an added zing.


 photo IMG_3790_zpszihbahnv.jpg


 photo IMG_3802_zps0l9jxtga.jpg

For half hour worth of work you have some delicious pickles ready. Here is the recipe in pictures.

Slice the cucumbers and jalapenos and keep them ready. Take the vinegar, water, sugar and salt in a pot and bring it to a boil.
Add the jalapeno slices into the vinegar and let it boil for 2-3 minutes and turn off heat. Now take the sliced cucumbers in another pan. and pour the vinegar on to the cucumber slices.
Once the vinegar has reached room temperature pour the vinegar on to the cucumber slices.


 photo IMG_3804_zpsp5p3lnis.jpg

Cucumber Pickle in Vinegar
Preparation Time: 10 minutes
Cooking Time: 20 minutes
Ingredients
  1. 2 Perisan Cucumbers (or English Cucumbers could be used) - about 3-4 cups of sliced cucumbers
  2. 1/4 cup of deseeded and sliced Jalapeno peppers
  3. 2 cups of white vinegar
  4. 1 1/2 cups of water
  5. 1/4 cup of sugar*
  6. 2-3 tsp of salt*
  7. Note:* the amount can be more or less depending on taste
    Method
  1. Take the vinegar, water and sugar in a saucepan. Heat till the solution comes to a boil.
  2. Add in the jalapeno pieces and let it cook for about 2-3 minutes. It should still retain the crunchy texture.
  3. Keep the sliced cucumbers in another vessel and when the vinegar has come to room temperature pour the vinegar on to it.
  4. Let cool and transfer to glass jars.
  5. Stays in the refrigerator for 4-5 months.

Like what you are reading? Subscribe!