Pages (Search here)

Tuesday, December 27, 2022

Paneer Tikka masala

Paneer dishes are one of those things that no one can get enough of. My family is no different. I have come to liking it after quite a while. I still do not like or order paneer dishes in the restaurant. I do not like the way it is smothere in cream and has that pale orange look which sends me to the exits.

The trick to making any paneer gravy is not make it overly rich. Since paneer is alredy milk based there is no reason to add more by way of cream. Adding yogurt for me seems to hit the right spot.

Paneer Tikka masala is derived I am guessing from its popular cousing the Chicken Tikka Masala. While chicken tikka masala seems to a be good way for most restaurants to repurpose their grilled or tandoori chicken into a new dish and that is precisely why I have developed an aversion to it. Paneer tikka masala on the other hand seems to be just the vehicle for smartly using the grilled paneer or tandoor paneer. Reason being paneer can be softened and it absorbs all the spices while chicken on the other hand gets drier and when it is dunked in a wet gravy only gets progressively worse. Well at least that is my take on it.

I never have to worry aboug grilled panner or pan roasted paneer because it usually disappears in no time. So to make this paneer tikka masala I make the tandoori paneer just before making the masala. While it is easy to make the paneer fresh I don't do that often enough :(

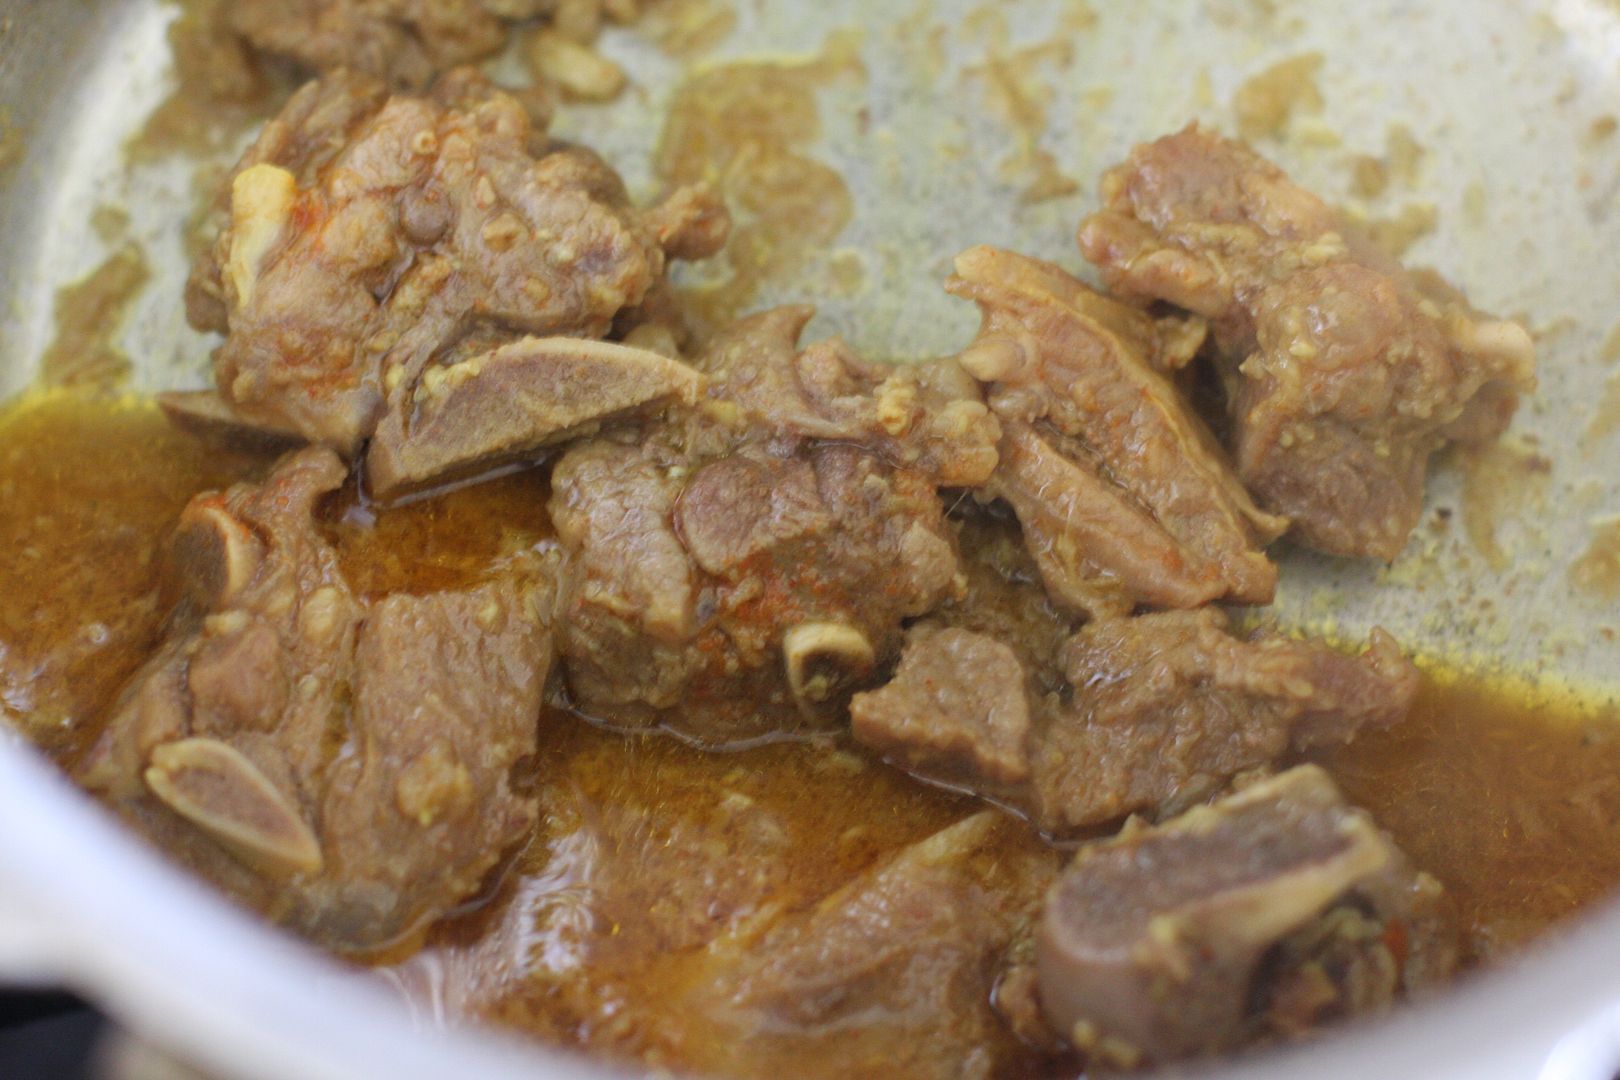
I boil the onions, ginger, garlic and green chilies to reduce the cooking time and oil needed to cook if blended raw.

Recipe in pictures,

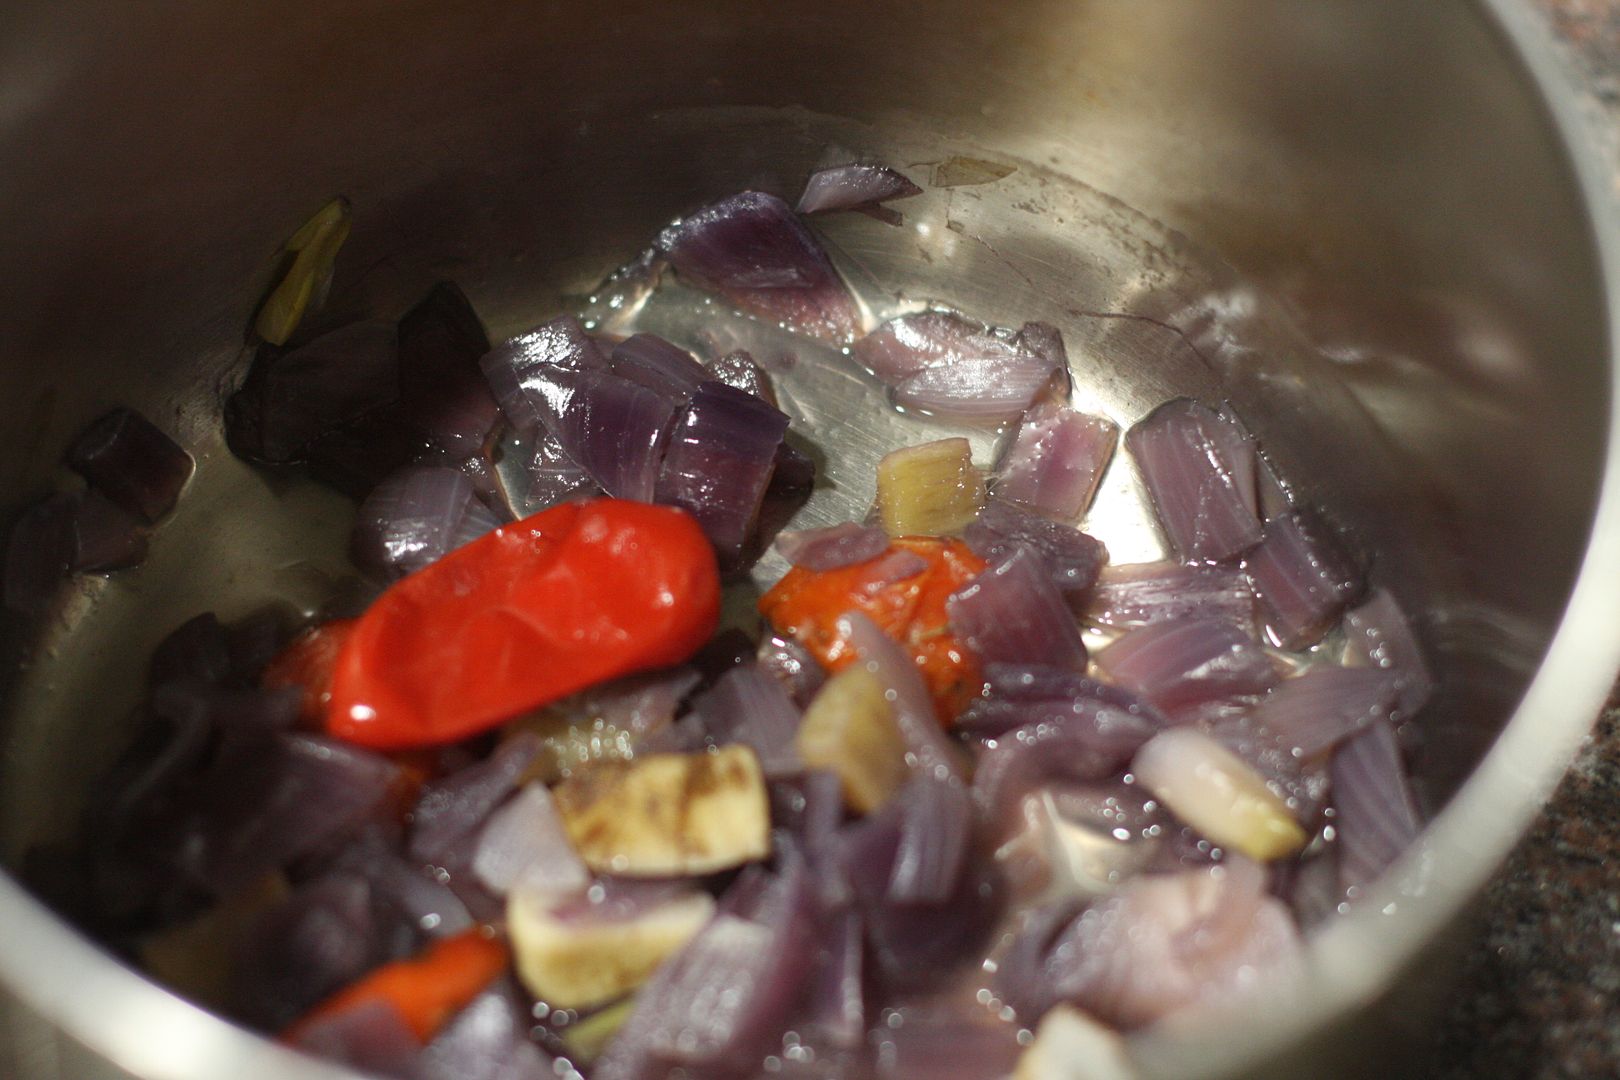
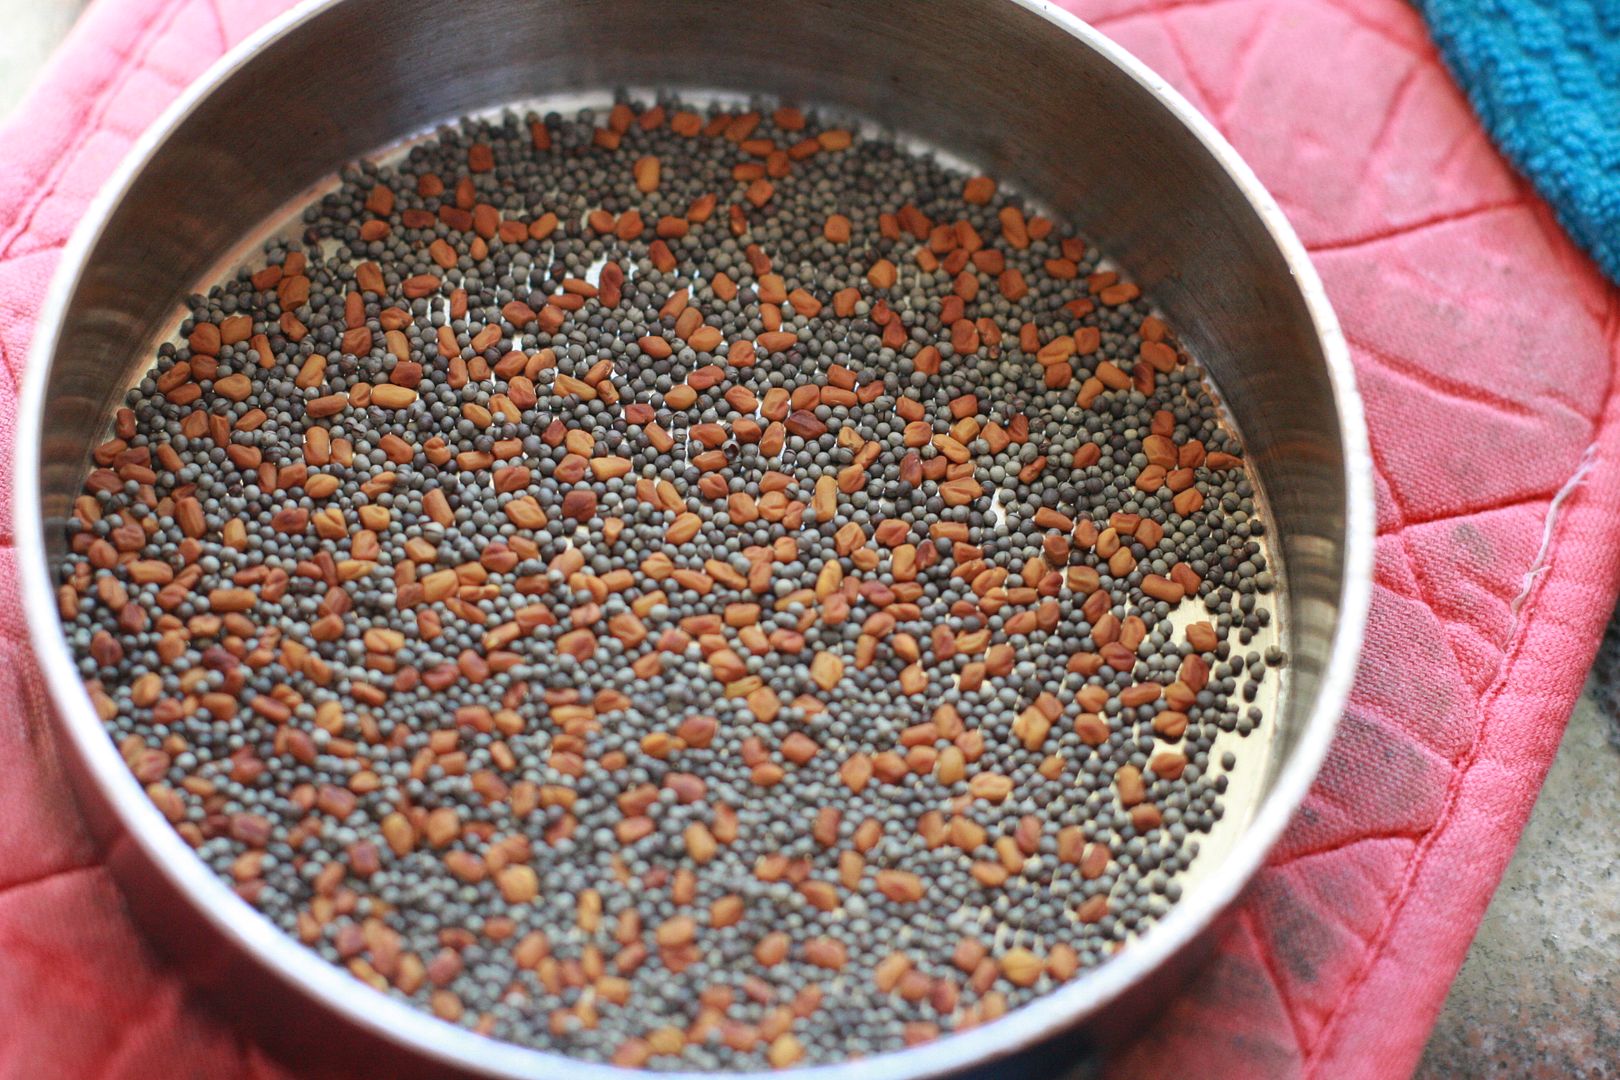
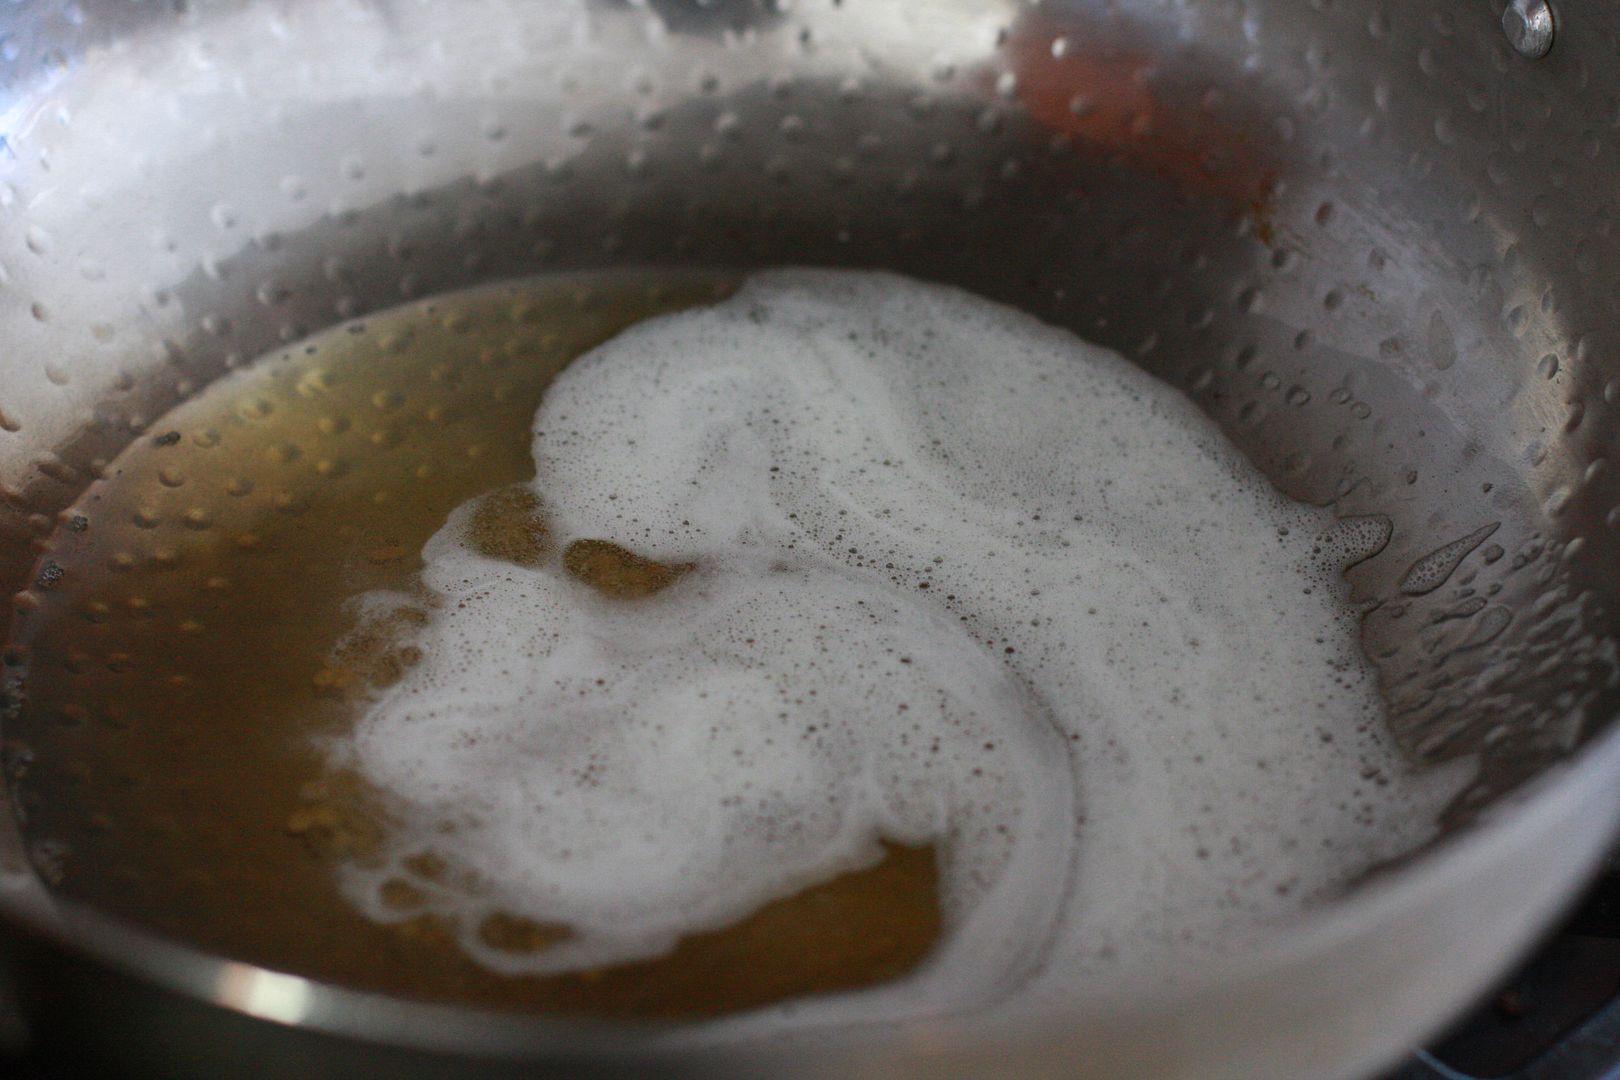
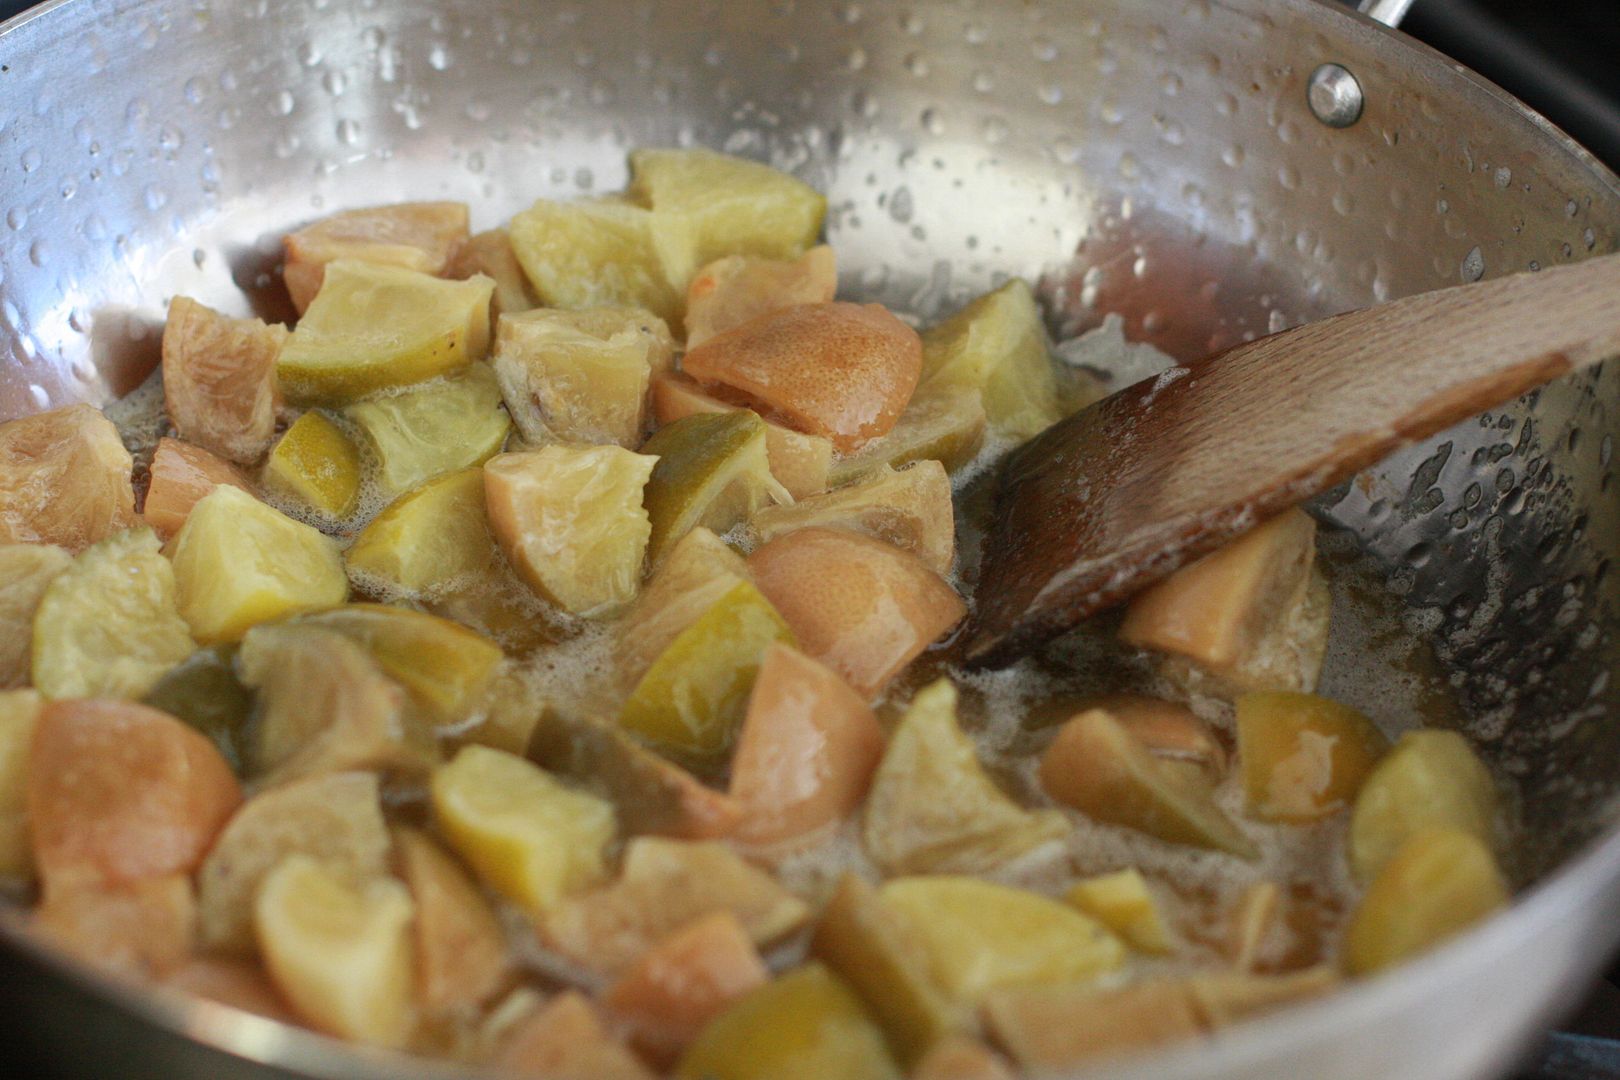
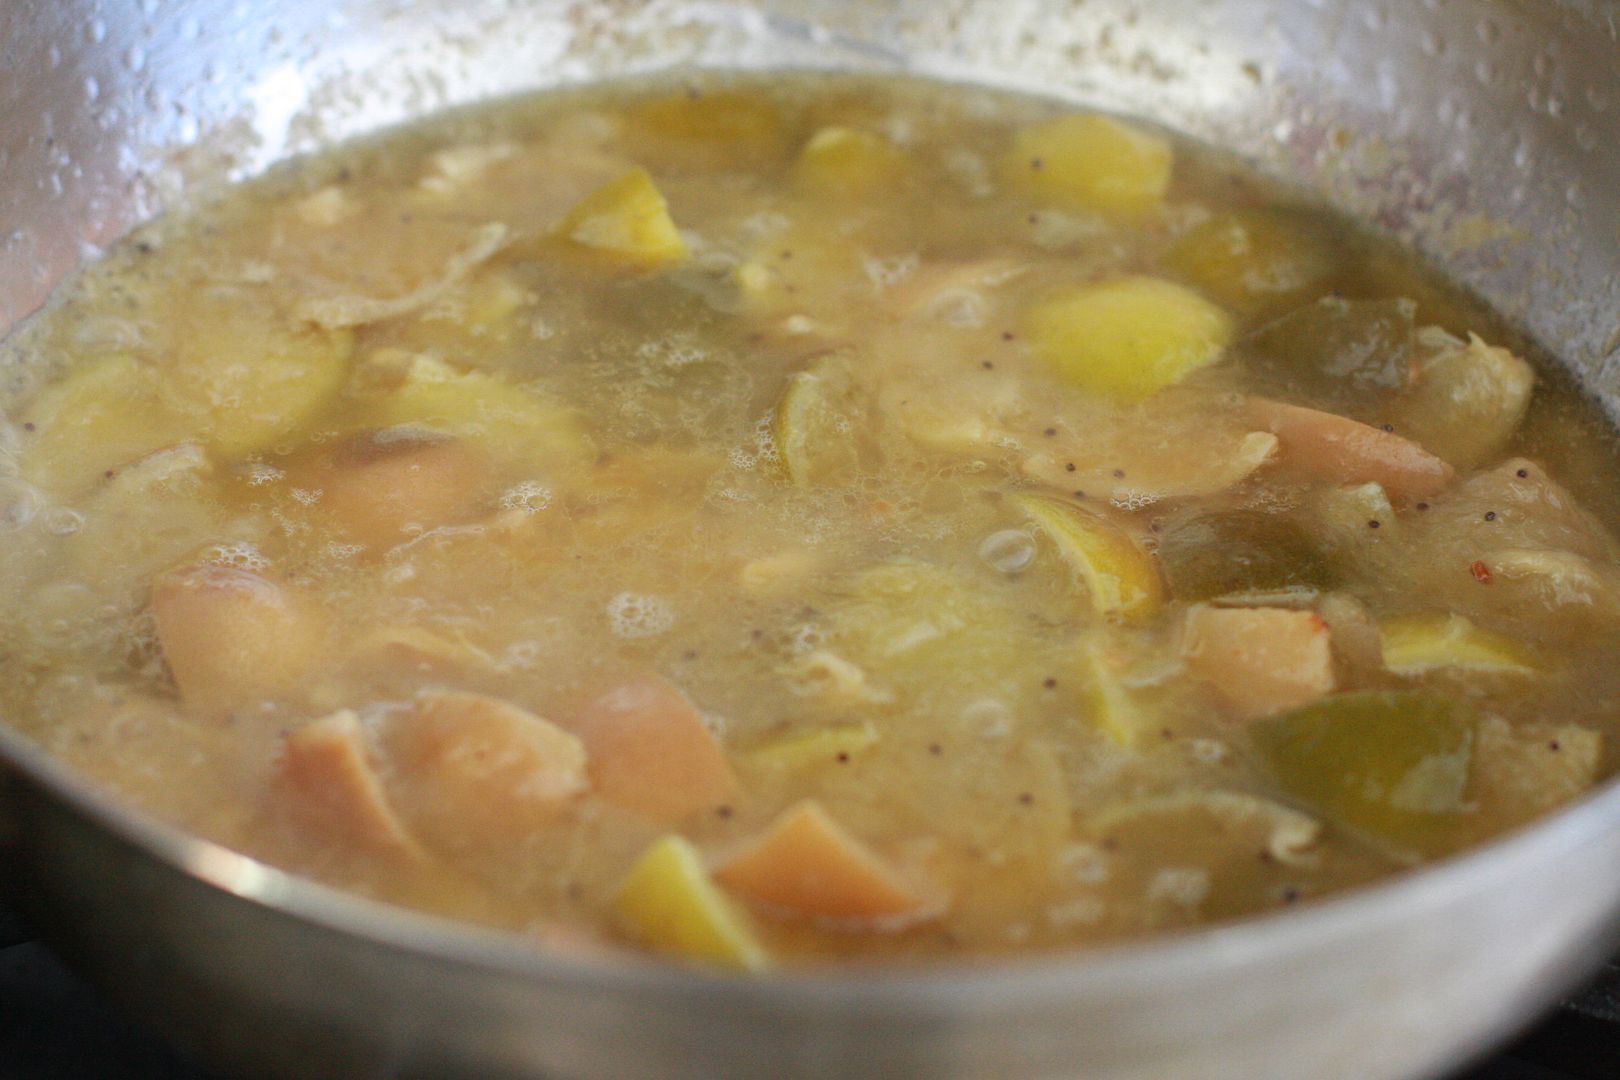
In a sauce pan, boil the onions, ginger, garlic and red/green chilies for about 10-15 minutes. Cool and blend to a paste and set aside.
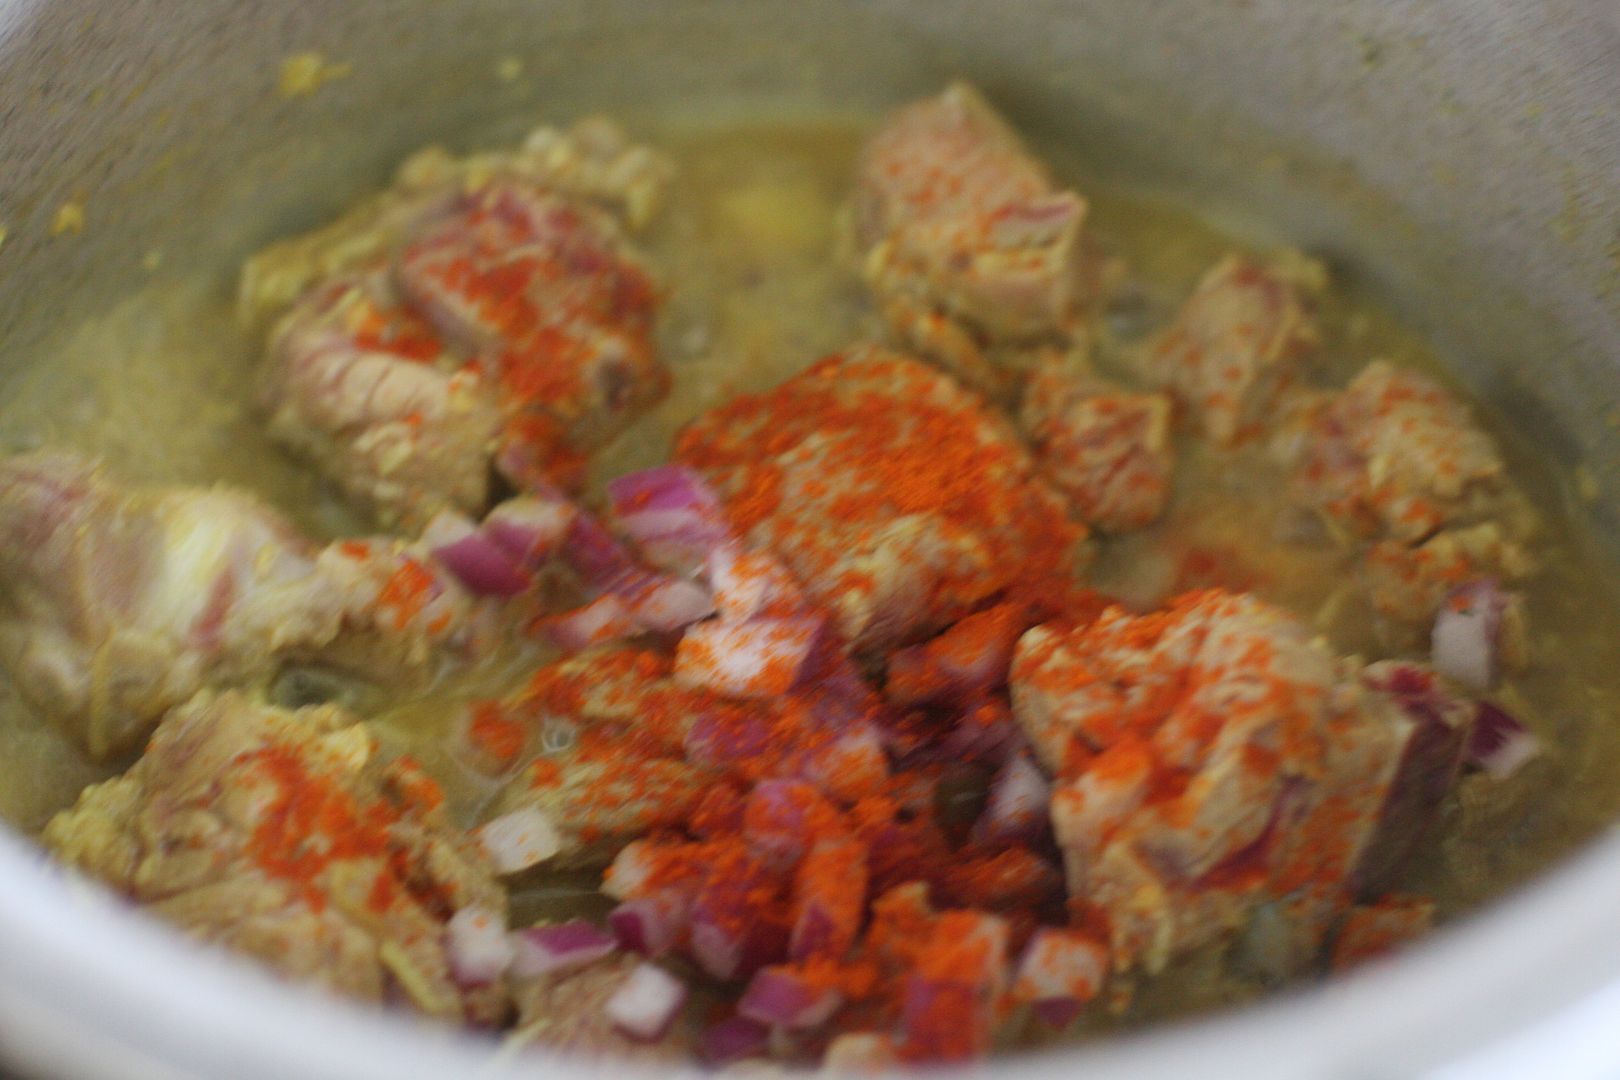
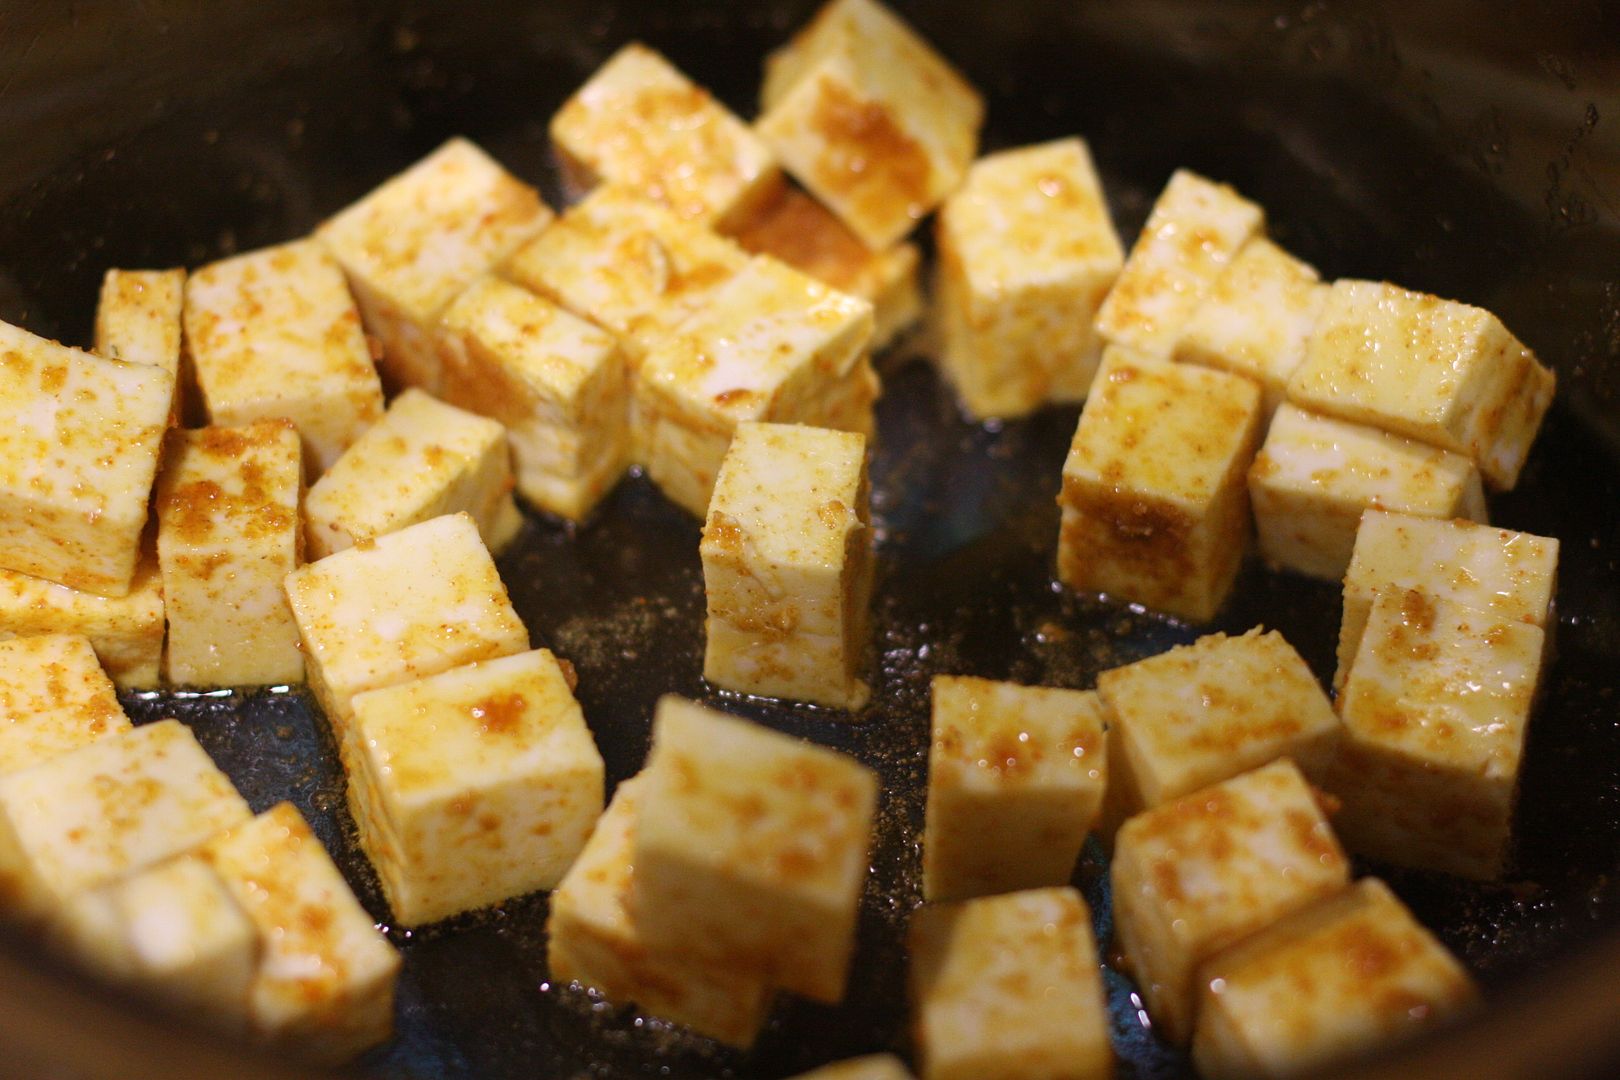
Cut the paneer piece into 1 inch pieces and in a bowl mix the paneer pieces with the spices, so they are well coated. Heat oil in a wide mouthed.
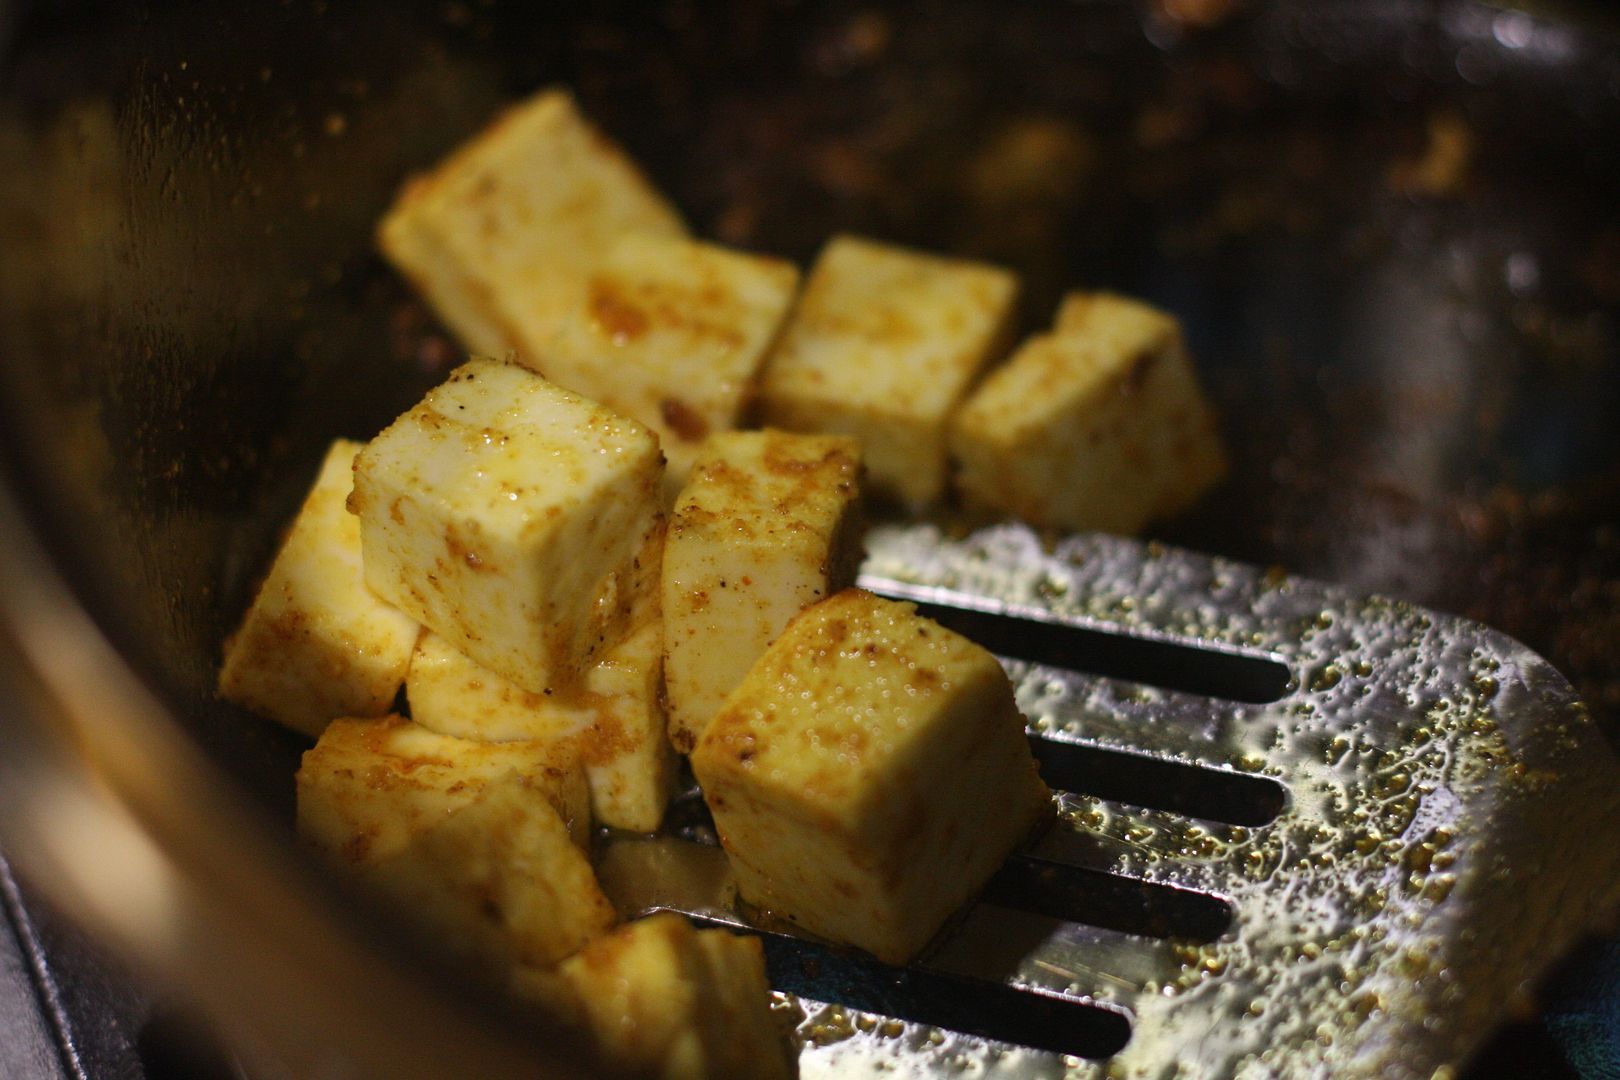
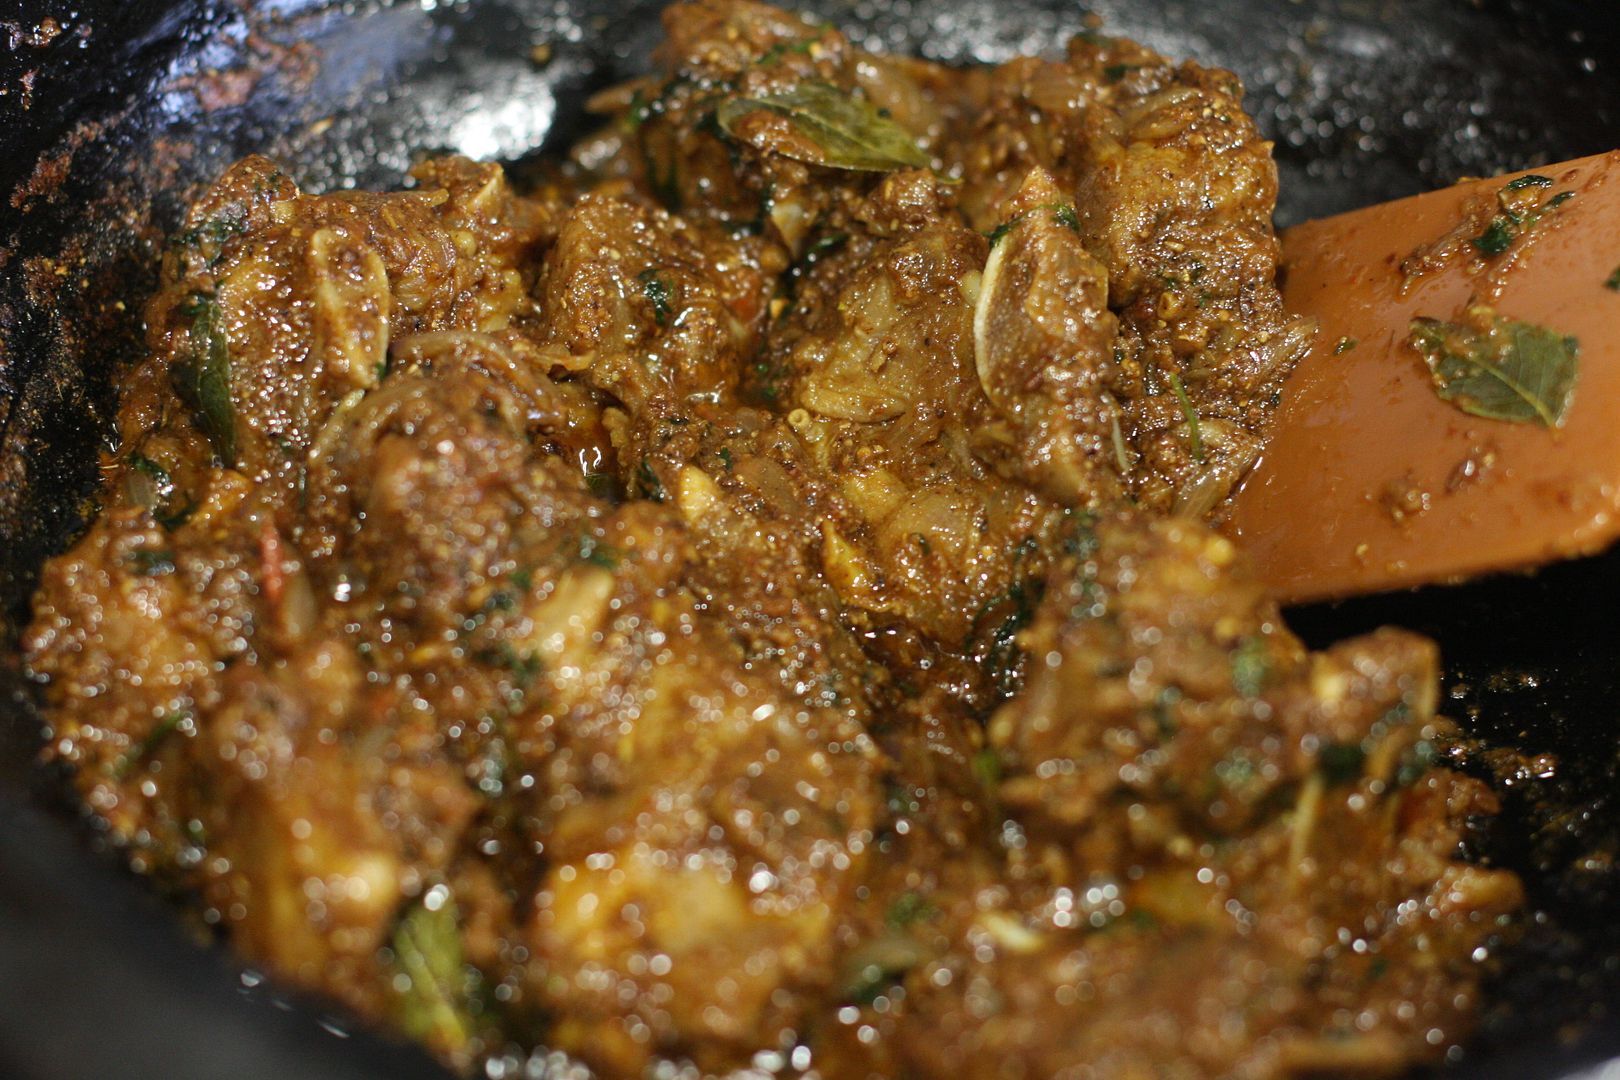
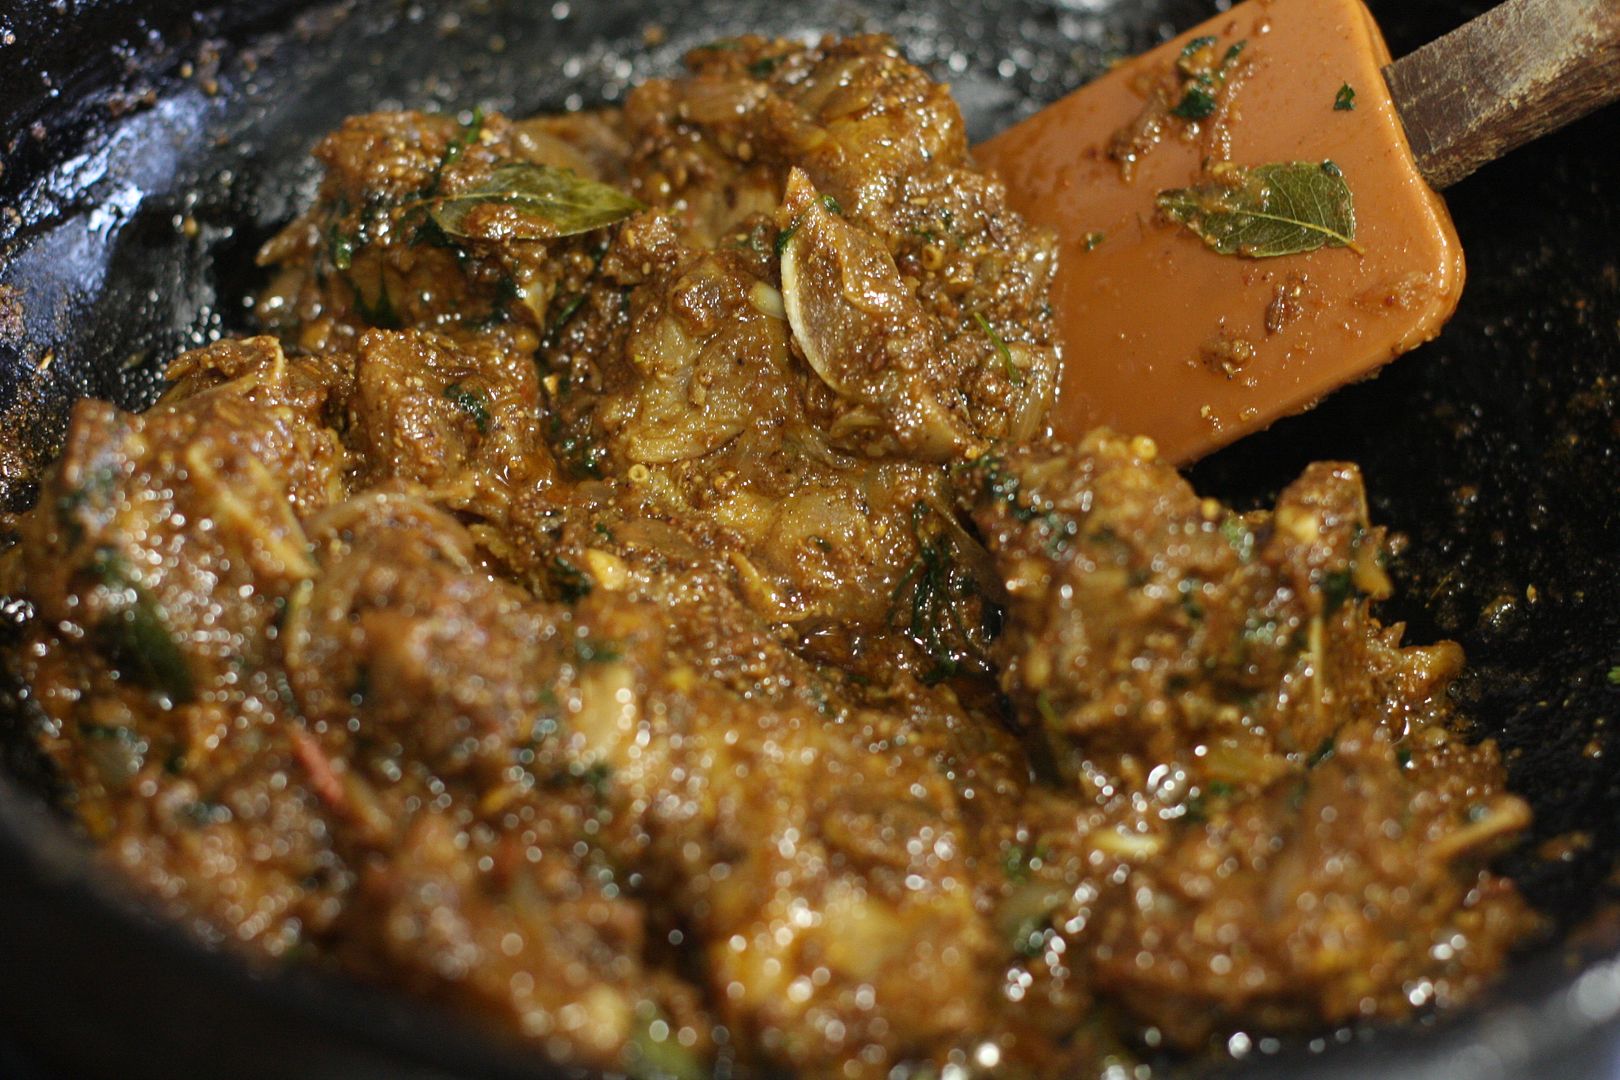
Saute the paneer pieces till the spices on the paneer turn color. Set aside.
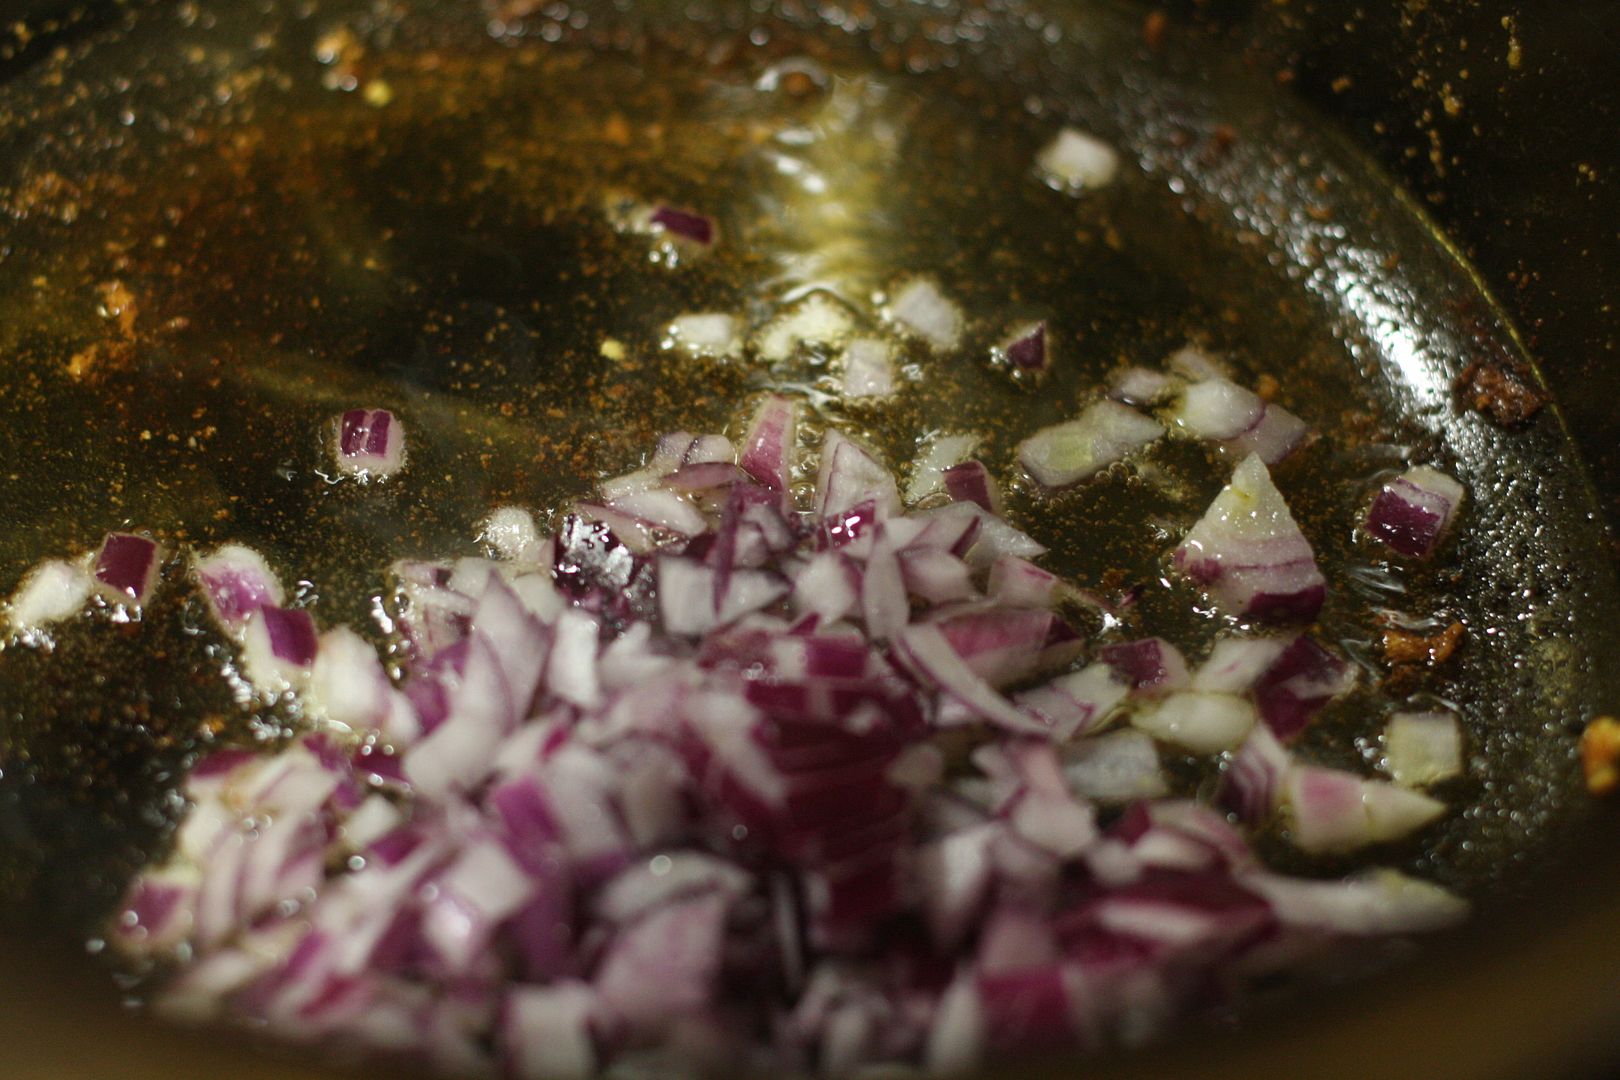
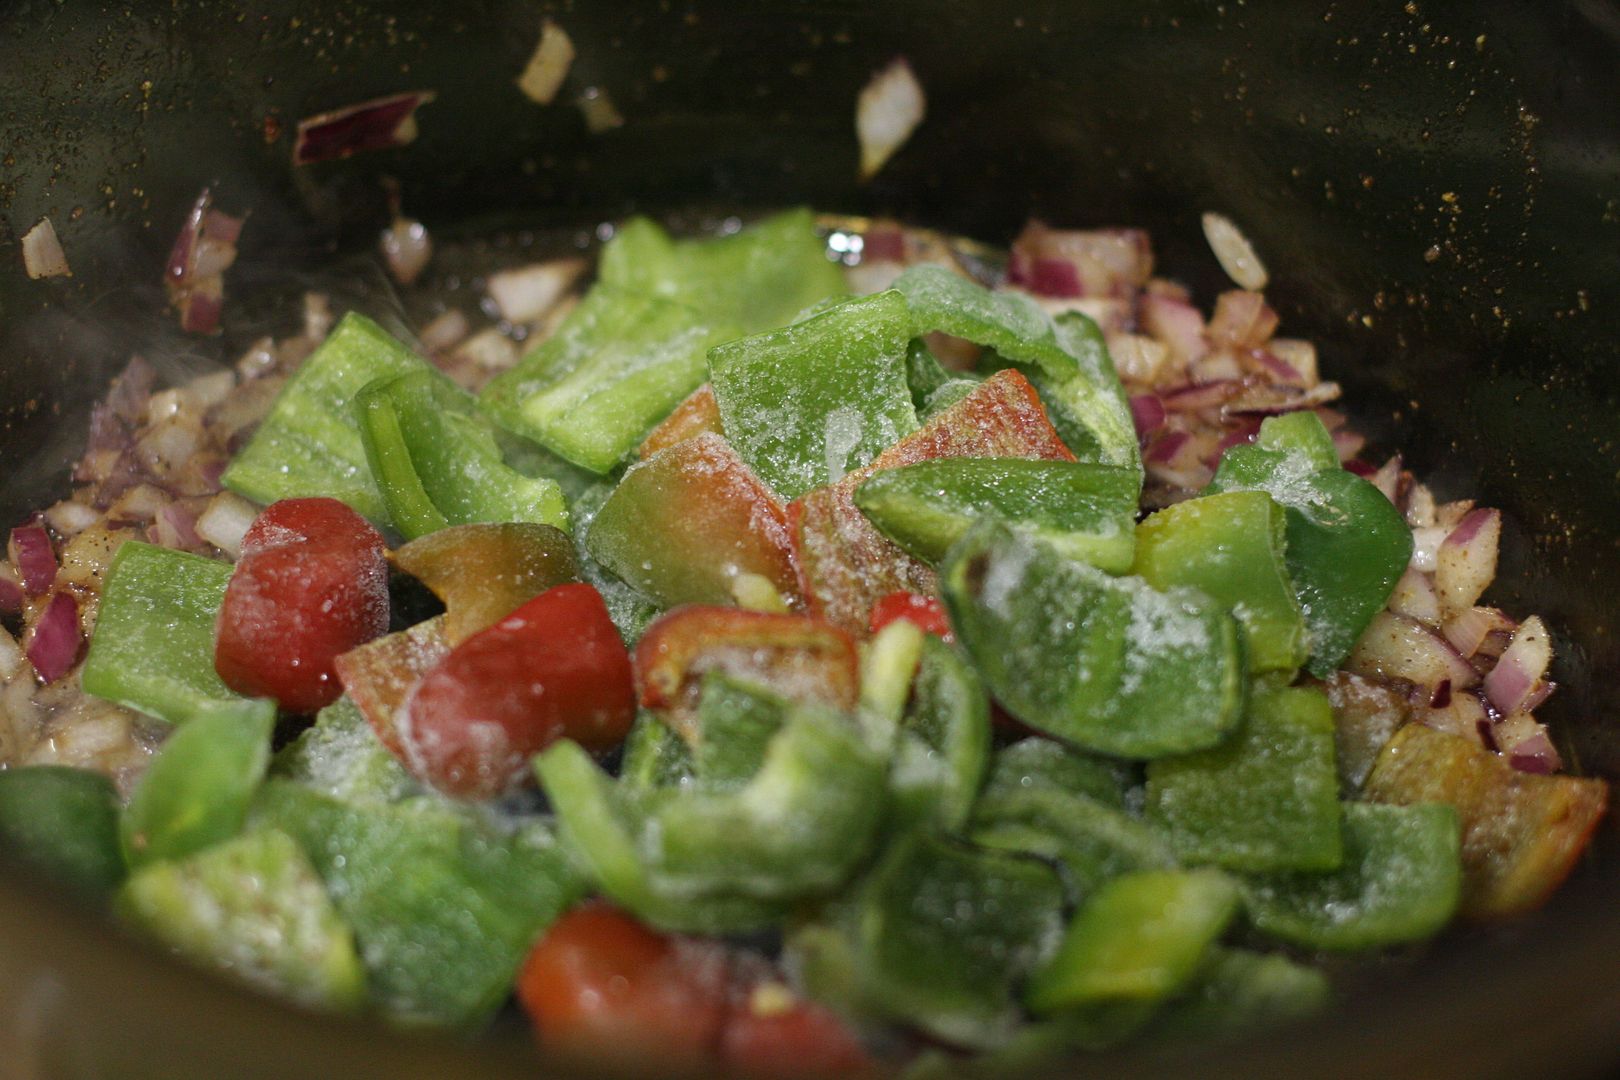
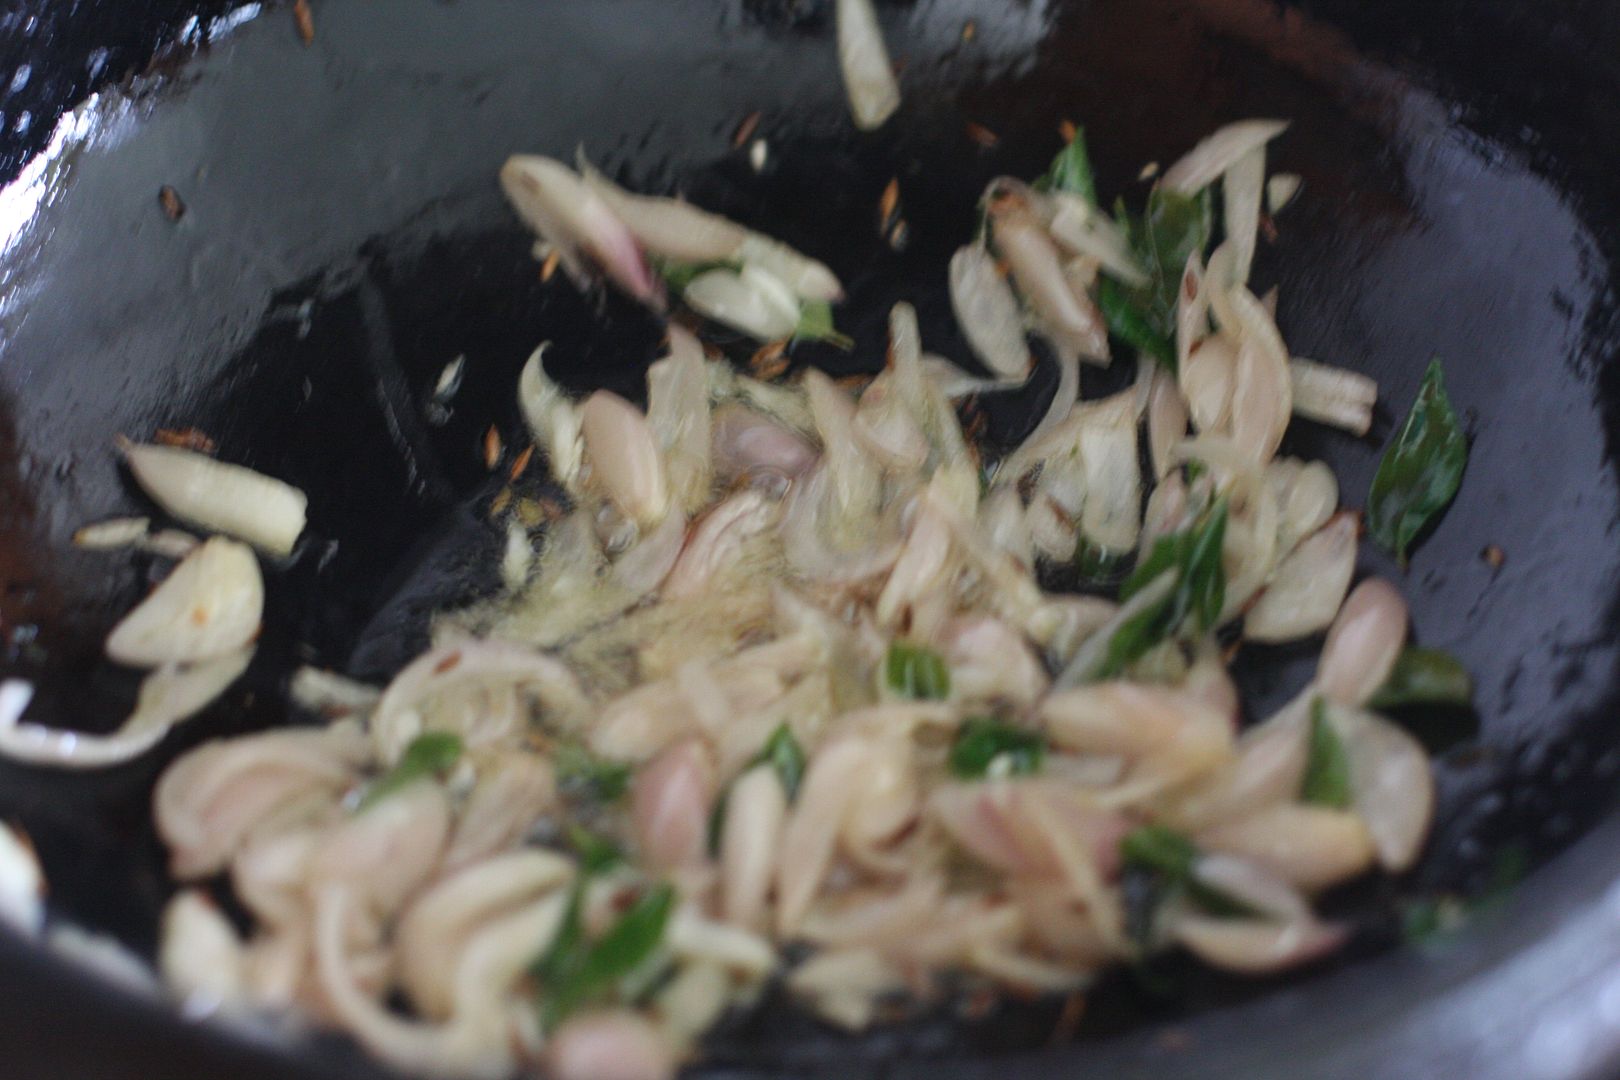
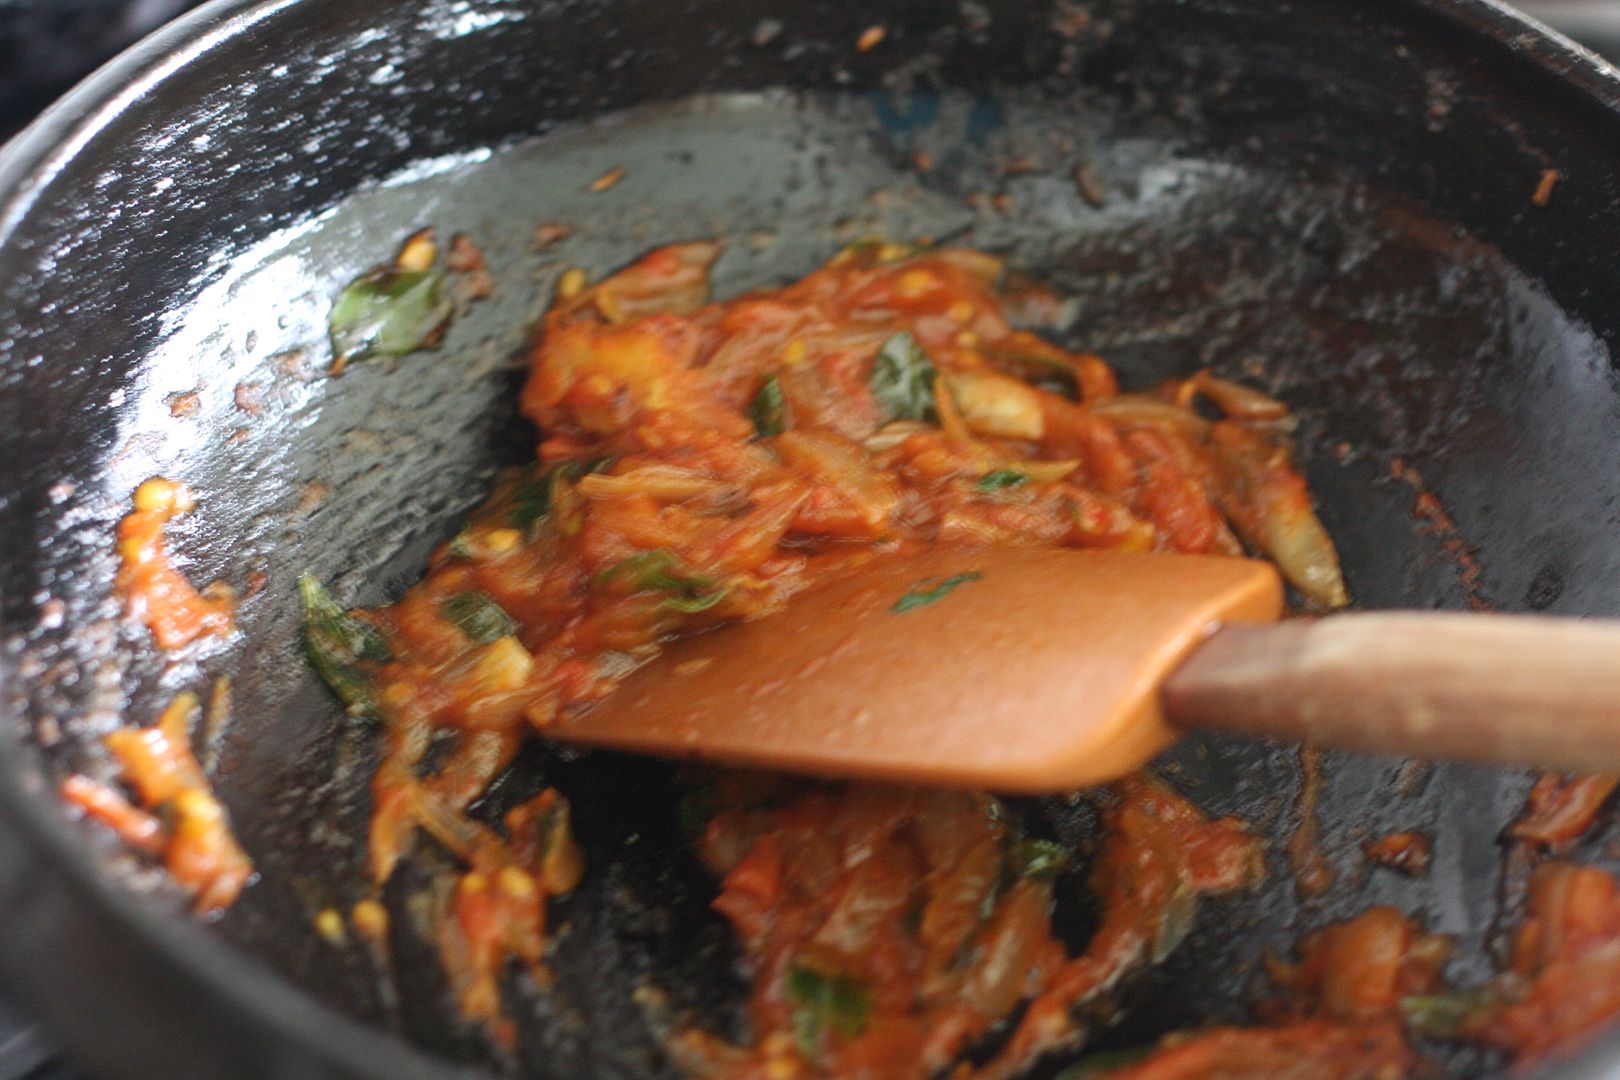
In the same pan add a bit more oil and add chopped onion and saute till it turns brown. Add the bell peppers and saute for about 4-5 minutes.
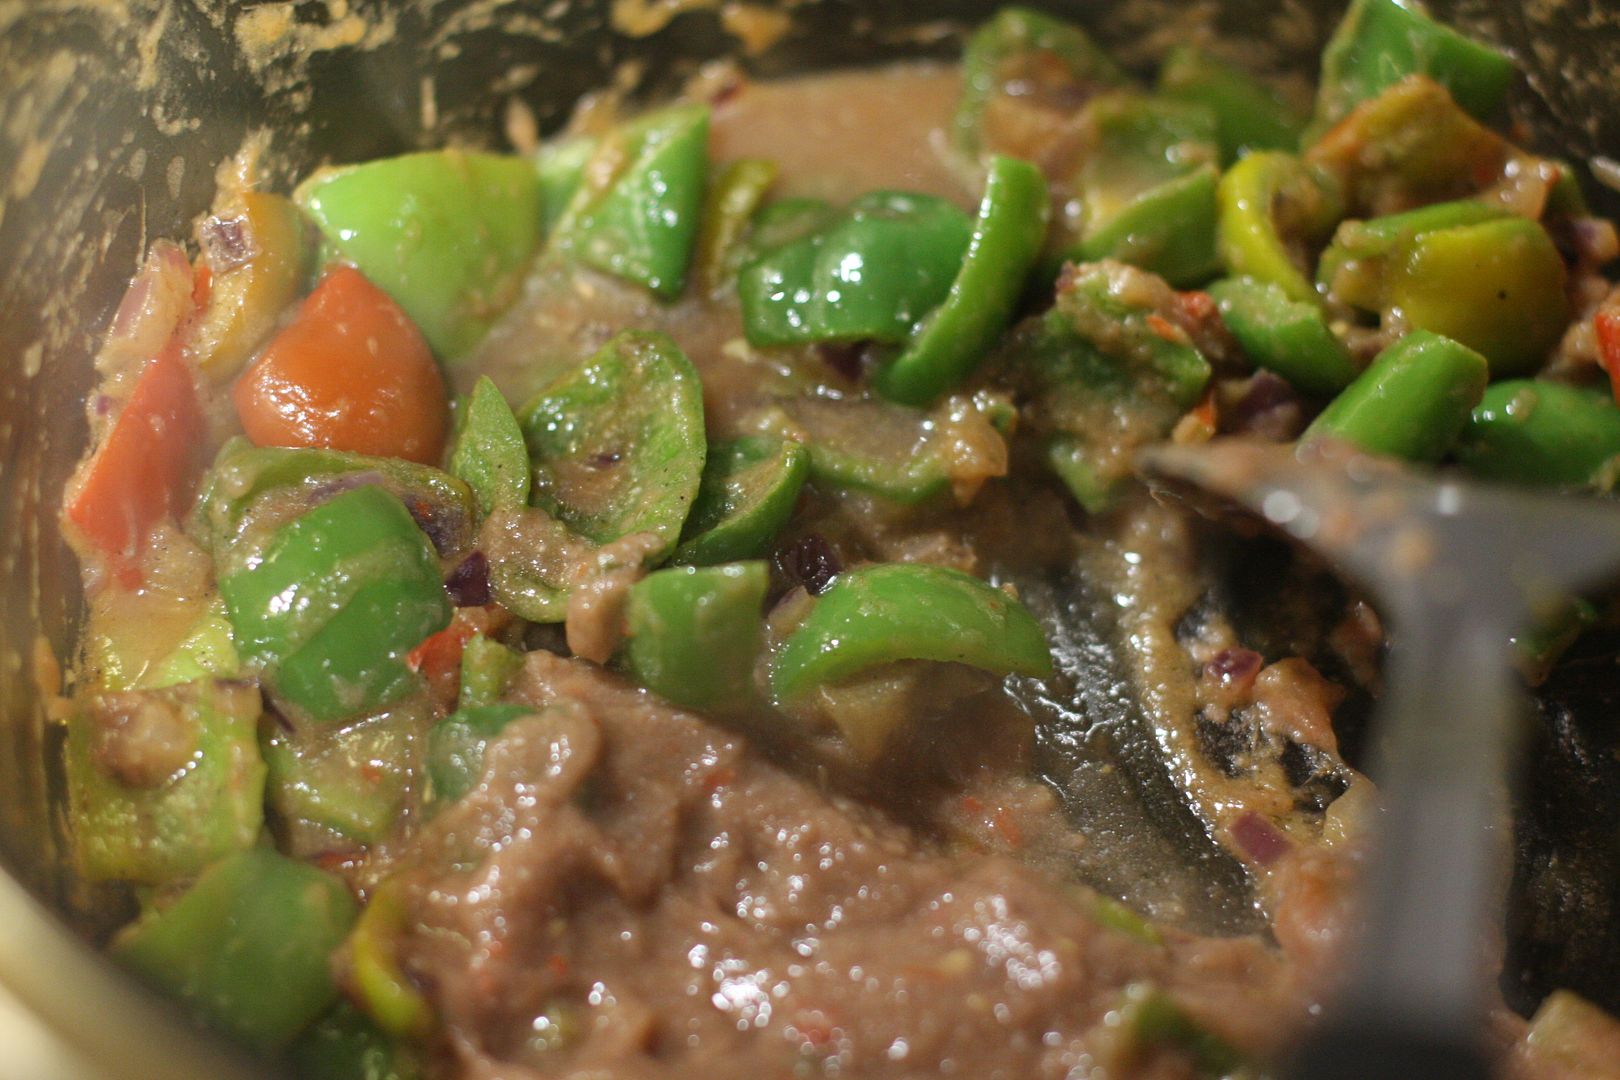
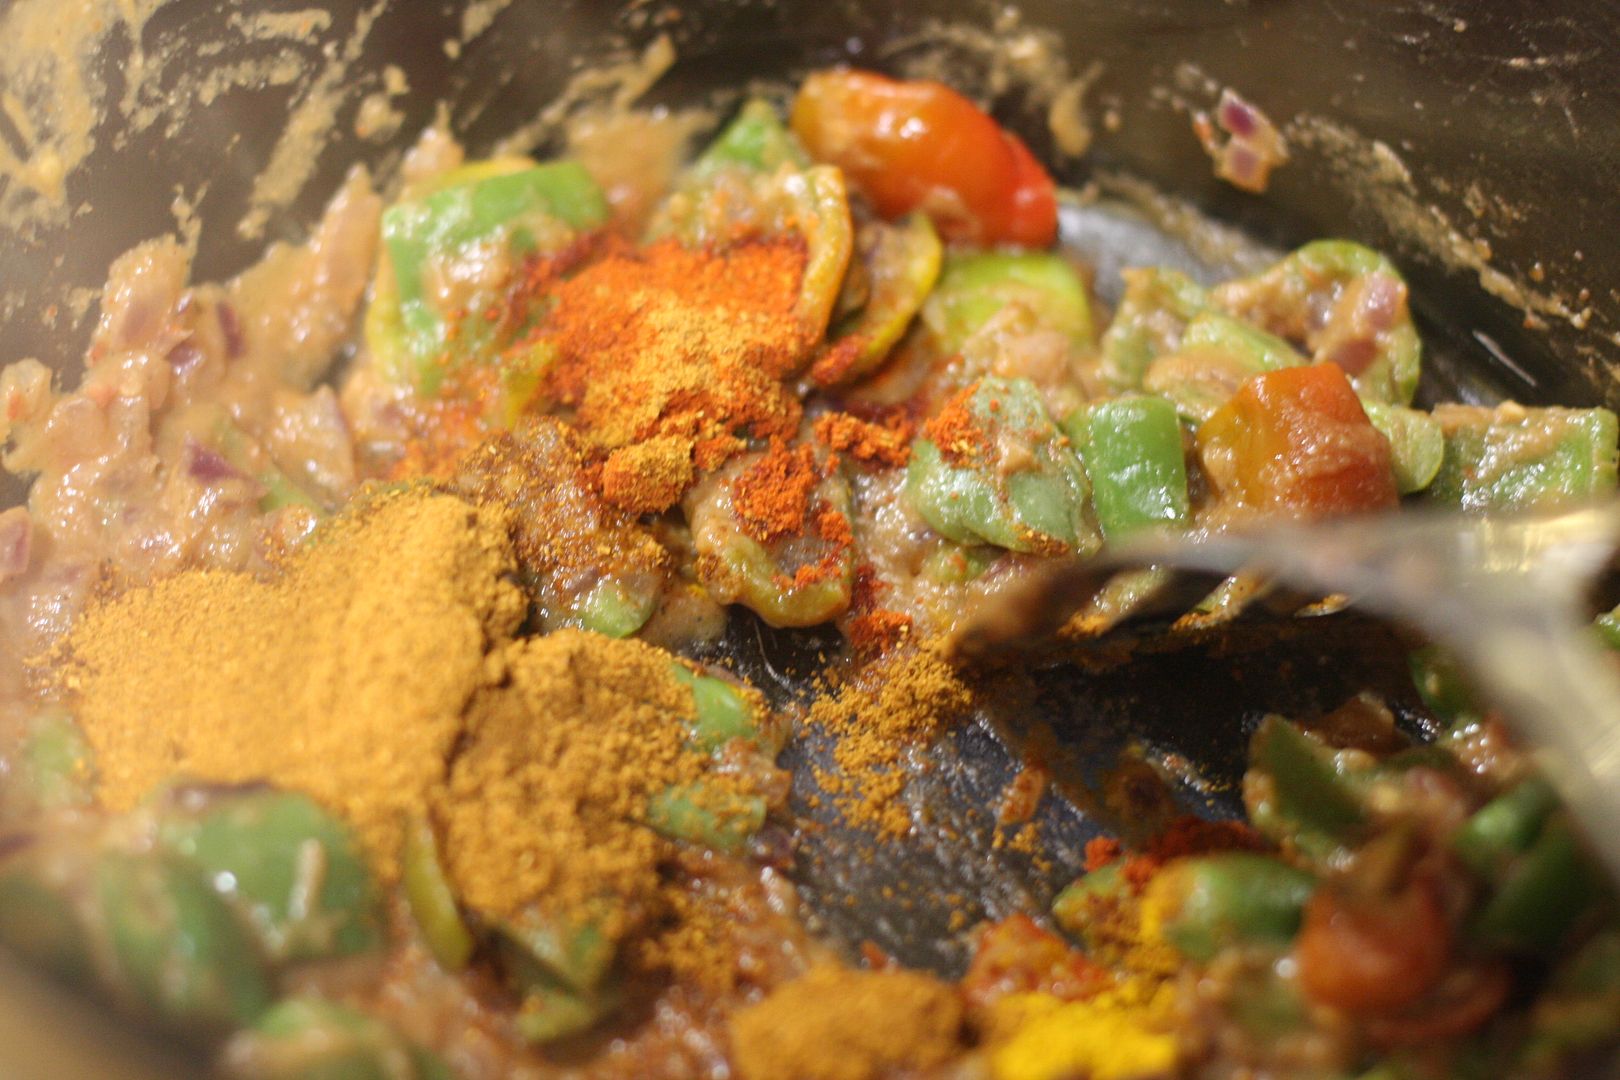
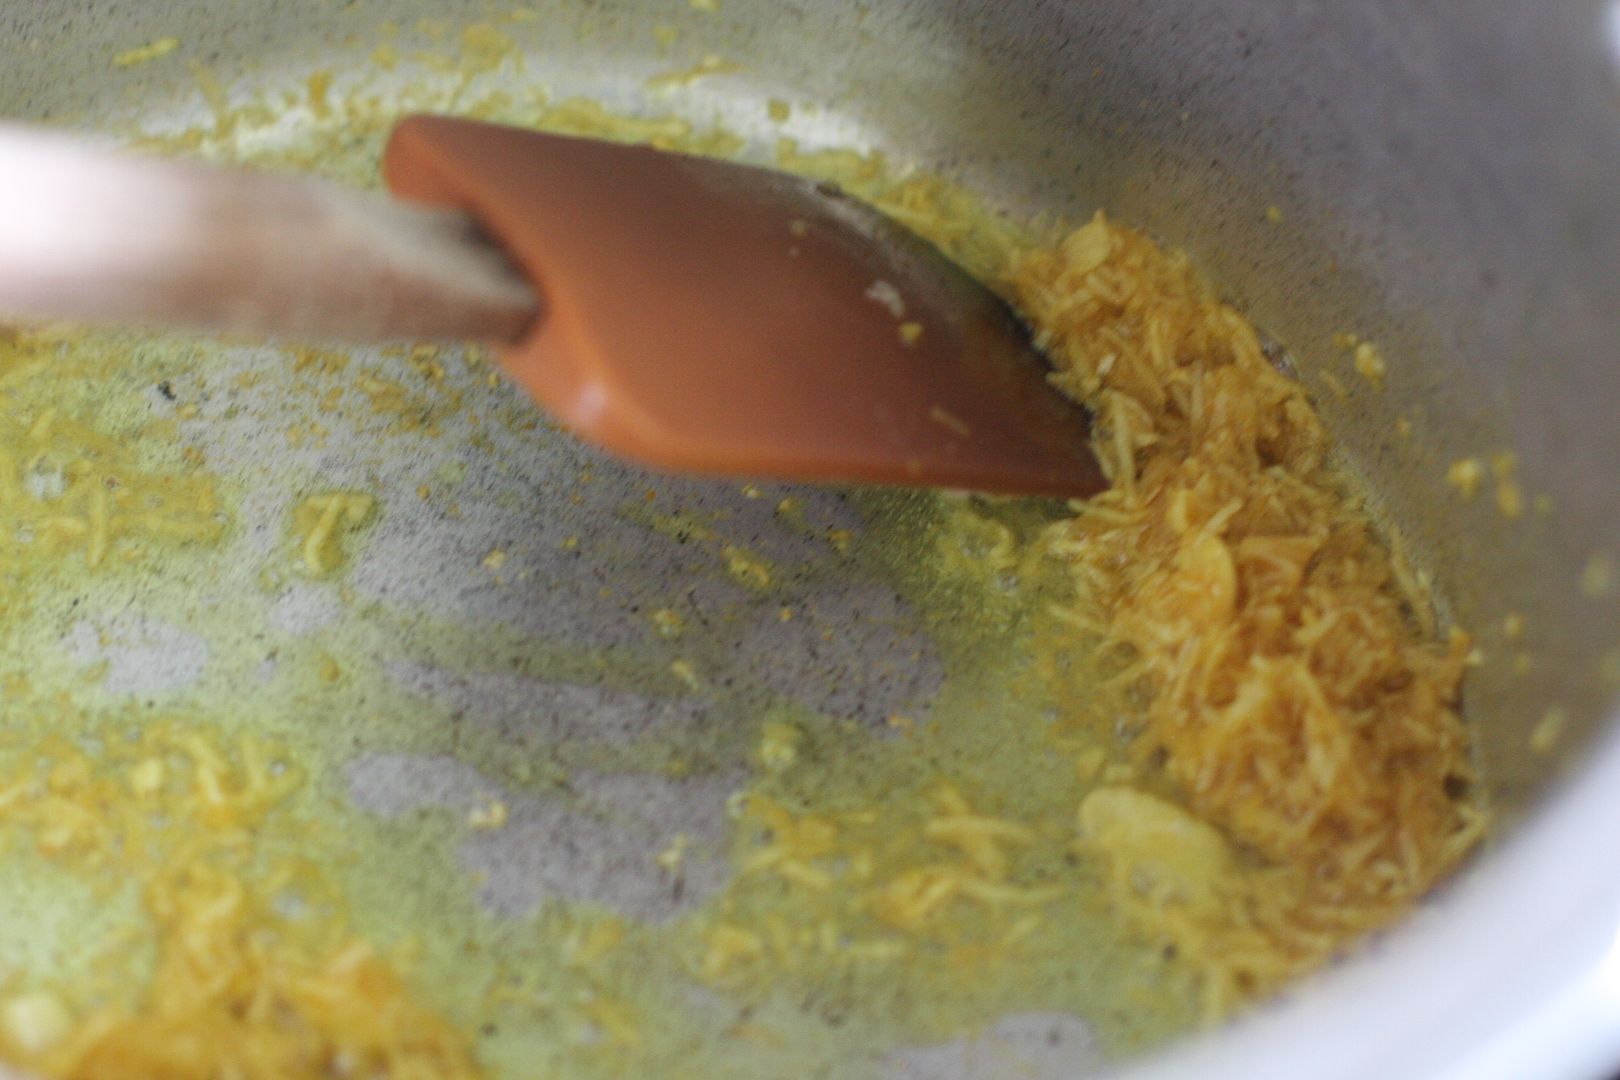
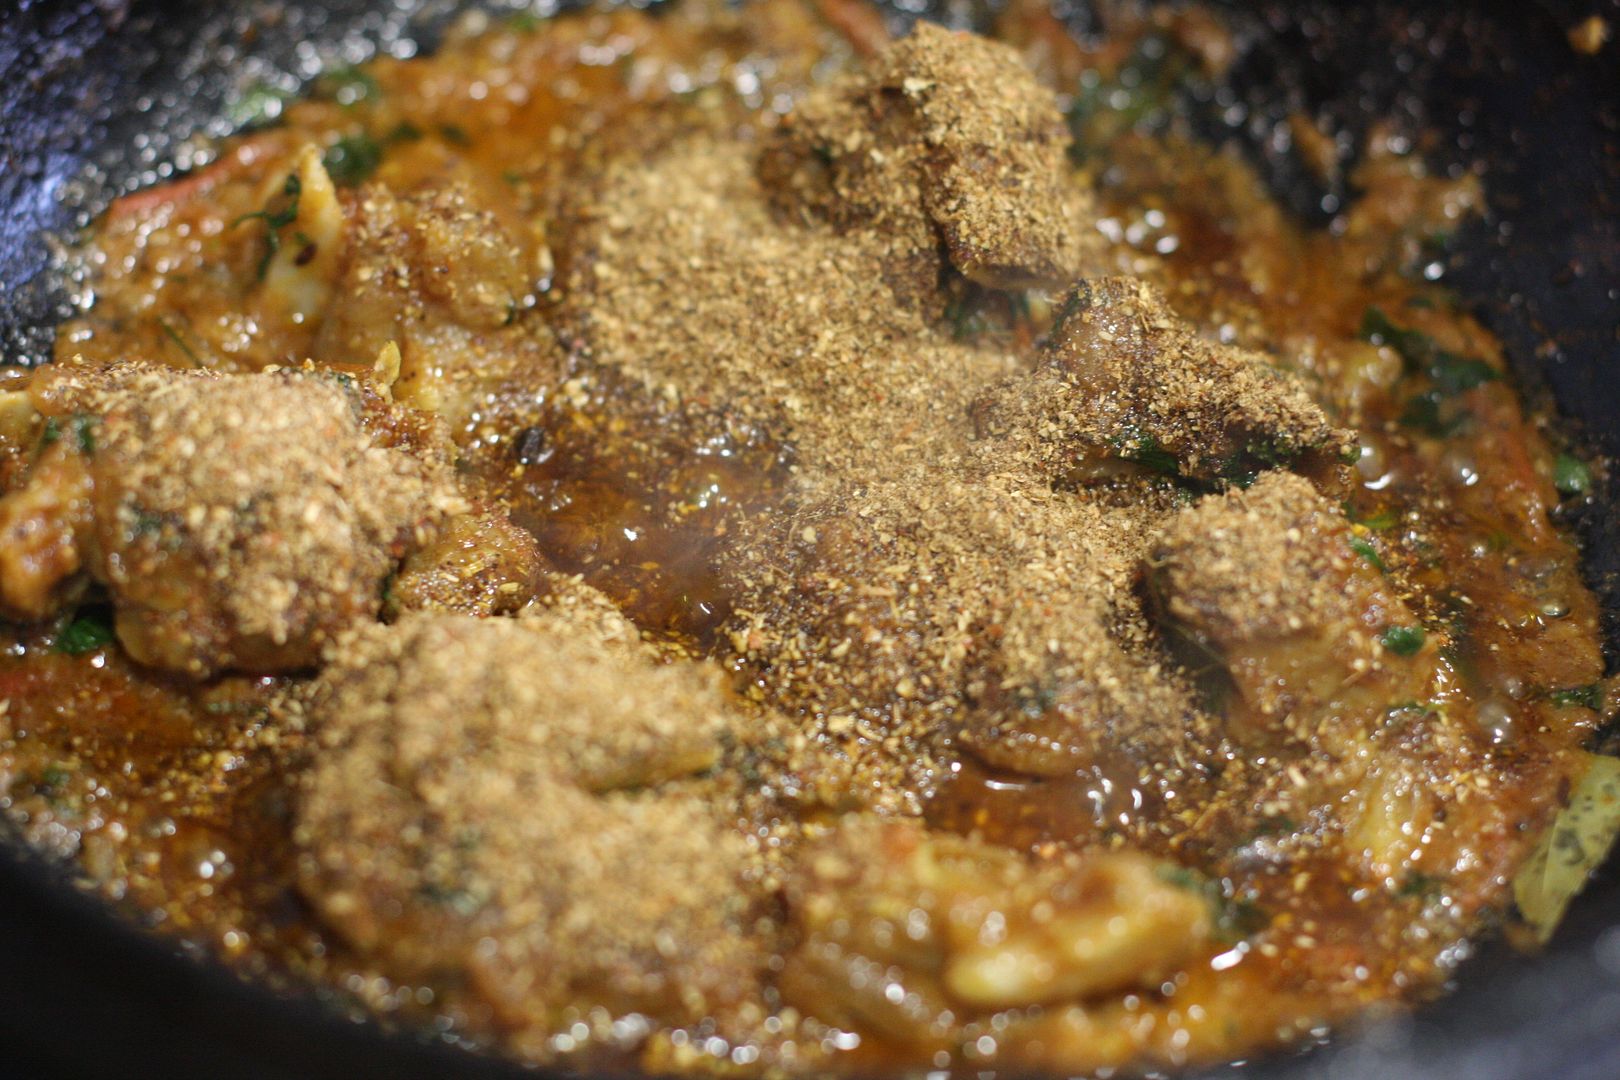
Add the blended onion paste and saute for about 6-8 minutes or till the oil starts to bubble on top. Now add all the spice powders and give a good mix.
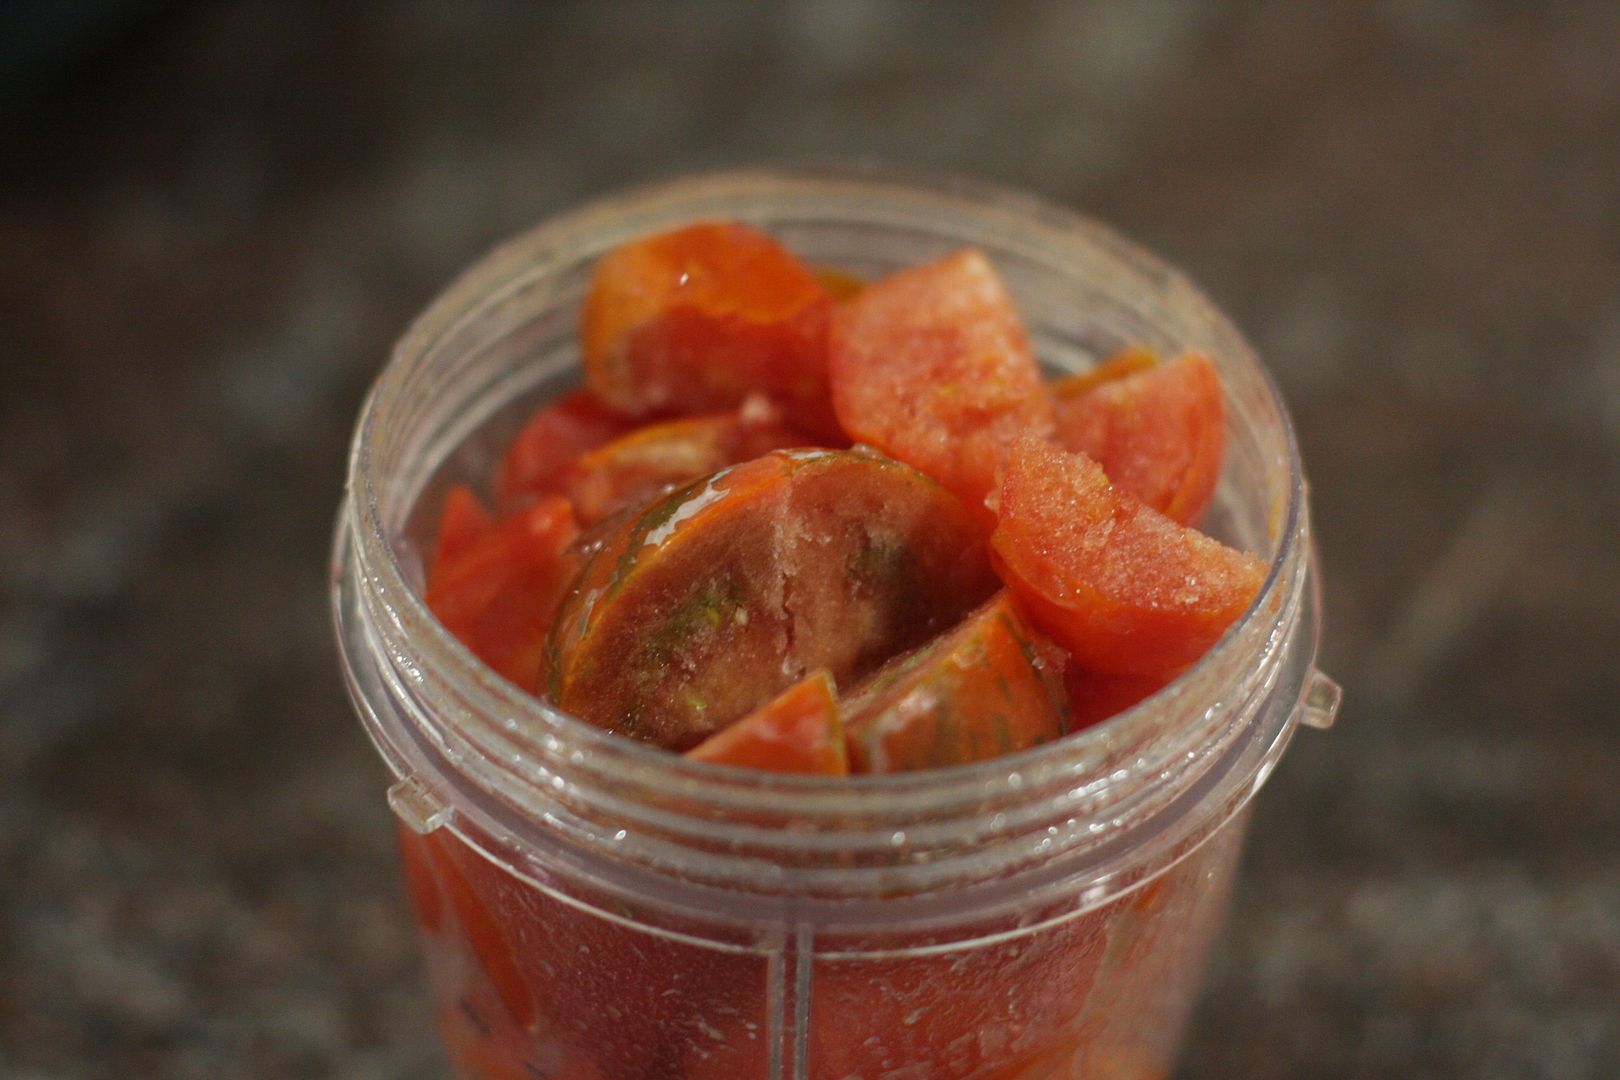
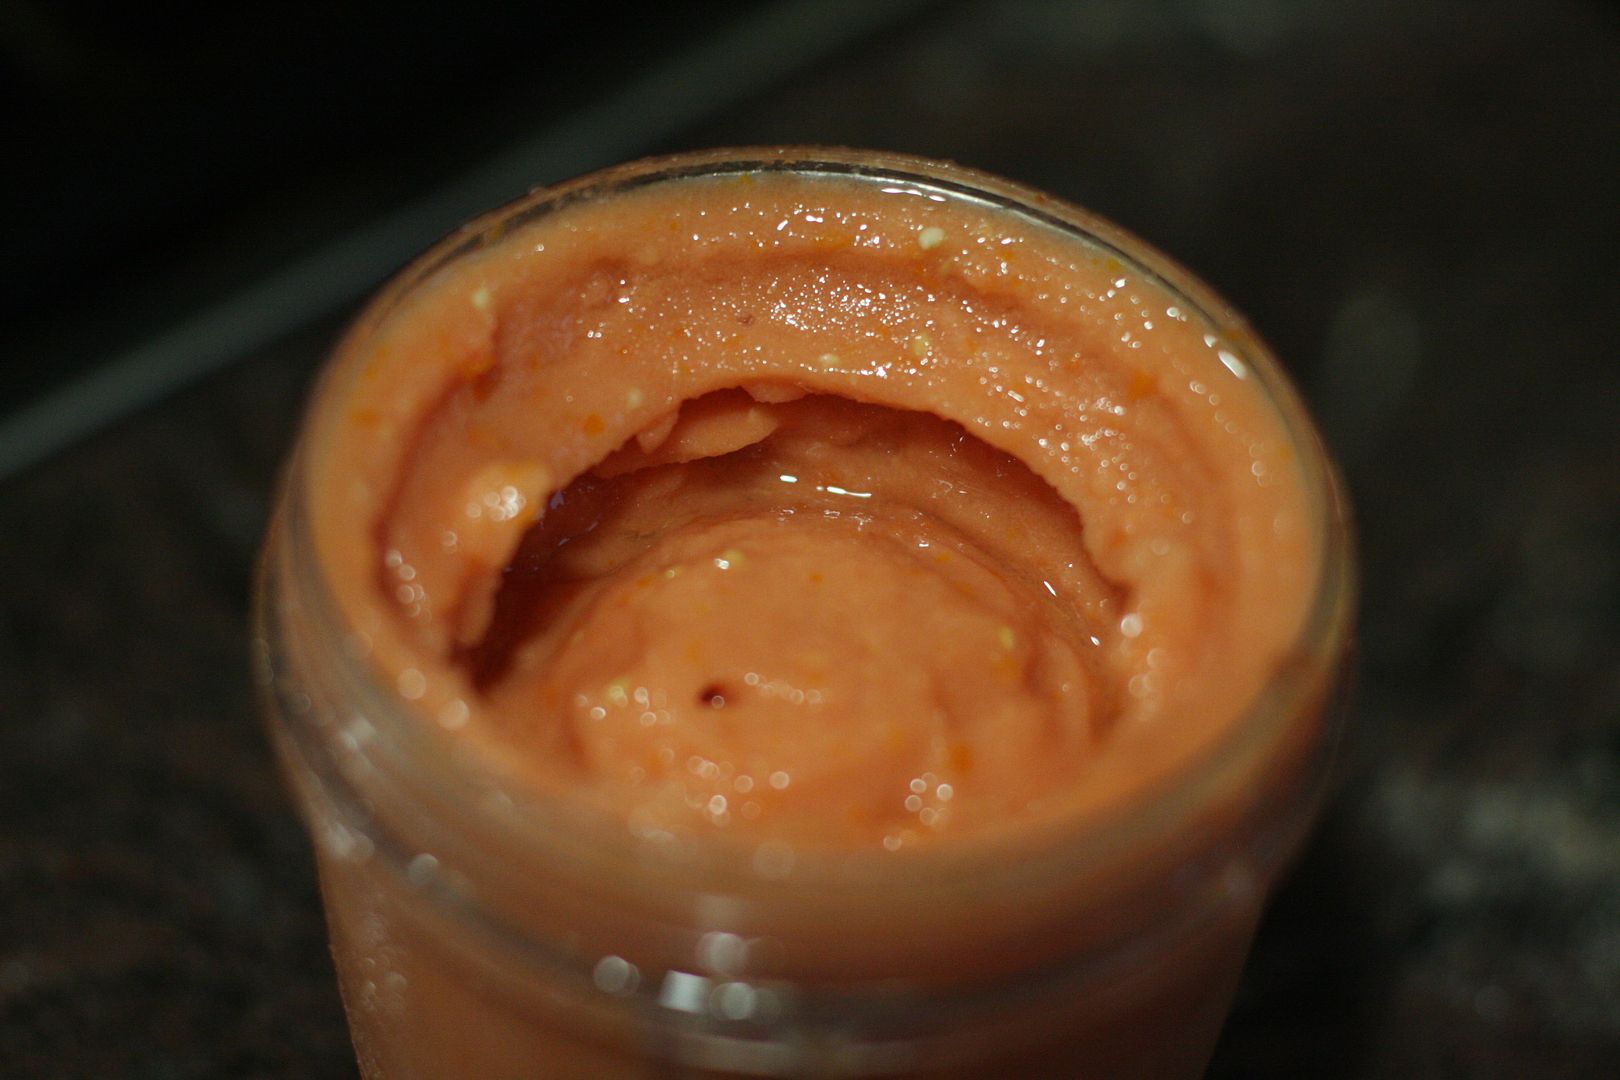
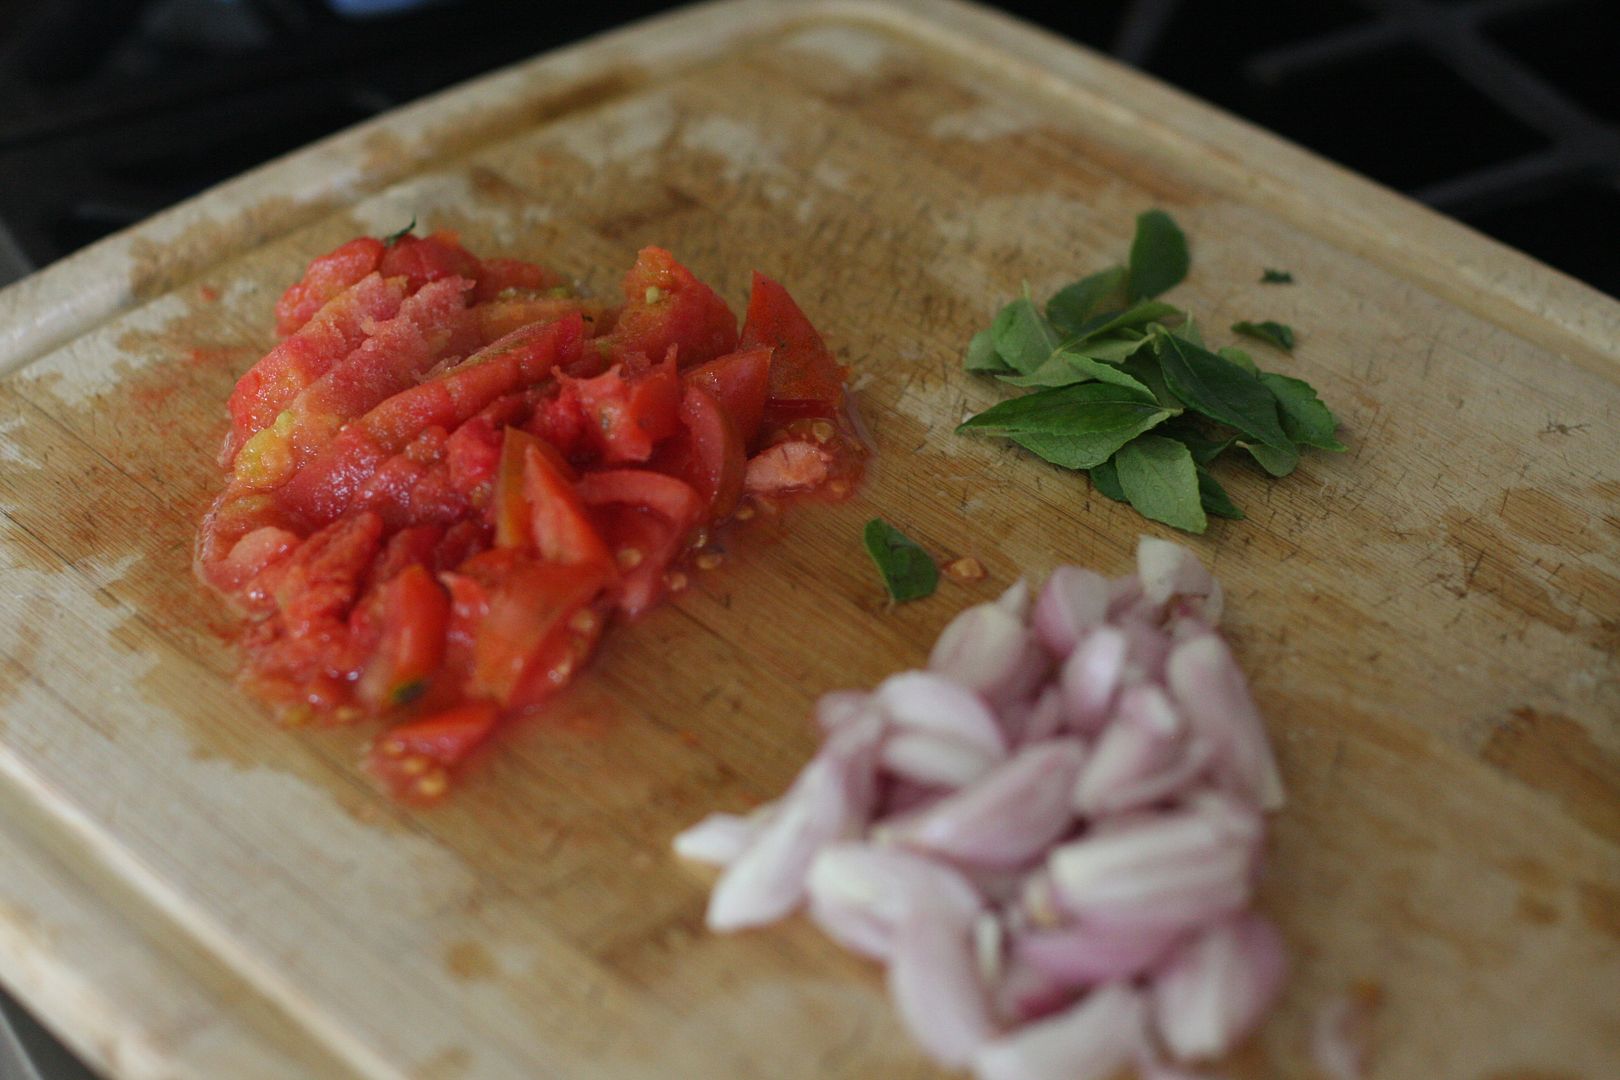
Blend the tomatoes to a paste.
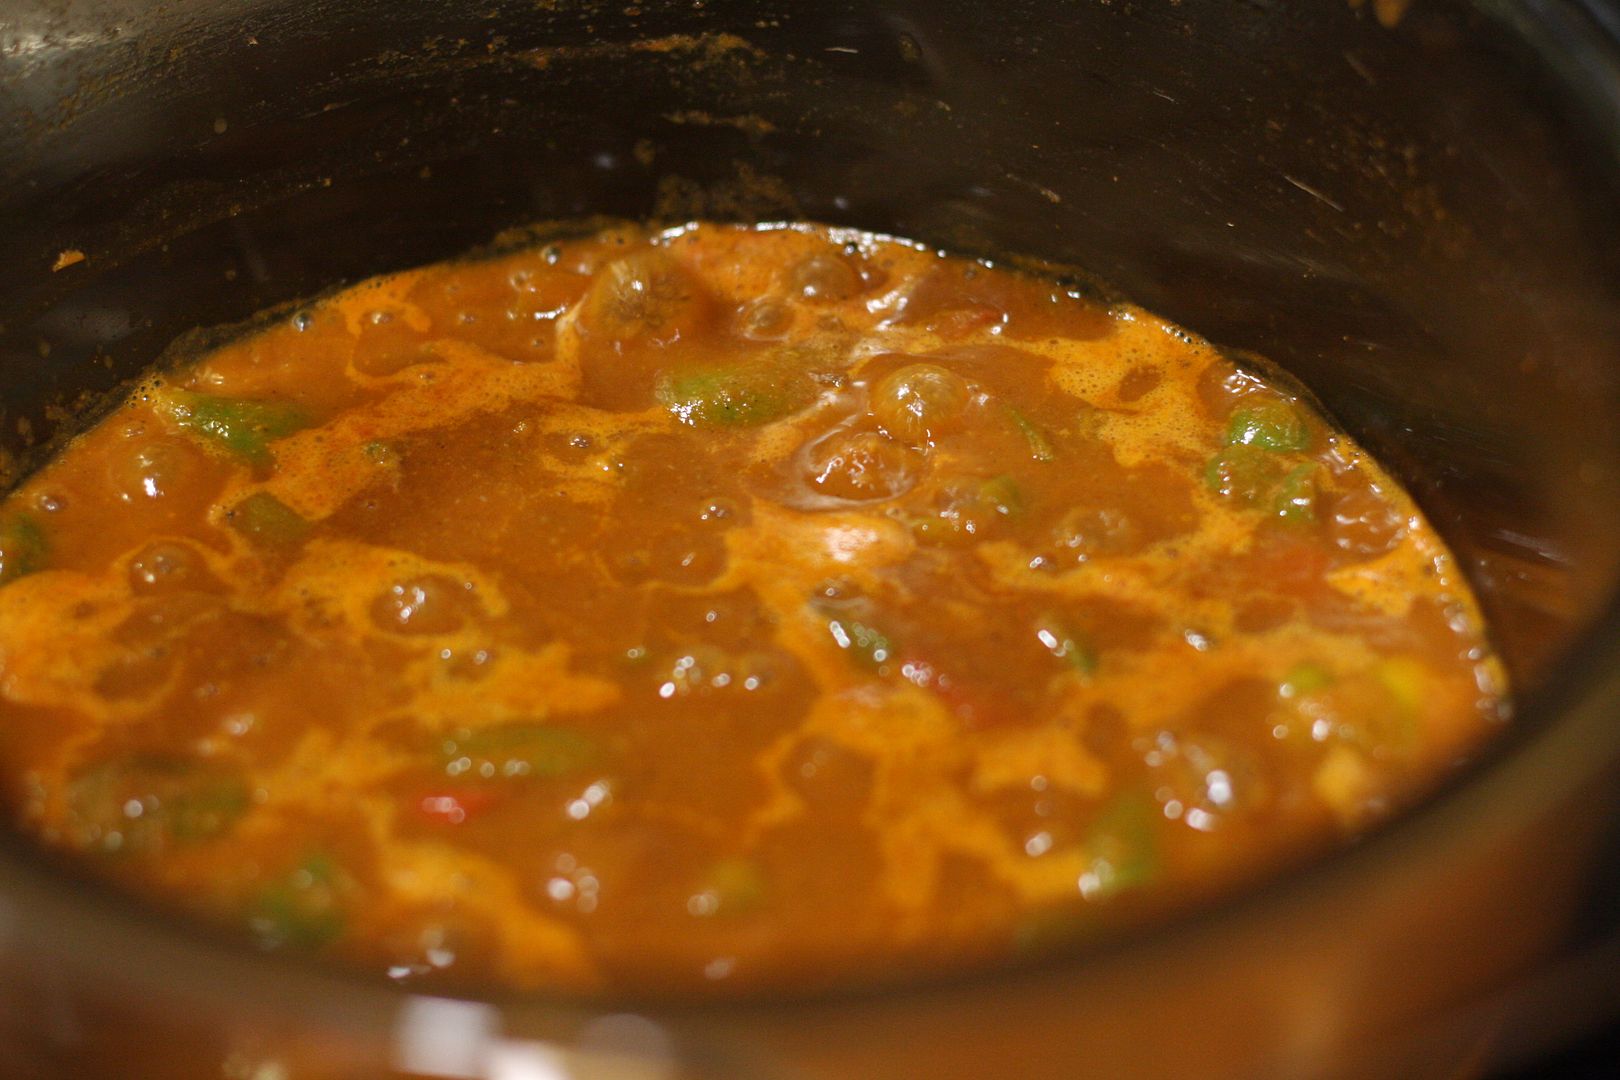
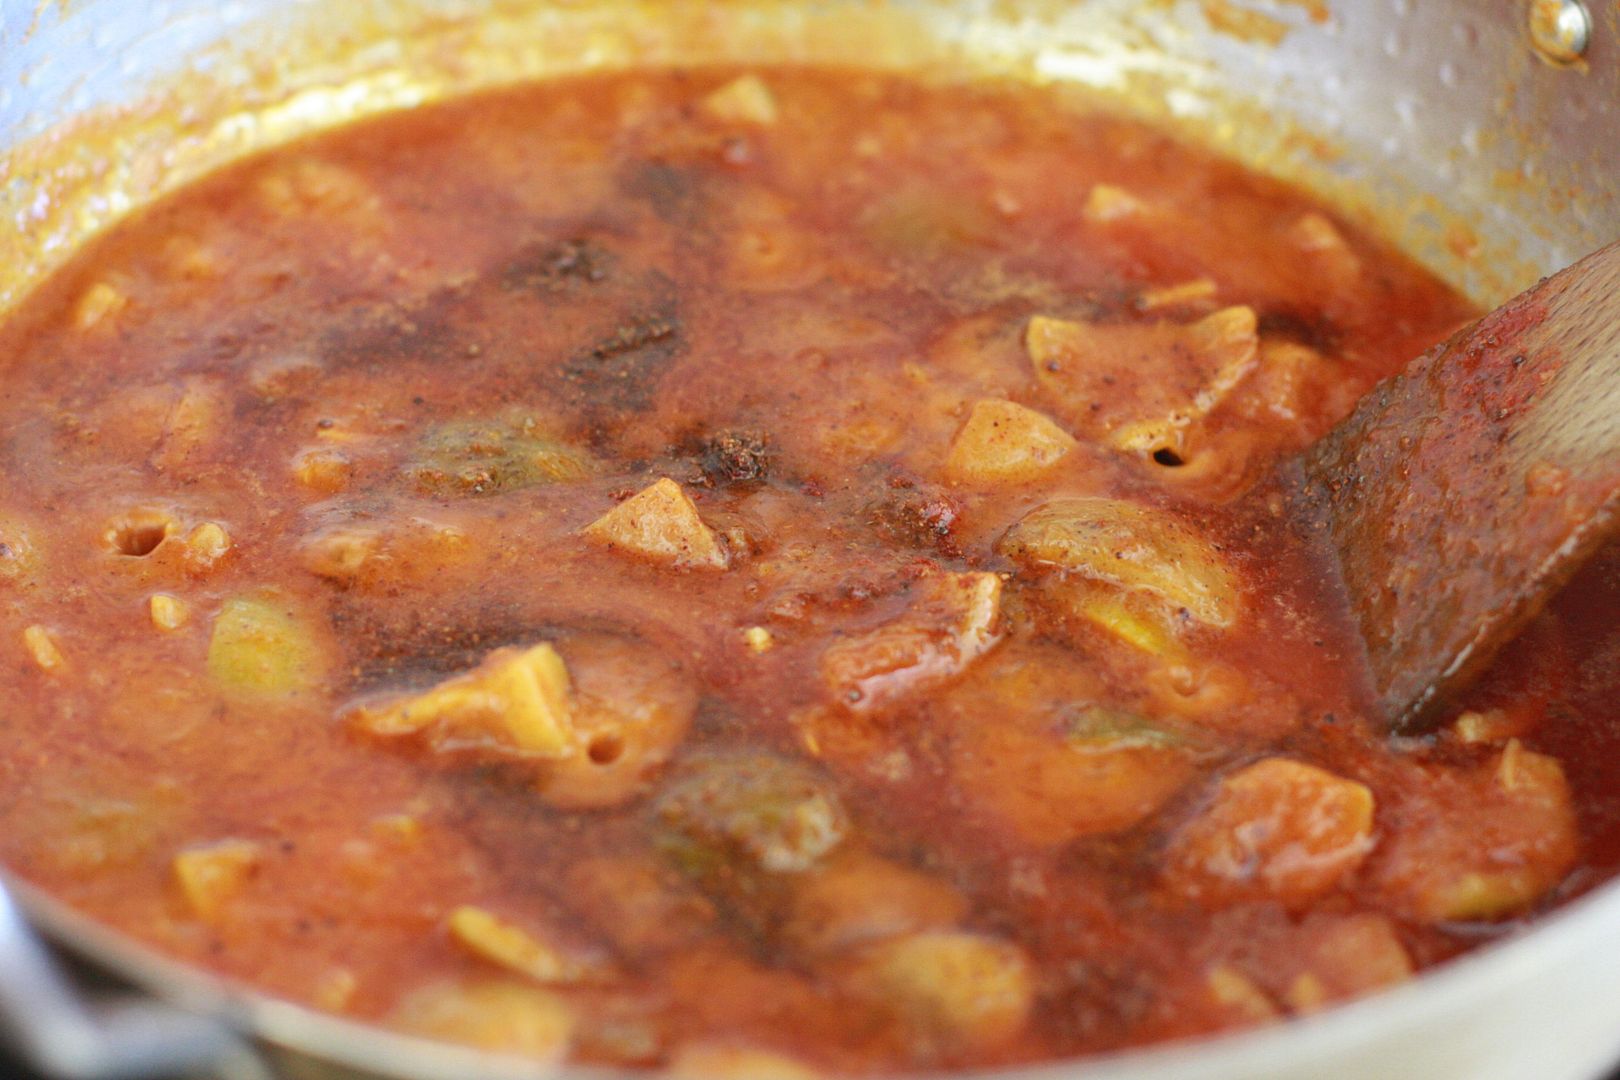
Mix in the blended tomato paste and let it come to a boil.
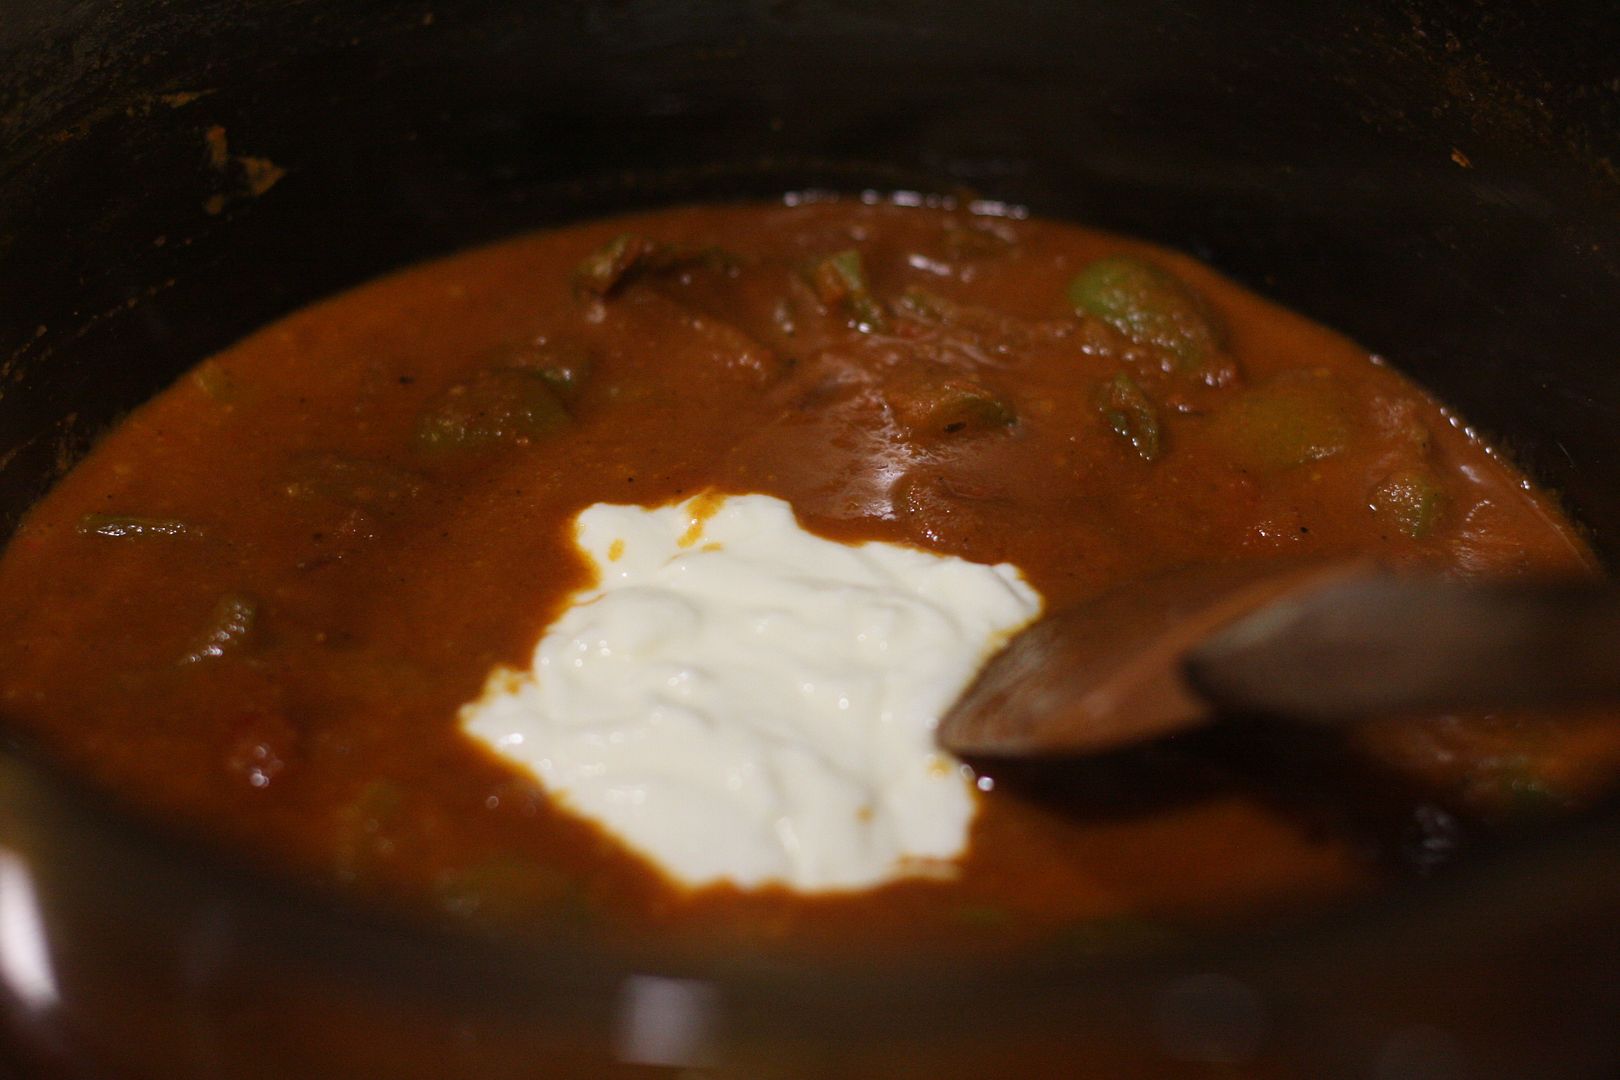
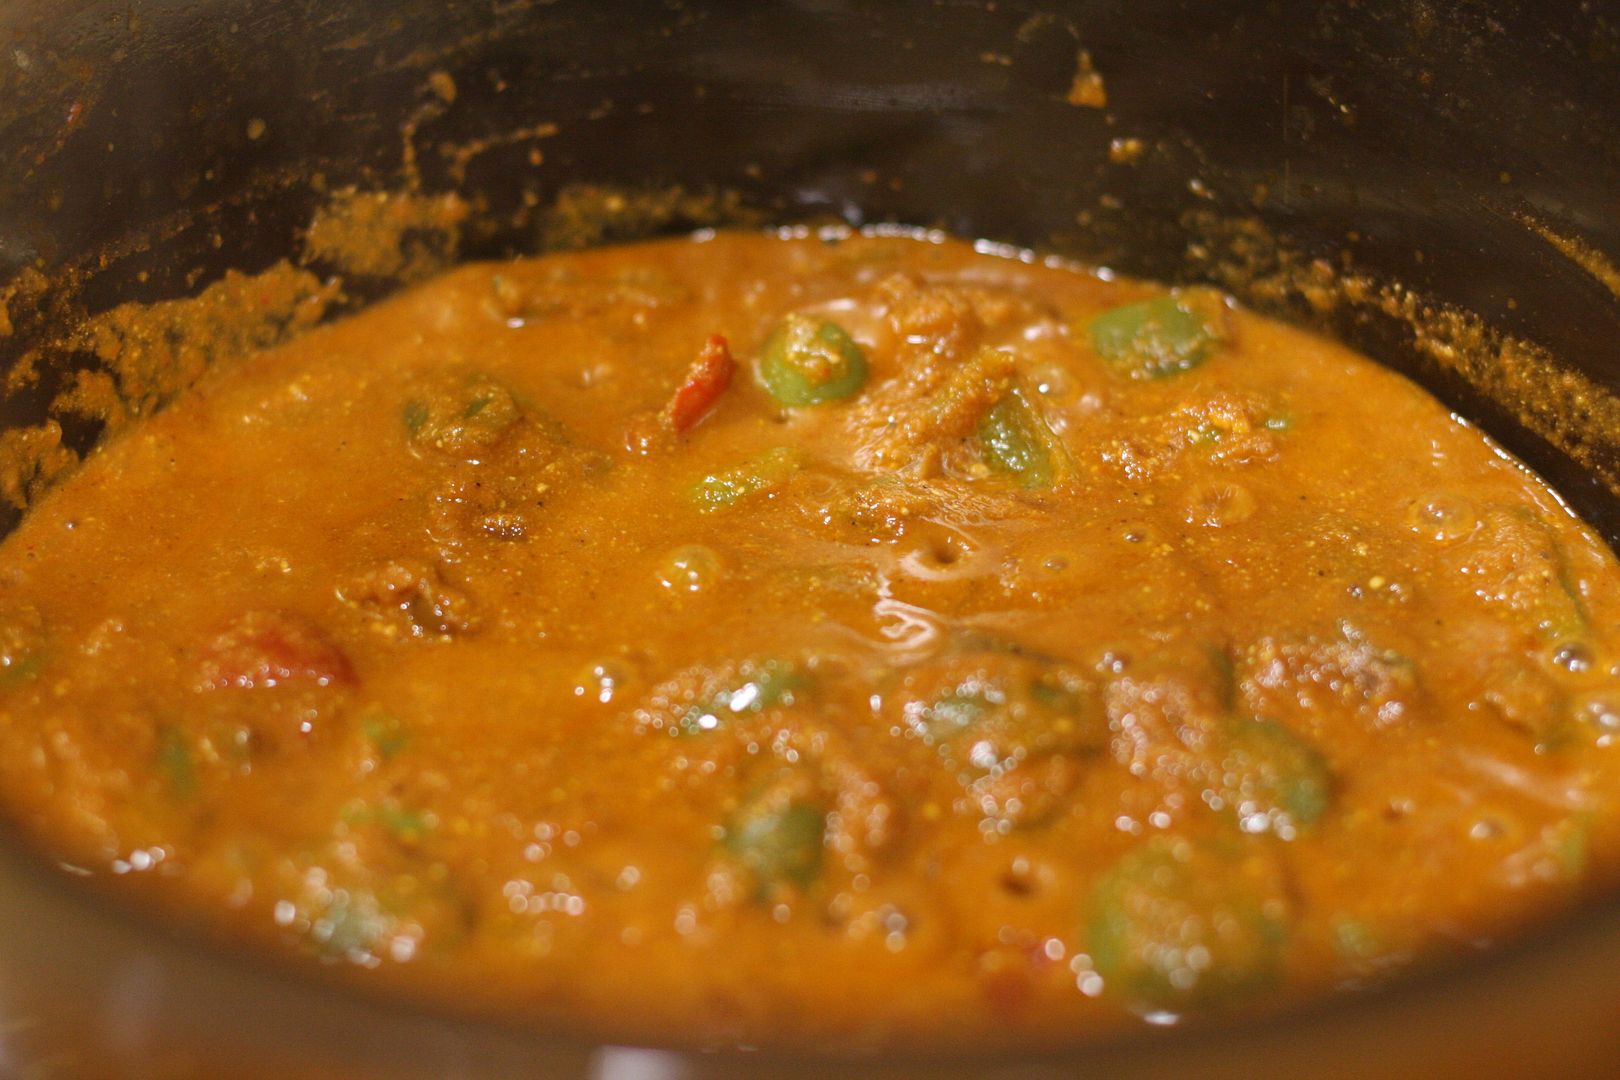
Add beaten yogurt and gently mix it in. Add salt and let cook till you see bubbles on top.
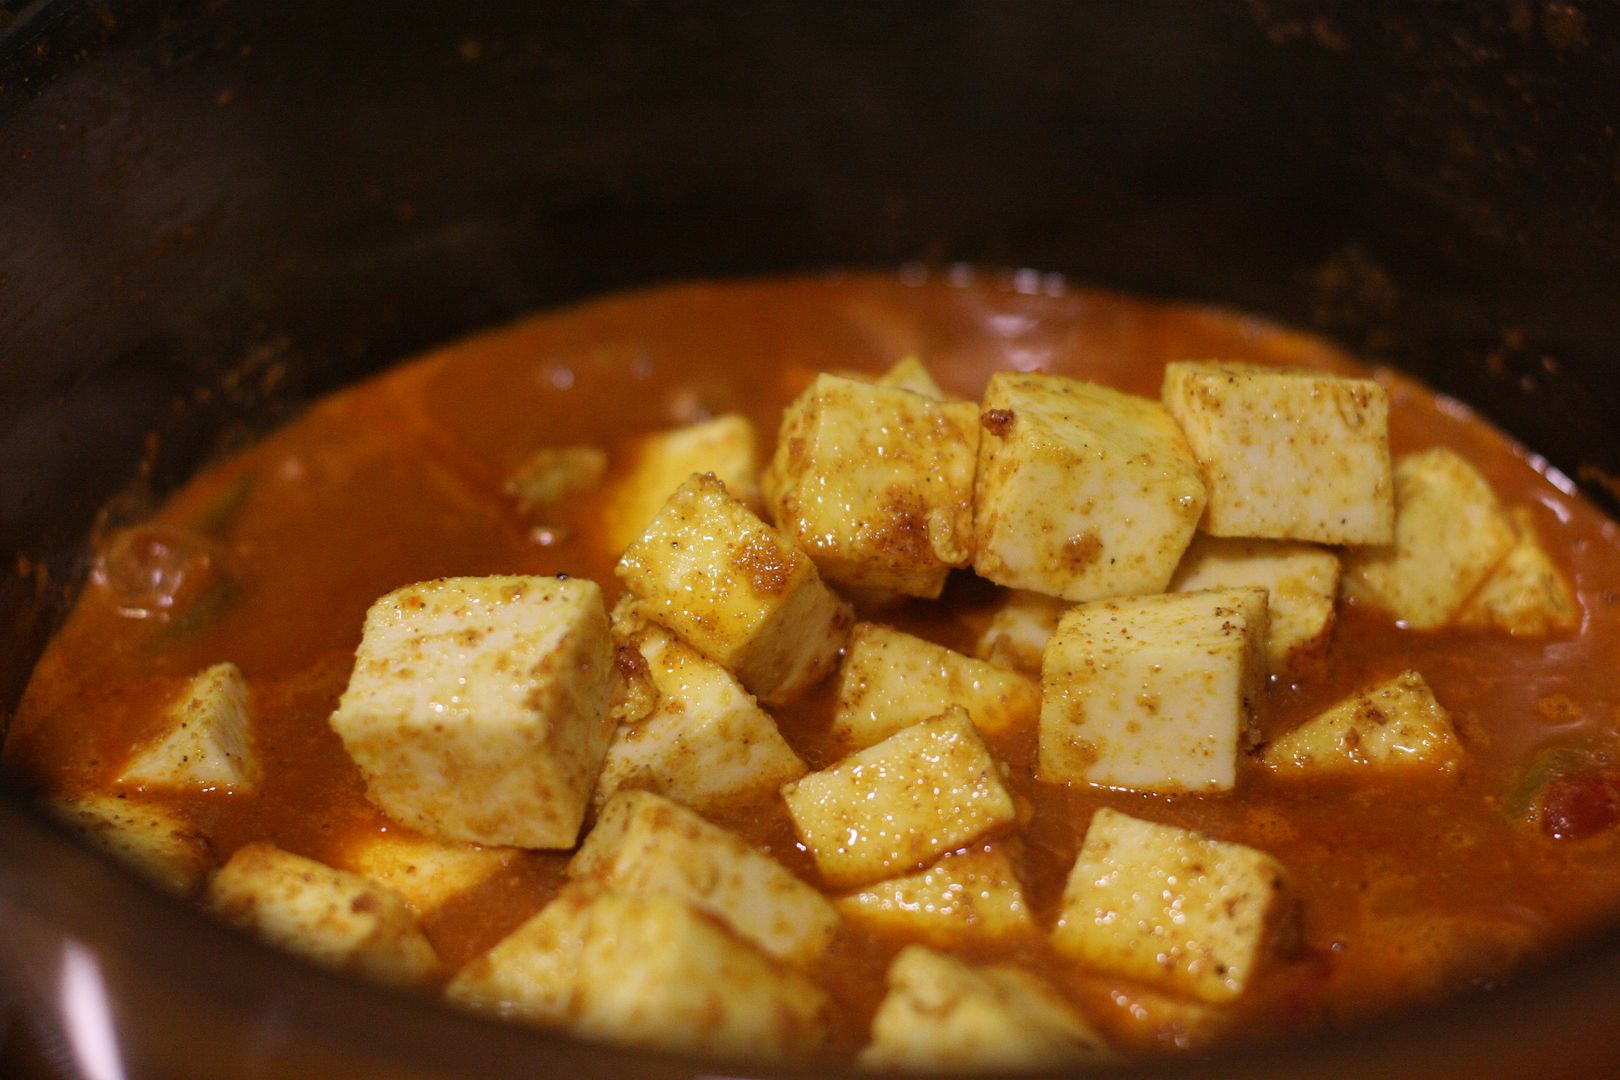
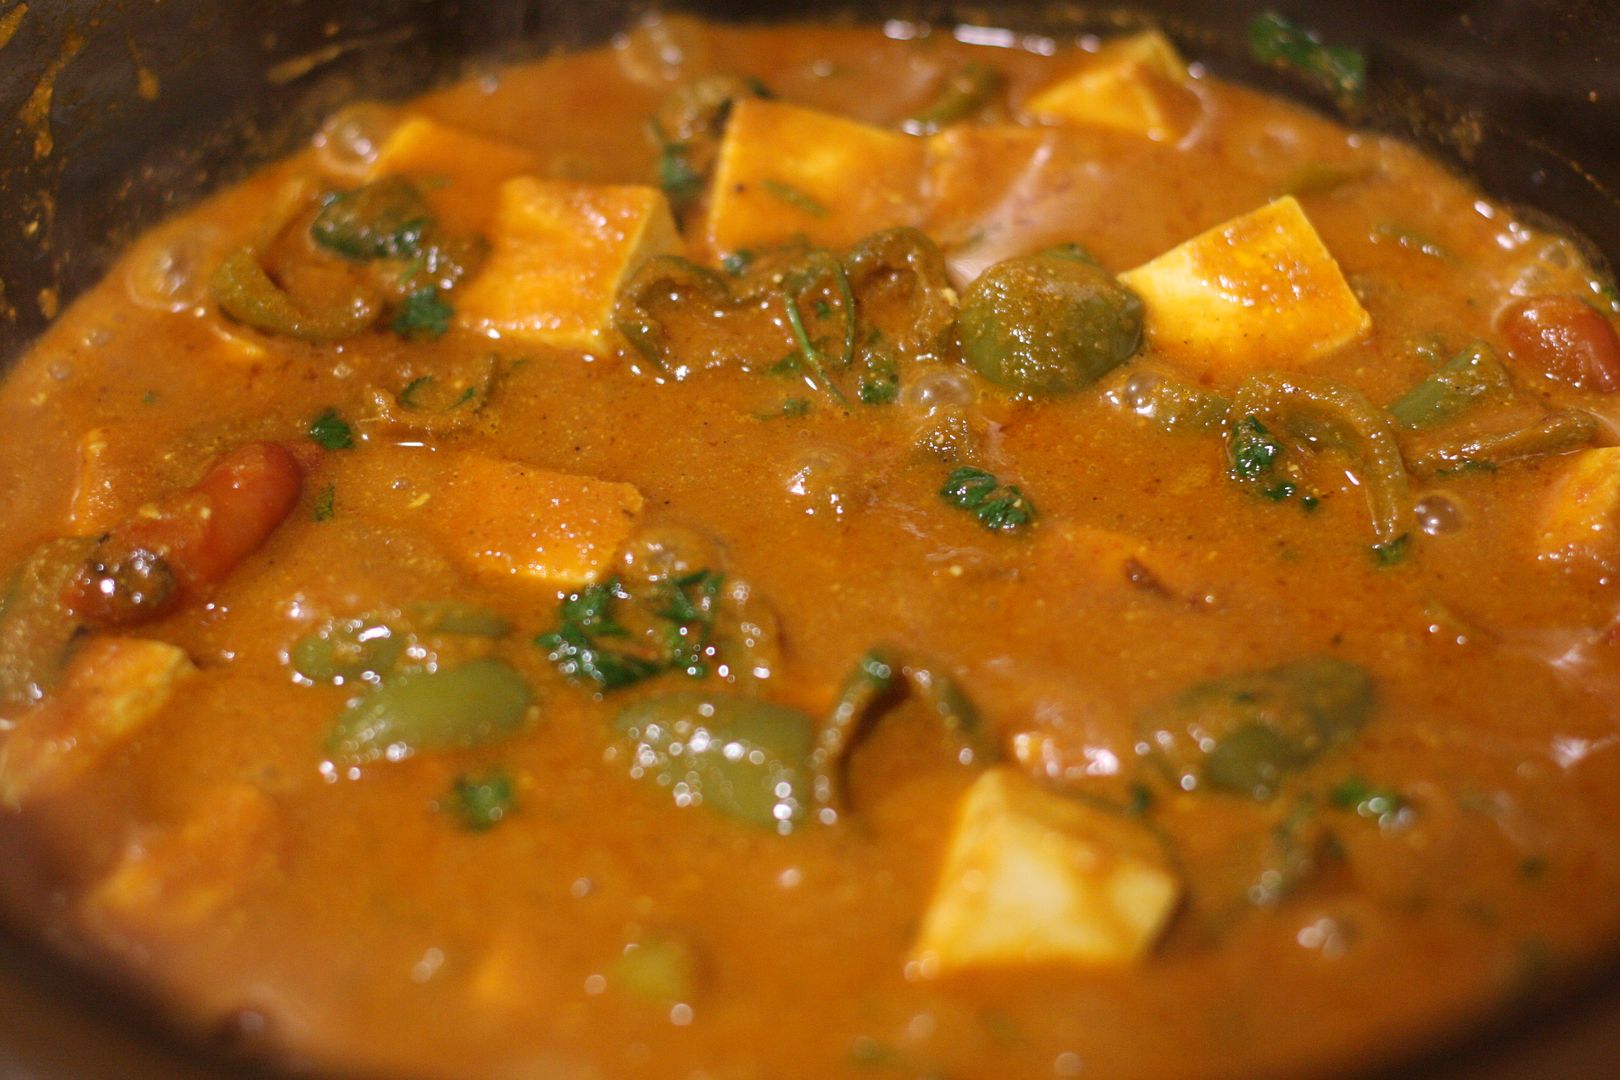
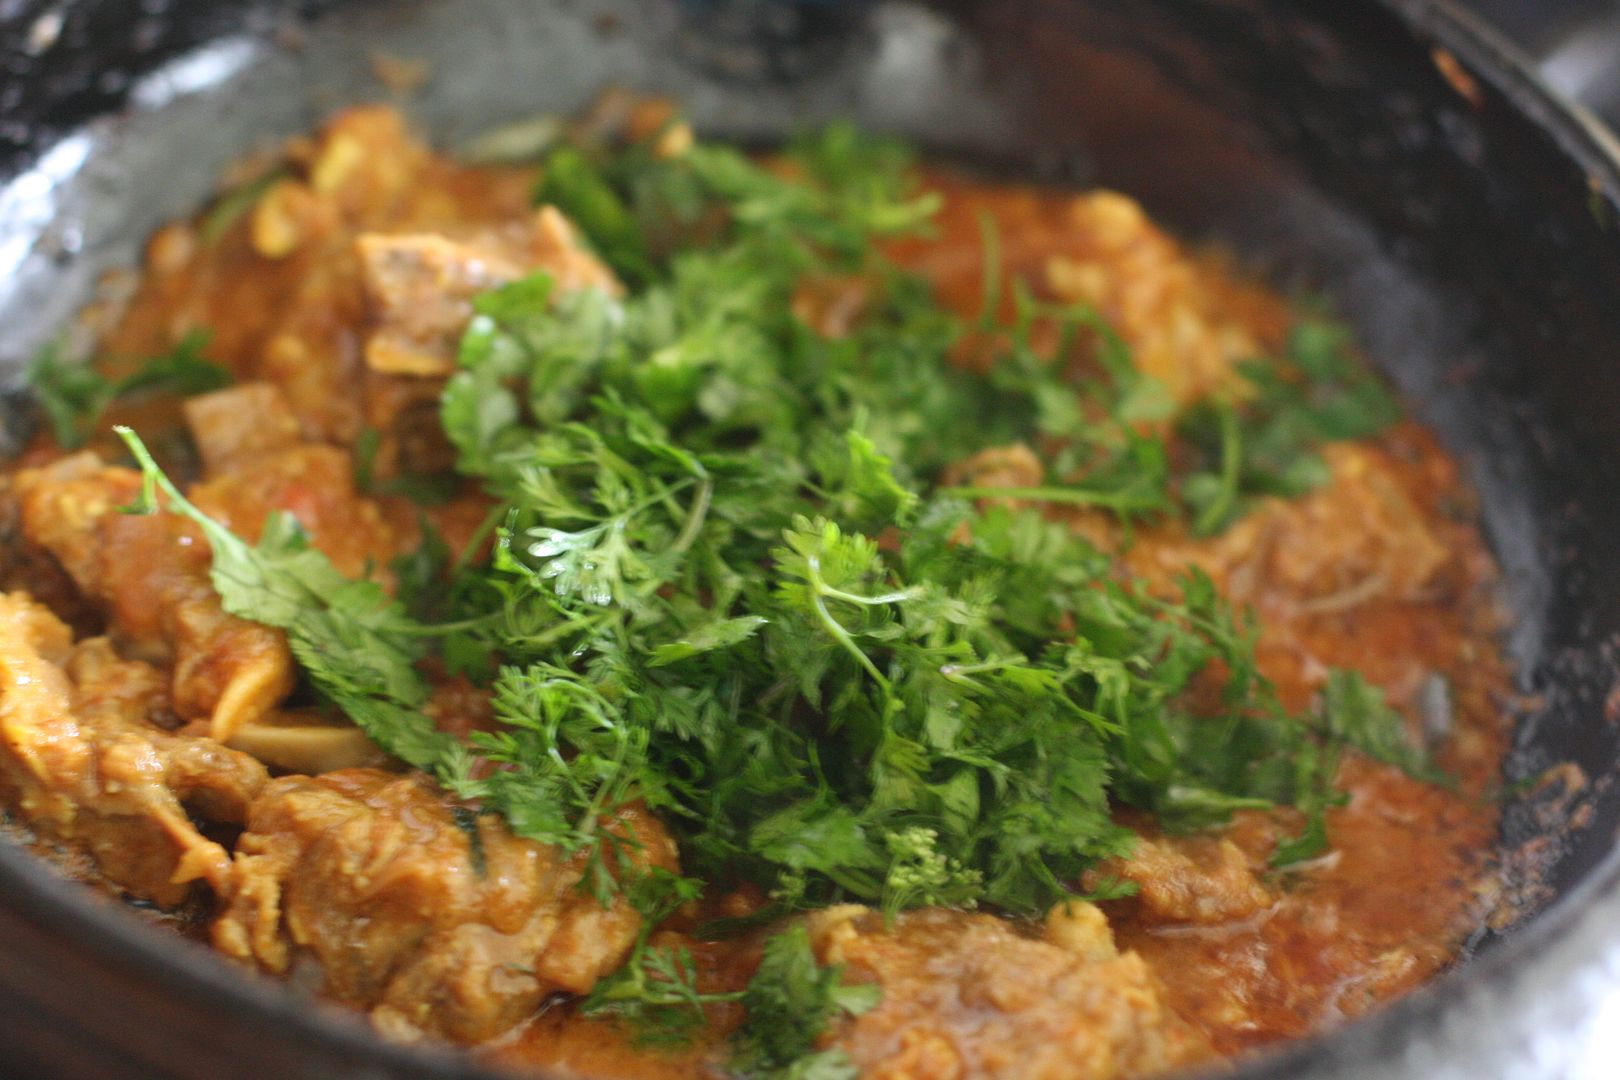
Add in the paneer pieces, cook for 2-3 minutes and add coriander leaves and turn off the heat.


Red Jalapeño Peppers
Paneer Tikka Masala
Preparation Time:20 minutes
Cooking Time:45 minutes
Ingredients
  1. 1 1/2 blocks of paneer (I used 12 oz block) cut into 1 inch pieces
  2. 2 cups of bell pepper chopped into 1 inch pieces
  3. 1 1/2 cup roughly chopped + 1/2 cup finely chopped onions
  4. 4 garlic cloves + 2 inch piece of ginger
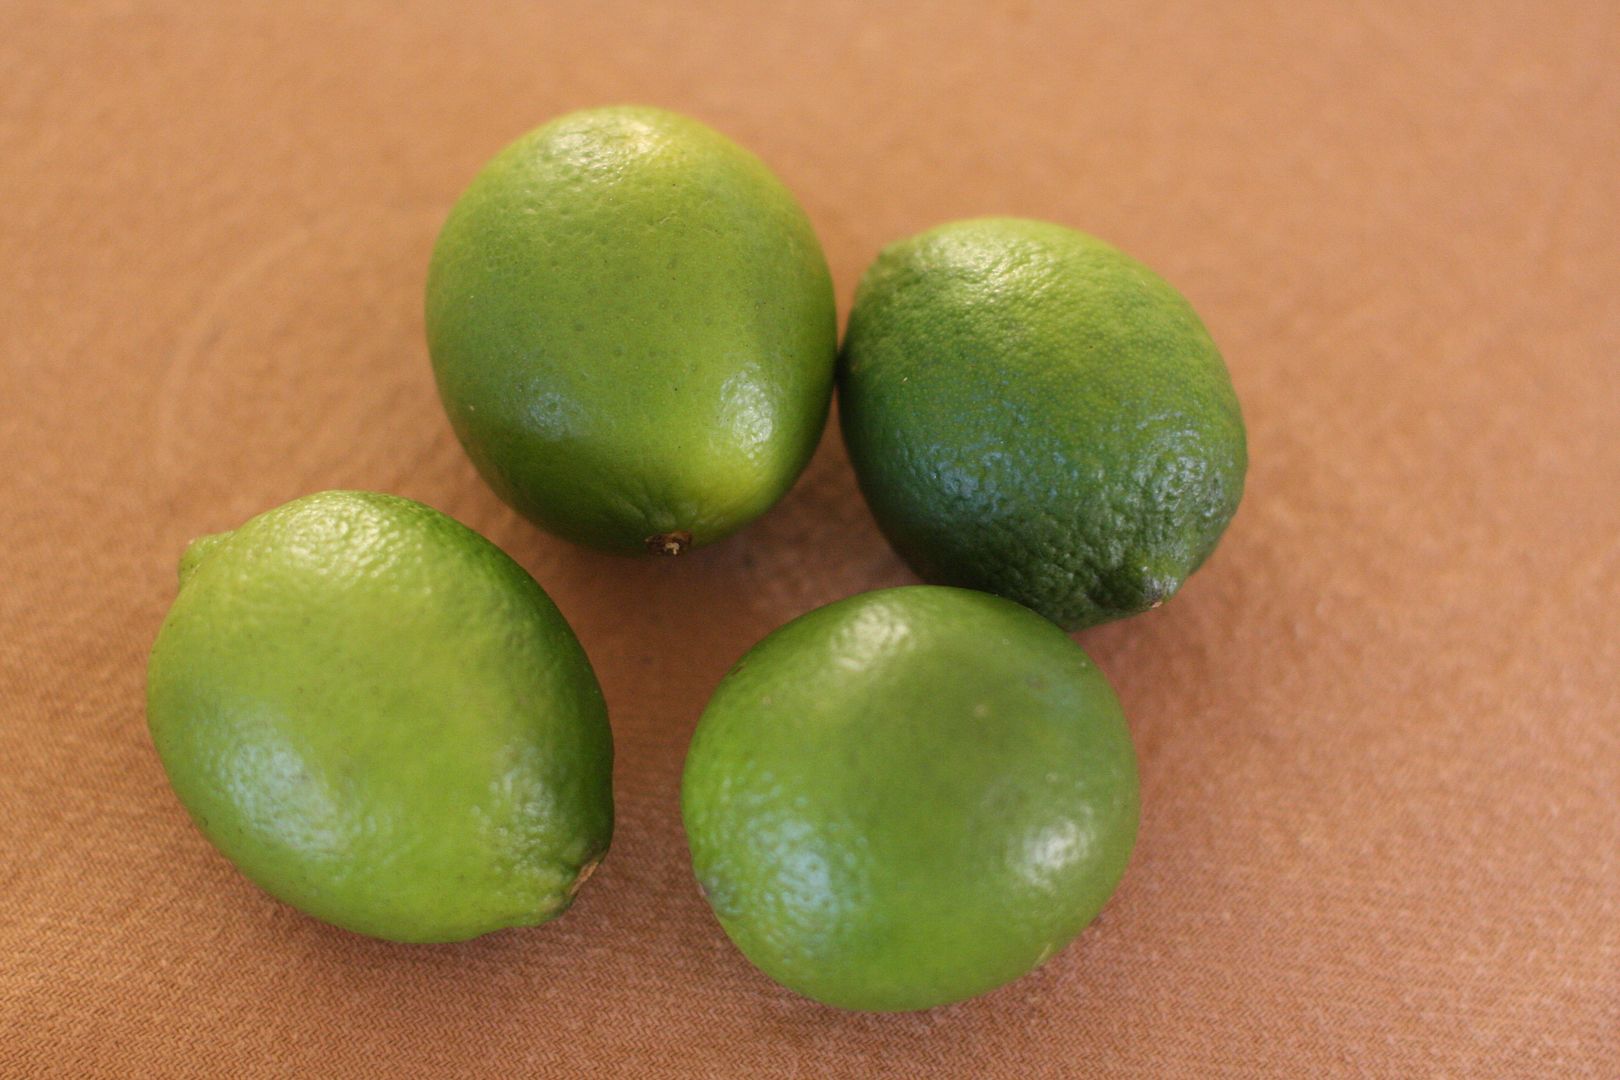
  5. 4 green or red chilies
  6. 1/2 cup of yogurt
  7. 1/2 tbsp chili powder or to taste
  8. 1 tsp turmeric powder
  9. 1 tbsp coriander powder
  10. 2 tsp cumin powder
  11. 2 cups of tomatoes pureed
  12. handful of coriander leaves
  13. for the paneer - turmeric powder(2 tsp), garlic powder (3 tsp), ginger powder (3 tsp), chili powder(3 tsp), pepper powder(2 tsp), cumin powder(1 tsp) and salt
  14. 2-3 tbsp oil
  15. salt to taste
Method
  1. Mix all the powders for the paneer with a bit of oil and toss the paneer in it, till the paneer is well coated.
  2. In a saute pan, add 1/2 cup of water and add the onion, garlic, ginger and the chilies. Let it boil for about 8-10 minutes. Cool and make a smooth paste.
  3. In a wide mouthed pan, add oil and saute the paneer pieces and set them aside.
  4. In the same pan, add a bit more oil and add the finely chopped onion and saute till the colors starts to turn color.
  5. Add in the cubed bell pepper and saute for 4-5 minutes.
  6. Add in the blended onion paste and saute till the oil starts to separate.
  7. Now add in all the spice powder and mix well. Add the blended tomato paste and if required a cup of water and let it cook for another 6-8 minutes till the oil starts to show on top.
  8. Add in the cup of whisked yogurt and let it cook for another 5-6 minutes.
  9. Add the sauteed paneer pieces and salt. Let it cook for a minute more. Add coriander leaves and turn off the heat.
Like what you are reading? Subscribe!

Saturday, December 17, 2022

How to make dried red chilies - Dried Red Chilies - Farm grown

Chilies are easy to grow. The biggest problem is harvesting them. I sometimes delay harvesting them because of lack of time. So they start to ripen. I had no idea how dried red chilies are made until one year DH's cousin was visiting from India. She suggested that we make dried chilies with the ripened ones. I wasn't too confident since we were already in late September and thought how it is ever going to dry but decided to give it a shot anyway to not disappoint her :)

I needn't have worried. The chilies just need to be air dried. In about 30-40 days they dried up pretty nicely and were ready to be packed to be used throughout the year. I am thankful to her to this day.

I live in a country where we finish harvest in September when it is Fall, the temperatures falls and the sun is not as hot so completely sun drying is not possible. If you are able to sun dry, dried chillies should be ready in about 2 weeks. Make sure it is nice and dry before packing it up.

There was a time in the not too distant past, US has banned imports of green chilies due to pesticide residue beyond acceptable levels. Why would you want to risk that for something that can be easily grown? 2-3 plants should provide you with enough chilies to last a year.

It is easy to freeze green chilies and I learned another method of preserving green chilies which is to steam and dry. This is good for areas where it is not possible to keep things frozen without interruption.

Red Chilies
Fresh harvested Red Chilies
Spread the harvested red chilies in a wide tray or carboard box in a single layer.
Red Chilies
The chilies will start to shrivel up in a few days.
Red Chilies
Dried Red Chilies
Depending on the intensity of the sun the red chilies should be ready in 2- 4 weeks depending on the intensity of the sun and where you are drying it.
Like what you are reading? Subscribe!

Sunday, December 4, 2022

Mutton Chukka - Mutton Varuval - Dry mutton curry

We all make the assumption that cooking techniques, spices the way of cooking - all make a dish taste good. IMHO these are all just secondary reasons. The first and foremost is the quality of the ingredients. If you source good ingredients, that should pretty much take care of the taste mostly. Everything else you do is just icing on the cake :)

If you don't do anything specific for the earth and sustainability but decide that you are going to be particular about where you source your meat and don't eat meat or chicken from factory farms, that should make big enough a difference and will be your greatest contribution.

The quality of meat from small farms is always much better than something that is shipped from overseas or bought from huge grocery chains. If the quality of the meat is high just a few spices and cooking technique should bring about the great taste. Like this recipe with very few ingredients and the cooking method is very simple but the taste is huge.

As for this recipe, cooking the meat on a slow flame till it is nice and dry brings out the taste of the spices and also of the mutton. I chanced on this recipe on YouTube and used it as guide to make this recipe with a few slight modifications. Recipe Source

Recipe in pictures,

Wash and clean the mutton pieces. In a pressure cooker heat oil and add grated garlic and ginger, saute, add turmeric and chili powders and add the mutton pieces.
Add 1/2 cup of water and add onion and let it cook for 3 whistles.
In a saute pan, roast the spices - coriander seeds, cumin seeds, pepper corns and red chilies. Cool and powder.
Let cool and set it aside. In a wide mouthed mud pot, add oil and when hot add the seasonings - cumin and curry leaves.
Now add the onions and saute till translucent.
Add in the chopped tomatoes and let it get mushy. Add in the mutton pieces and let it cook for a few minutes. Add the coriander leaves.
Add the powdered spices and saute till it becomes nice and dry.


Red Jalapeño Peppers


Mutton Chukka
Preparation Time:20 minutes
Cooking Time:25 minutes
Ingredients
  1. 1 lbs of Mutton
  2. 1/2 cup of shallots (or red onion) finely chopped
  3. 2 tbsp of garlic finely chopped
  4. 1/2 tbsp of finely grated ginger
  5. 2 medium sized tomatoes chopped (optional)
  6. seasonings: cumin seeds and curry leave
  7. salt to taste
  8. 2 tbsp oil
  9. 2 tsp chili powder
  10. 2 tsp turmeric powder
  11. 2 tsp of garam masala
  12. To Powder
  13. 1 tbsp of coriander seeds
  14. 1 tsp of cumin seeds
  15. 6 red chilies
  16. 1 tsp of black peppercorns
Method
  1. In a pressure cooker add a tsp of oil and add in half the ginger and garlic and saute.
  2. Add in the mutton pieces and saute for a minute or two. Add 1/2 cup of water, some chopped onion, turmeric powder and chili powder and close the lid. Let it cook for a the desired amount of time about 2 whistles for it to be 3/4th cooked. I left it for 3 whistles.
  3. In the meantime in a saute pan add all the spices and saute till they turn brown. Cool and powder.
  4. In a wide mouthed pan (I used a clay pot) add the rest of the oil and when hot add the seasonings, followed by the chopped shallots/onions. Saute till it turns translucent. Add in the tomatoes and let it cook till it is completely mushy and then saute some more to remove most of the moisture.
  5. Open the pressure cooker and give the mutton a good mix and it to the tomato mixture. Add the chopped coriander leaves. Mix it well, put a lid and cook for about 5-6 minutes.
  6. Add in the powdered spice and salt, mix it and saute till the moisture completely evaporates and the spices coat nicely on the meat pieces.
Like what you are reading? Subscribe! https://www.youtube.com/watch?v=uJ3QXKXLhbw

Sunday, November 27, 2022

Lime Pickle Recipe எலுமிச்சை ஊறுகாய் Lemon Pickle 2

Good Lime or lemon pickle reminds me of two people - my grandmother and my mother-in-law. I don't remember my grandmother's pickle making all that much but it had green chilies, garlic and sometimes even green (black) peppers. Whereas my MIL's without fail packed us lemon pickles every year. Without the slightest taste of sourness or bitterness but nice and smooth, these were some of the best no fuss lemon pickles I have ever tasted. We lost her this year but with covid and not travelling for the last 2 years, I learned to make the pickles because we had made it once under her tutelage when she was here. It might not have the finesse of her pickles and the aroma of pickles made in her kitchen, we make do with these :) They come tantalizingly close to the original.

Lime
We got the recipe from MIL but like most recipes we know from our relatives, hers gives everything in handfuls and I have done my best to translate them to cups and spoons.

Here in the US, the lemons have a fairly thick skin, while you can still make with these lemons I prefer using limes for the pickle. The limes that we get here are typically green harvested before they have become ripe, and used for the kind of recipes that requires a more sour tasting juice than what it would be if it were ripe.

For the purposes of this recipe the green or the yellow ones with thin skin work perfectly. For a better tasting pickle it is necessary to use thin skinned limes/lemon than the thicker skinned ones. I am not saying the thicker skinned citruses cannot be pickled. They absolutely can be.

Sun drying or sun marinating the cut limes are what gives this pickle the taste. So plan to do them that way if you can. Having said that, it does not mean the pickles have to be made only in the summer. I usually run out of the lime pickles I make in the summer and crave for some during winter. The lime pieces take a bit longer to marinate but they absolutely can be made in the winter. I place the marinating limes on a sunny window sill for about 3-4 weeks. During the summer I let it sit in the sun outside.

No sunny window? Not a problem. Let it sit in its own juices for 3-4 weeks and that should be sufficient. I used to think that making lemon/lime pickles is kind of hard. I am blown away by how easy this is compared to some of the other pickles I make.

Lime


Recipe in pictures.

Cut the lime into small pieces, about 8 pieces per lime and add them to a glass or ceramic jar and add about 1/3 cup of salt and let it marinate for 3-4 weeks. In a small pan roast mustard seeds and fenugreek seeds. Cool and powder.
Heat oil in a wide mouthed pan, season with mustard and fenugreek seeds. When mustard pops add asfoetida followed by the marinated lime pieces and let it come to a boil.
Add chili powder and salt and mix well.
Add the mustard and fenugreek powder, check for salt and turn off the heat.


Recipe in pictures,
Lime Pickle Recipe
Marination Time:3-4 weeks
Preparation Time:10 minutes
Cooking Time:20 minutes
Ingredients
  1. 8-10 lemons (makes about 3-4 cups of cut fresh lime pieces)
  2. 1/3 cup red chili powder
  3. 1/3 cup of rock salt (if using table salt use less
  4. 1/2 tbsp mustard seeds
  5. 2 tsp fenugreek seeds
  6. 1/2 tsp asfoetida powder
  7. 1/2 - 1 cup sesame oil (I use slightly more to keep it fresh longer)
  8. seasonings: 1 tsp mustard seeds, 1/2 tsp fenugreek seeds, 2 pinches of asfoetida powder
Method
  1. Few weeks before making the pickle, wash the limes and let them dry. Cut each lime into 8 pieces, cut vertically and then cut each into 4 pieces.
  2. Put the cut lime into a glass (or ceramic) jar with salt. Cover the opening with a cheese cloth and then it in the sun for 2-3 weeks or if indoor for 3-4 weeks.
  3. In a wide mouthed pan (I used a mud pot) add the seasonings - mustard, fenugreek seeds and asfoetida, when the mustard seeds start to pop add the cut and marinated lime pieces.
  4. While this heats up in a small pan add mustard seeds, fenugreek seeds and asfoetida and let it brown. Cool and powder.
  5. Let the lime pieces come to a boil, add red chili powder and mix it in. **
  6. Add the powdered mustard, asfoetida and fenugreek powder, mix it in and turn off the heat.
  7. **if you the pickle a bit more pulpy, heat a 1/4 cup of water to a boil and add to the lime/lemon pieces.
Like what you are reading? Subscribe!